It has been a learning week for me. I’ve actually gotten to the point where I’m printing things for me rather than for the printer and the printing process.
Every part of the process is so much better than it was the last time I was attempting 3D prints. I have one confirmed model that is a failure. I’ll work with the least failed print to get the tool I need.
The two biggest issues in 3D printing today are bed adhesion and bad filament. Now bad filament isn’t always bad, sometimes it is just that it has absorbed too much water from the air.
There is a relatively simple fix for that: dry your filament.
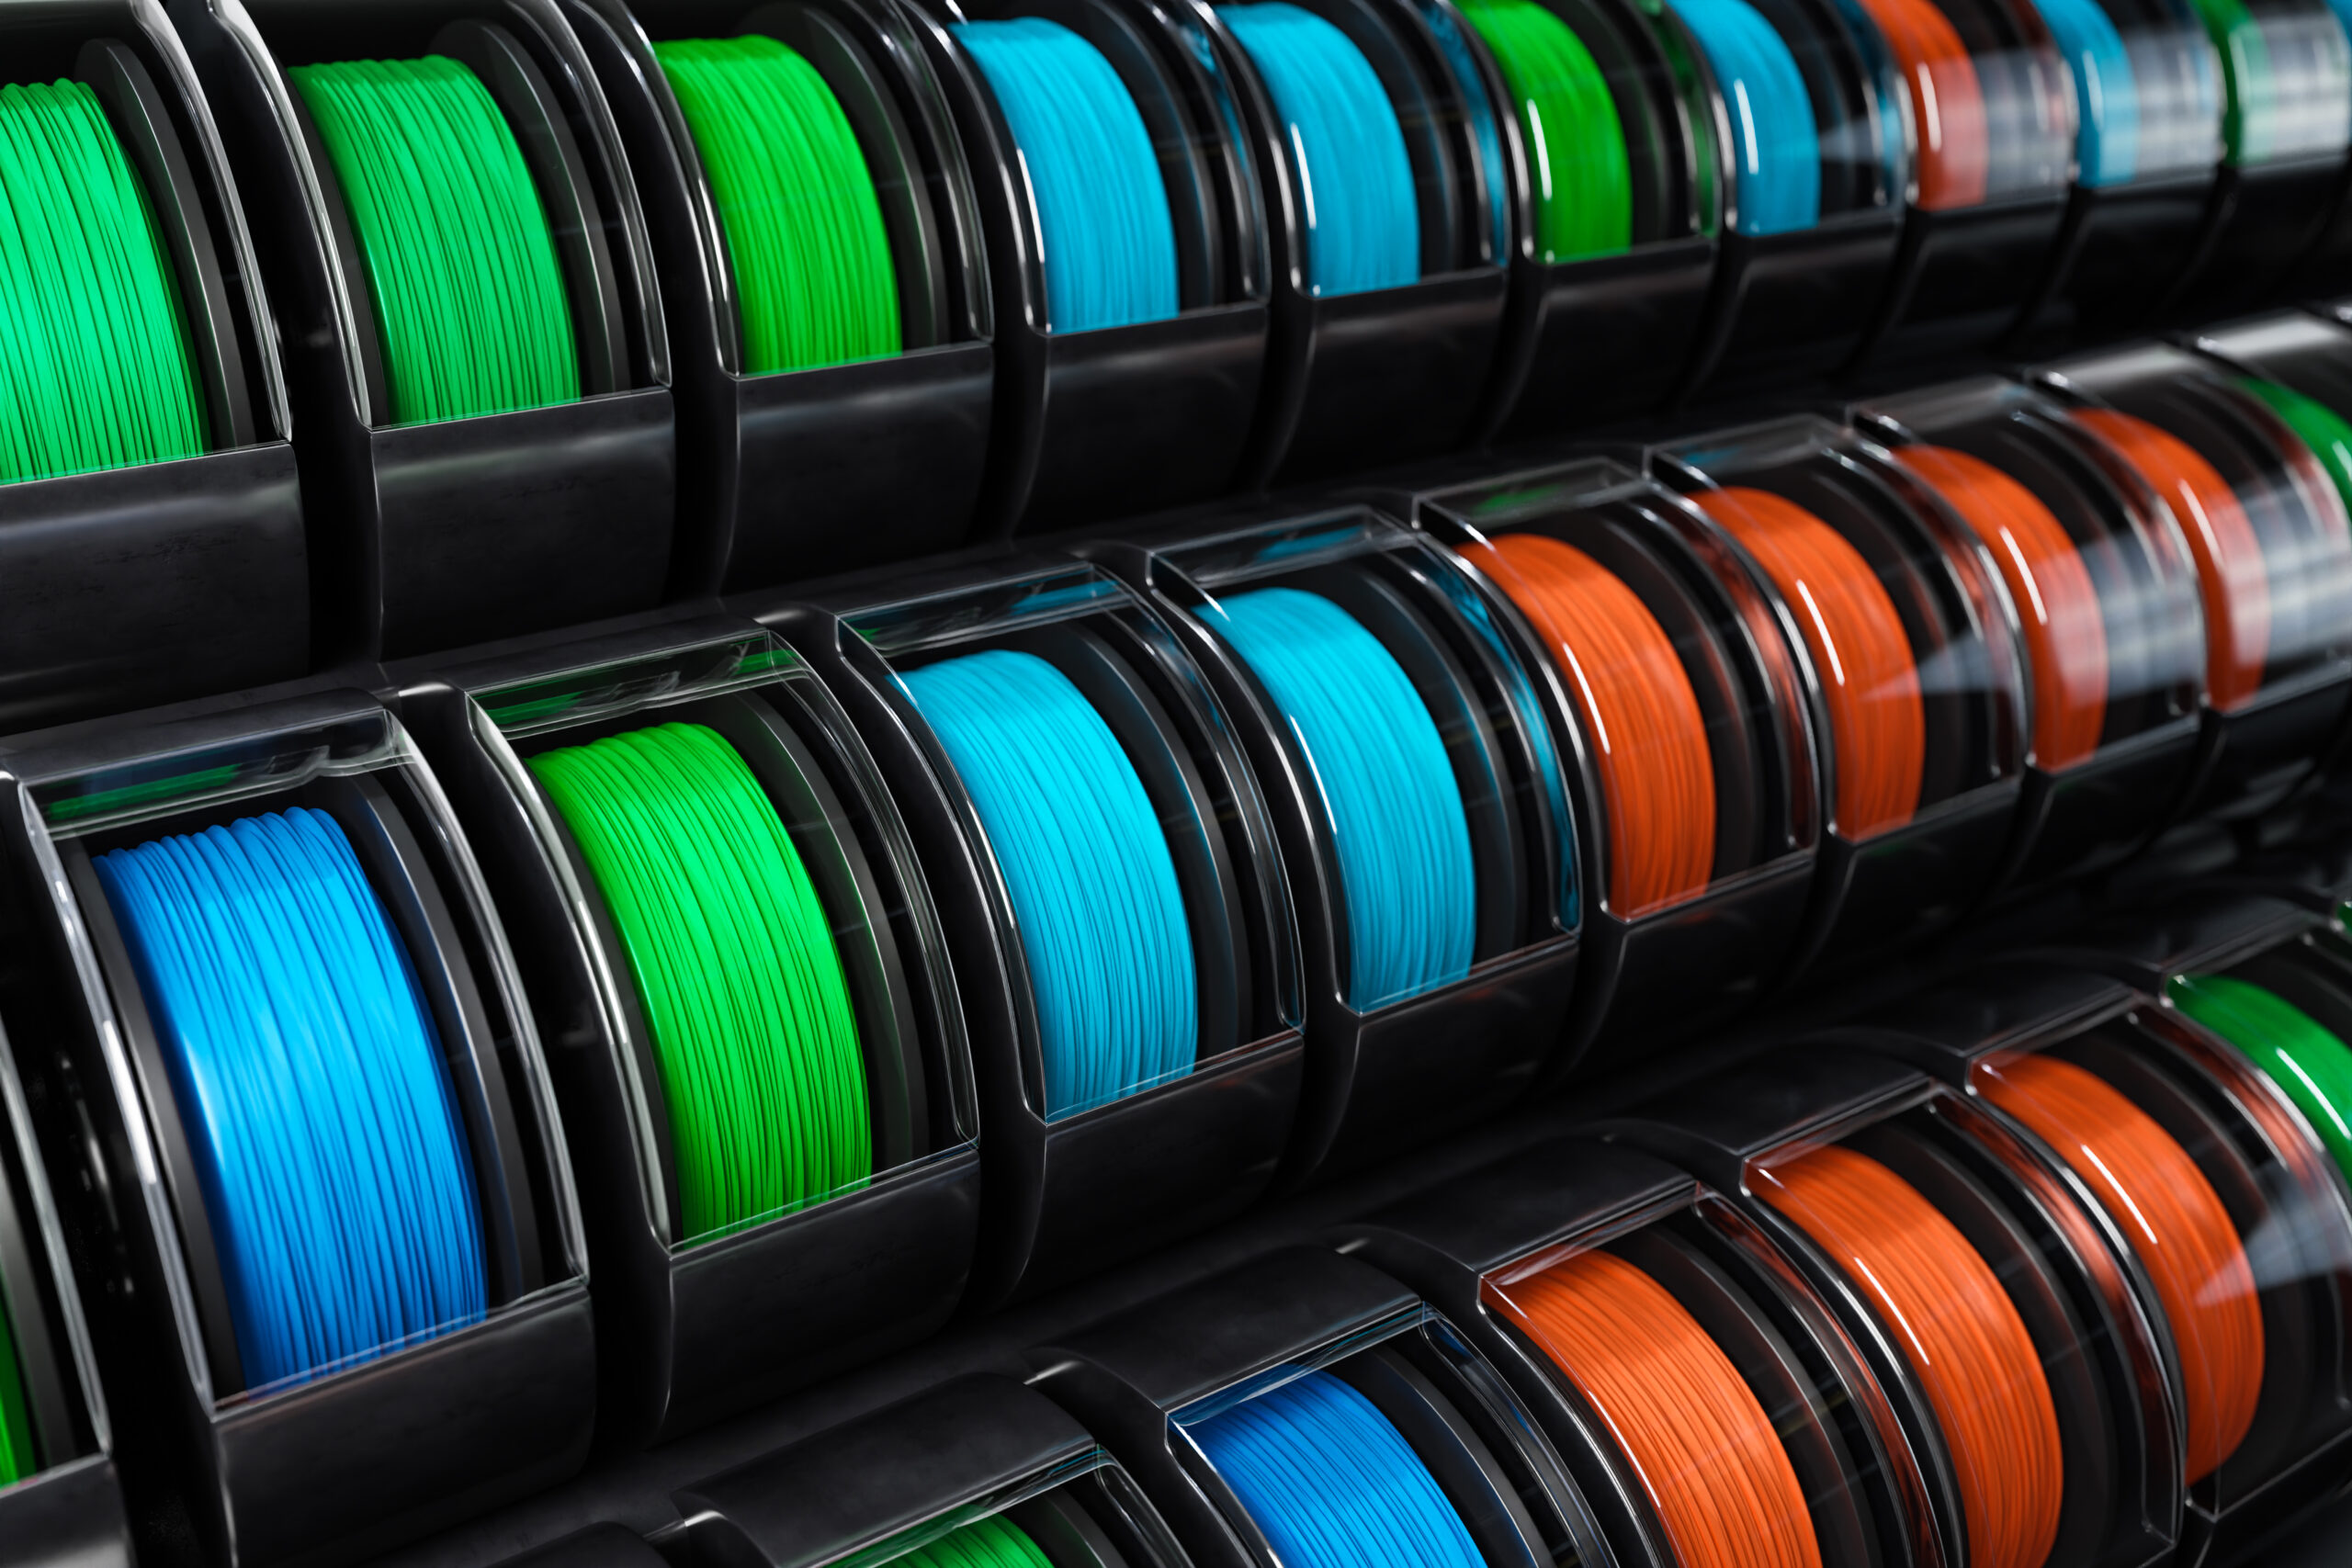
My printer came with an AMS (automatic material system). It consists of a chamber that holds four spools of filament; each spool has its extruder/feeder. The printer controls the AMS. When the printer wants a particular filament, it unloads the current filament, then it tells the feed motor to push the filament down a sequence of PTFE tubes and Y connectors until the filament is at the extruder proper.
The printer then pushes out the old plastic from the hot end with the new filament, leaving the nozzle loaded with the new filament. It is cool to watch.
The AMS is designed for four small packages of silica desiccant. One of the first things I printed was a set of boxes to hold more desiccant. The AMS now has about between 10 and 20 times as much desiccant as it started with.
The AMS is sealed, has circulating fans and a heater. This means it can be used to dry filament as well as feed it.
There is one small issue: you can’t print while it is drying. You have to have a separate power supply for the AMS to dry while printing.
Which takes me to my “quick” fix, a SunLu S1 Plus filament dryer. This holds one spool of filament, it can run at up to 55°C, and it does a good job of PLA, PETG, and one or two other filaments.
Using it I have been able to rescue some 10 year old PLA that was stored open. It has all just printed, after it was dryed.
Now the fix to this temperature issue is to use a “blast oven”. A blast oven means an oven that can maintain a constant temperature for an extended period of time while air is forced around the filament.
I don’t have a blast oven. What I do have is a printer that can maintain a constant temperature but doesn’t have a fan.
The manufacturer recommends printing a cover in Polycarbonate (PC). But PC is extremely hygroscopic. Straight from the package, it has to be dried at 90°C. Which my SunLU can’t do.
If I had a PC drying cover, I could dry the PC in the printer. All I need is some dry PC but what I have is wet PC.
And this issue exists for every filament I have. So I’m doing a bootstrap.
I did a printer bed drying of some ASA. This took around 12 hours. I used a cardboard box, as recommended. To make a fake cover.
With the ASA dry enough to print, I’m printing a blast oven. This is a two part filament dryer that uses the printer bed for the heat source and a carefully designed drying chamber with forced air.
Now all I have to do is hope that part two prints successfully tonight.
Bleeding edge of any tech is an in-depth learning experience. You might not be the first kid on the block with a 3D printer, but you are definitely a pioneer. Much like the early PC tinkerers who had to deal with DMA, INT, and I/Os, or the folks that downloaded a copy of Linux
.
Right now, you are dealing with issues that later adopters will never see, or even know about. I speak with senior level tech support people who have no idea that you had to configure a card before installing it. Dip switches and jumpers were so much fun, weren’t they. Folks that are doing exactly what you are doing created plug and play. Now it is unheard of to get a peripheral that does not work automatically.
.
Keep on experimenting, improving, and sharing your experience. A foolproof 3D printer is coming, maybe in a few months, maybe in a few decades, but it is on the way. And, it will revolutionize the average home.