My father was a woodworker. He made beautiful furniture. I have a couple of pieces he made.
His primary tool was the radial arm saw. He also had a hand drill. Everything else he did by hand. I wish I had learned more from him.
I think it was one of his quiet hobbies. Later, he became obsessed with model railroads, doing incredible things with them. He is actually published for his work on model railroading.
His skills didn’t seem to pass to me. It is/was so bad that I didn’t do woodworking until I had power tools and a place for them.
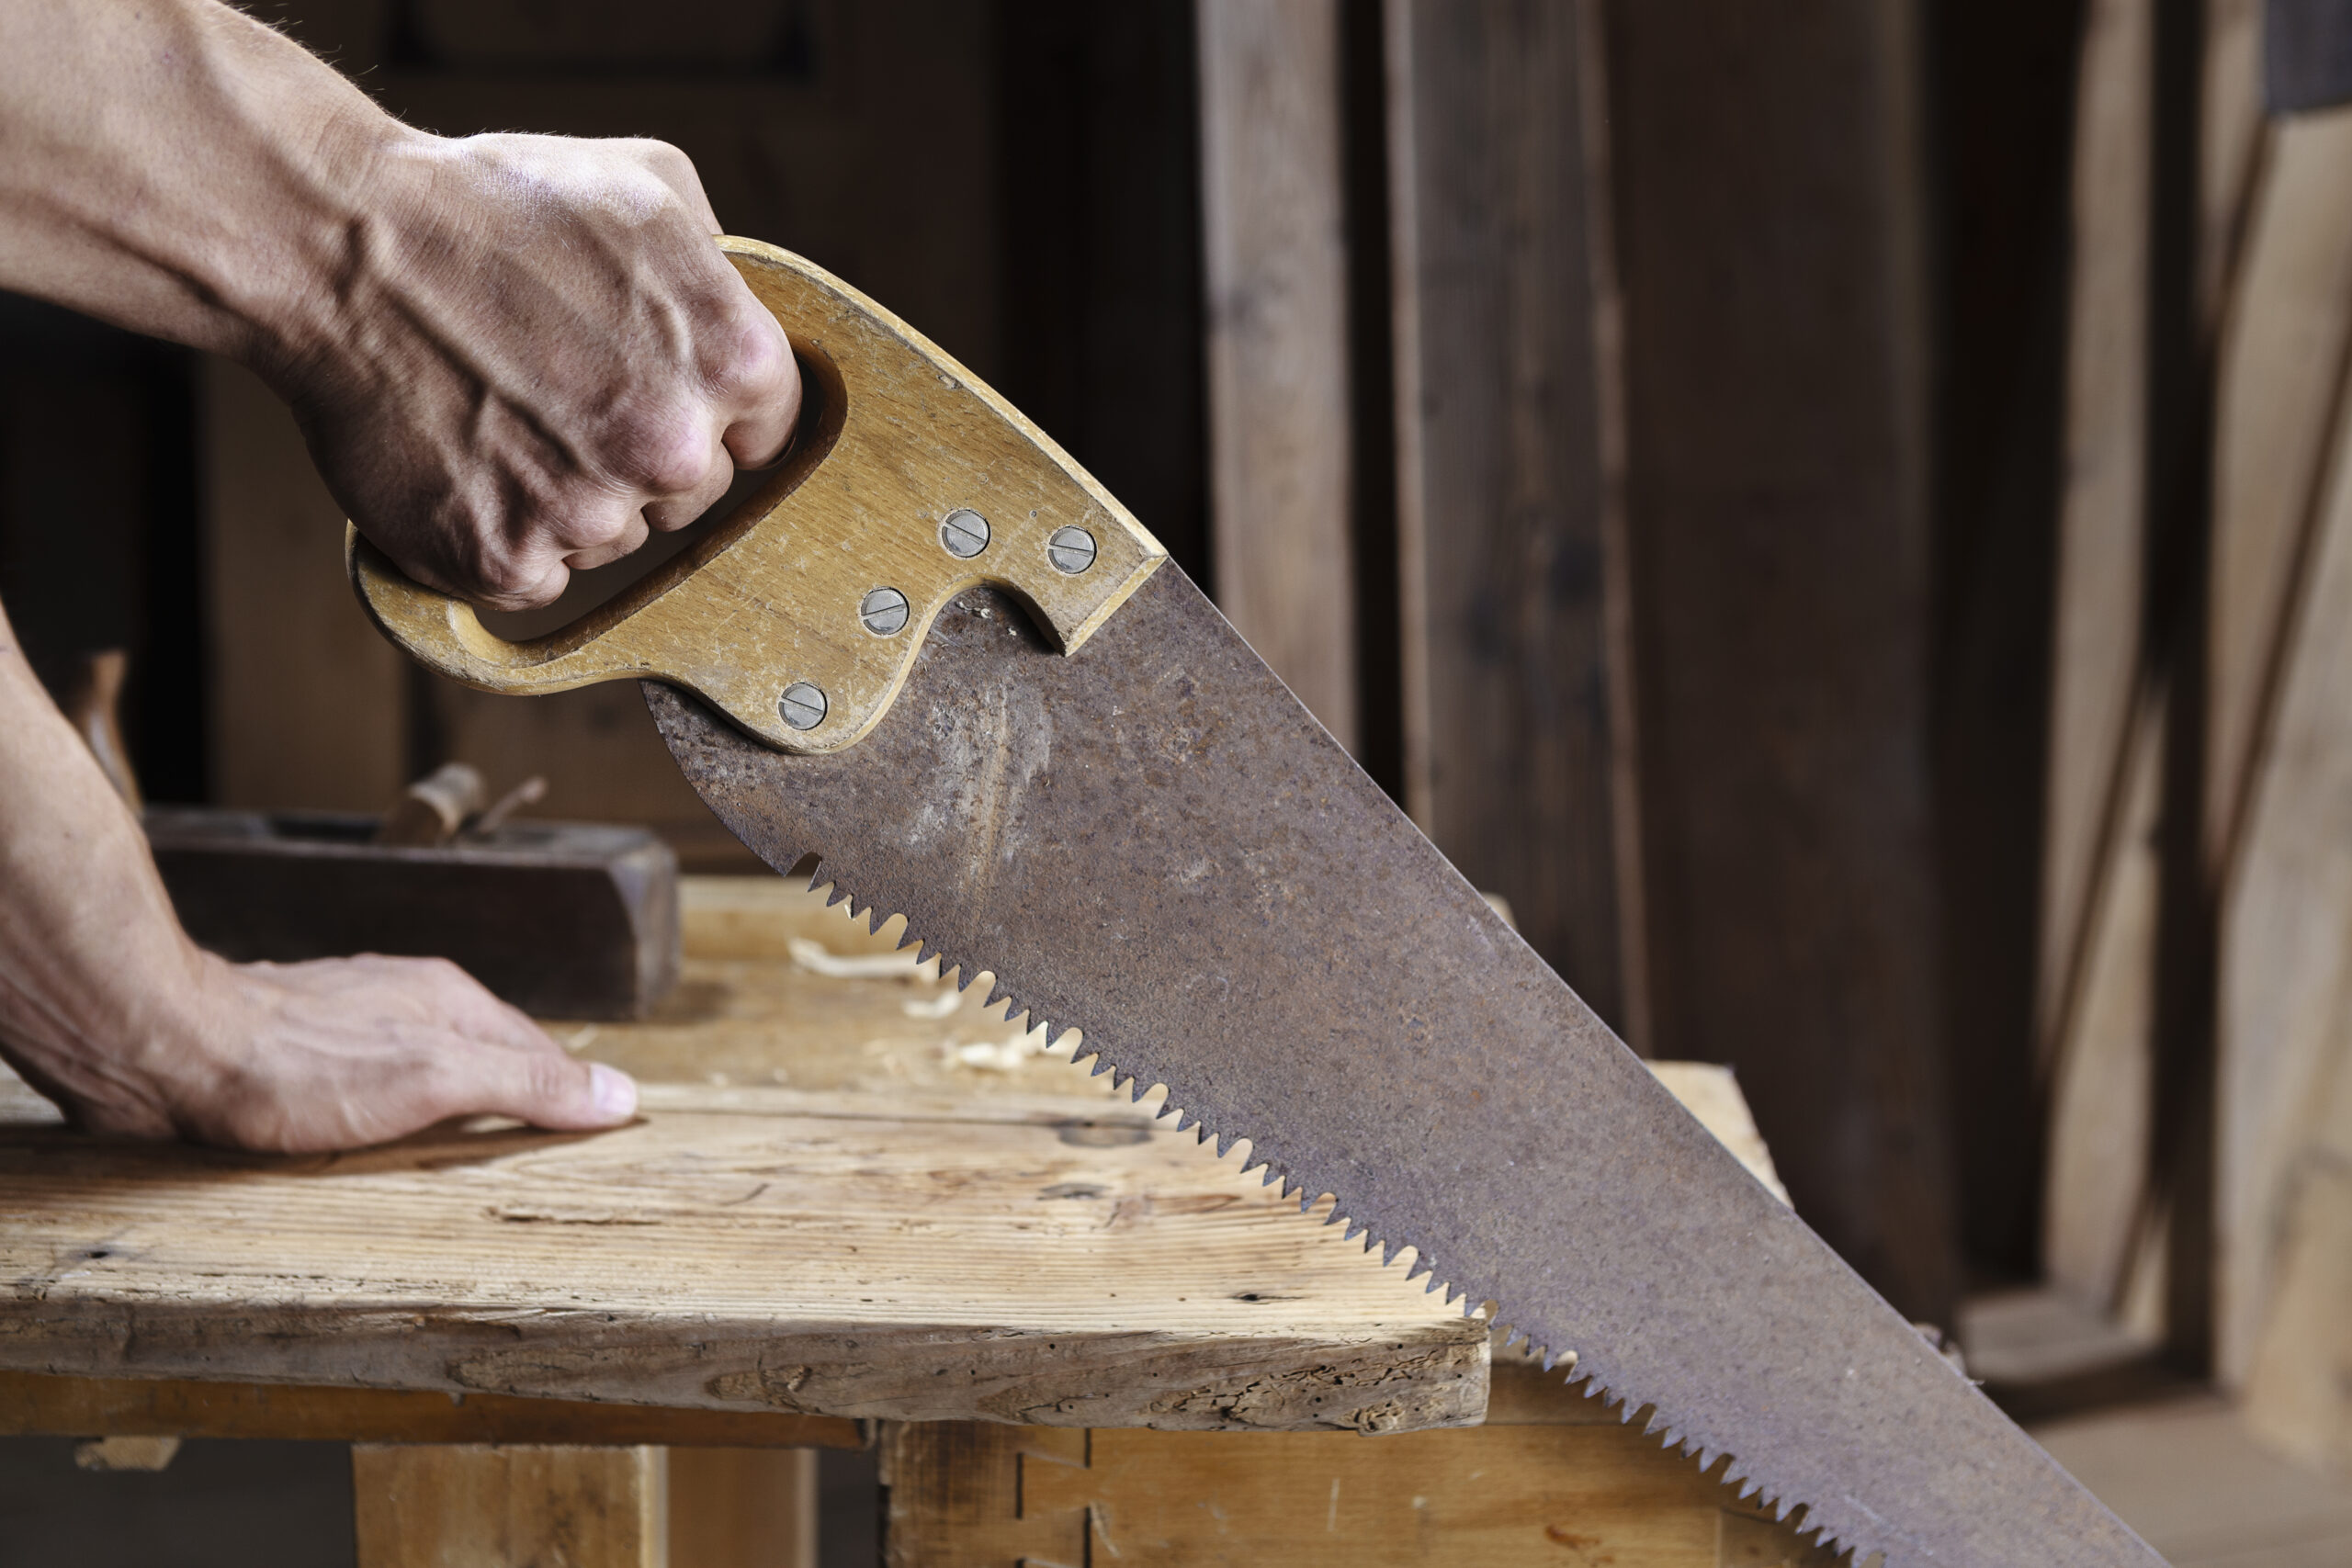
One of the basic tasks of wood working is sawing. This is rather simple. Move the saw back and forth in a straight line.
Yeah, not so much.
You have to cut a straight line, without a curve in it. That straight line must be in the correct place. It must not be tilted.
I think 3 degrees of freedom in that sawing.
So how the heck do you saw something correctly? And what the heck do you do when you have to “rip” a piece of wood that is 6 foot long? Or even harder, resaw something that is 6 foot long?
You start with the correct tools. With saws, there are a lot of them. But the real starting point is the marking gauge.
Instead of just marking the line you are cutting, you mark the sides as well. This will give you a visual of where you are supposed to be cutting.
Next, put your pencil aside. Use a marking knife instead. First, it gives a cleaner mark. Second, it is easier to transfer a knife line around a corner.
If you are working on light wood, you can then use that pencil to make that knife mark easier to see.
Finally, for precision work, make a knife wall. This is an artificial kerf. It makes a physical stop for the edge of your saw blade. Now, when you start sawing, your saw is already in a kerf. If you carry the knife wall down the sides, it will help to keep your saw properly aligned.
So that marking knife, a good combination square or try square, a metal ruler, and a good bench chisel are required.
The next thing to look at is the types of saws that are available, and what they are used for.
There are more than you can shake two sticks at. And each saw does a different task.
I’m going to focus on straight cuts and ignore Japanese pull saws.
Saws can be cross-cut, rip cut, or a combination cut. A combination cut saw does a poor job of both ripping and cross-cutting. But it can be handy when you don’t know which you will need.
Cross-cut blades are designed to cut across the wood fibers. Rip saws are for cutting with the fibers.
Normally, we want cross-cuts to be smooth. Smooth means more teeth per inch. More teeth per inch means smaller gullets. Smaller gullets mean slower cutting.
If we have two saws with the same level of sharpness, assume “very” sharp. The one with fewer teeth per inch will cut faster. The reason is the gullets.
The gullet is the space between the teeth. When you are pushing a saw forward, each tooth is cutting a small shaving from the wood.
That shaving has no place to go. It has to travel with the saw blade as it moves forward. The only place it can travel is in the gullet.
As the blade exits the wood, the wood that is traveling in the gullet drops free.
When enough wood dust/chips have built up in the gullet, the tooth can no longer cut and collect more wood shavings.
With fewer teeth, there is less room for wood shavings. The gullets fill up faster and the saw stops cutting.
There is so much more to this. I thought I had a better understanding.
In trying to explain it in this article, I figured out that I didn’t know enough.

