A modern website is a complex system of inter related pieces. Each of which must work correctly and communicate correctly with the other parts of the system.
As website creators, we break the design into the Frontend and the Backend. The front end is anything the end user sees, while the back end is responsible for generating content to be displayed.
The backend is further subdivided into the Model, Controller, and View. The model is our term for the database and database access. The controller is the rules for the website. The view is the creation of content to be displayed.
Consider a website that allows you to purchase an item. The “model” would describe that item. SKU, size, weight, cost, price, images, description, name, and much more. The “controller” encodes the business rules. We can only ship to people that have paid us. And the view turns all the information into content for a browser to display.
The content is delivered as HTML. We can also supply JavaScript code and Cascading Style Sheets. The HTML can have the JavaScript and CSS embedded in the HTML or the HTML can link to other resources to be included with this page.
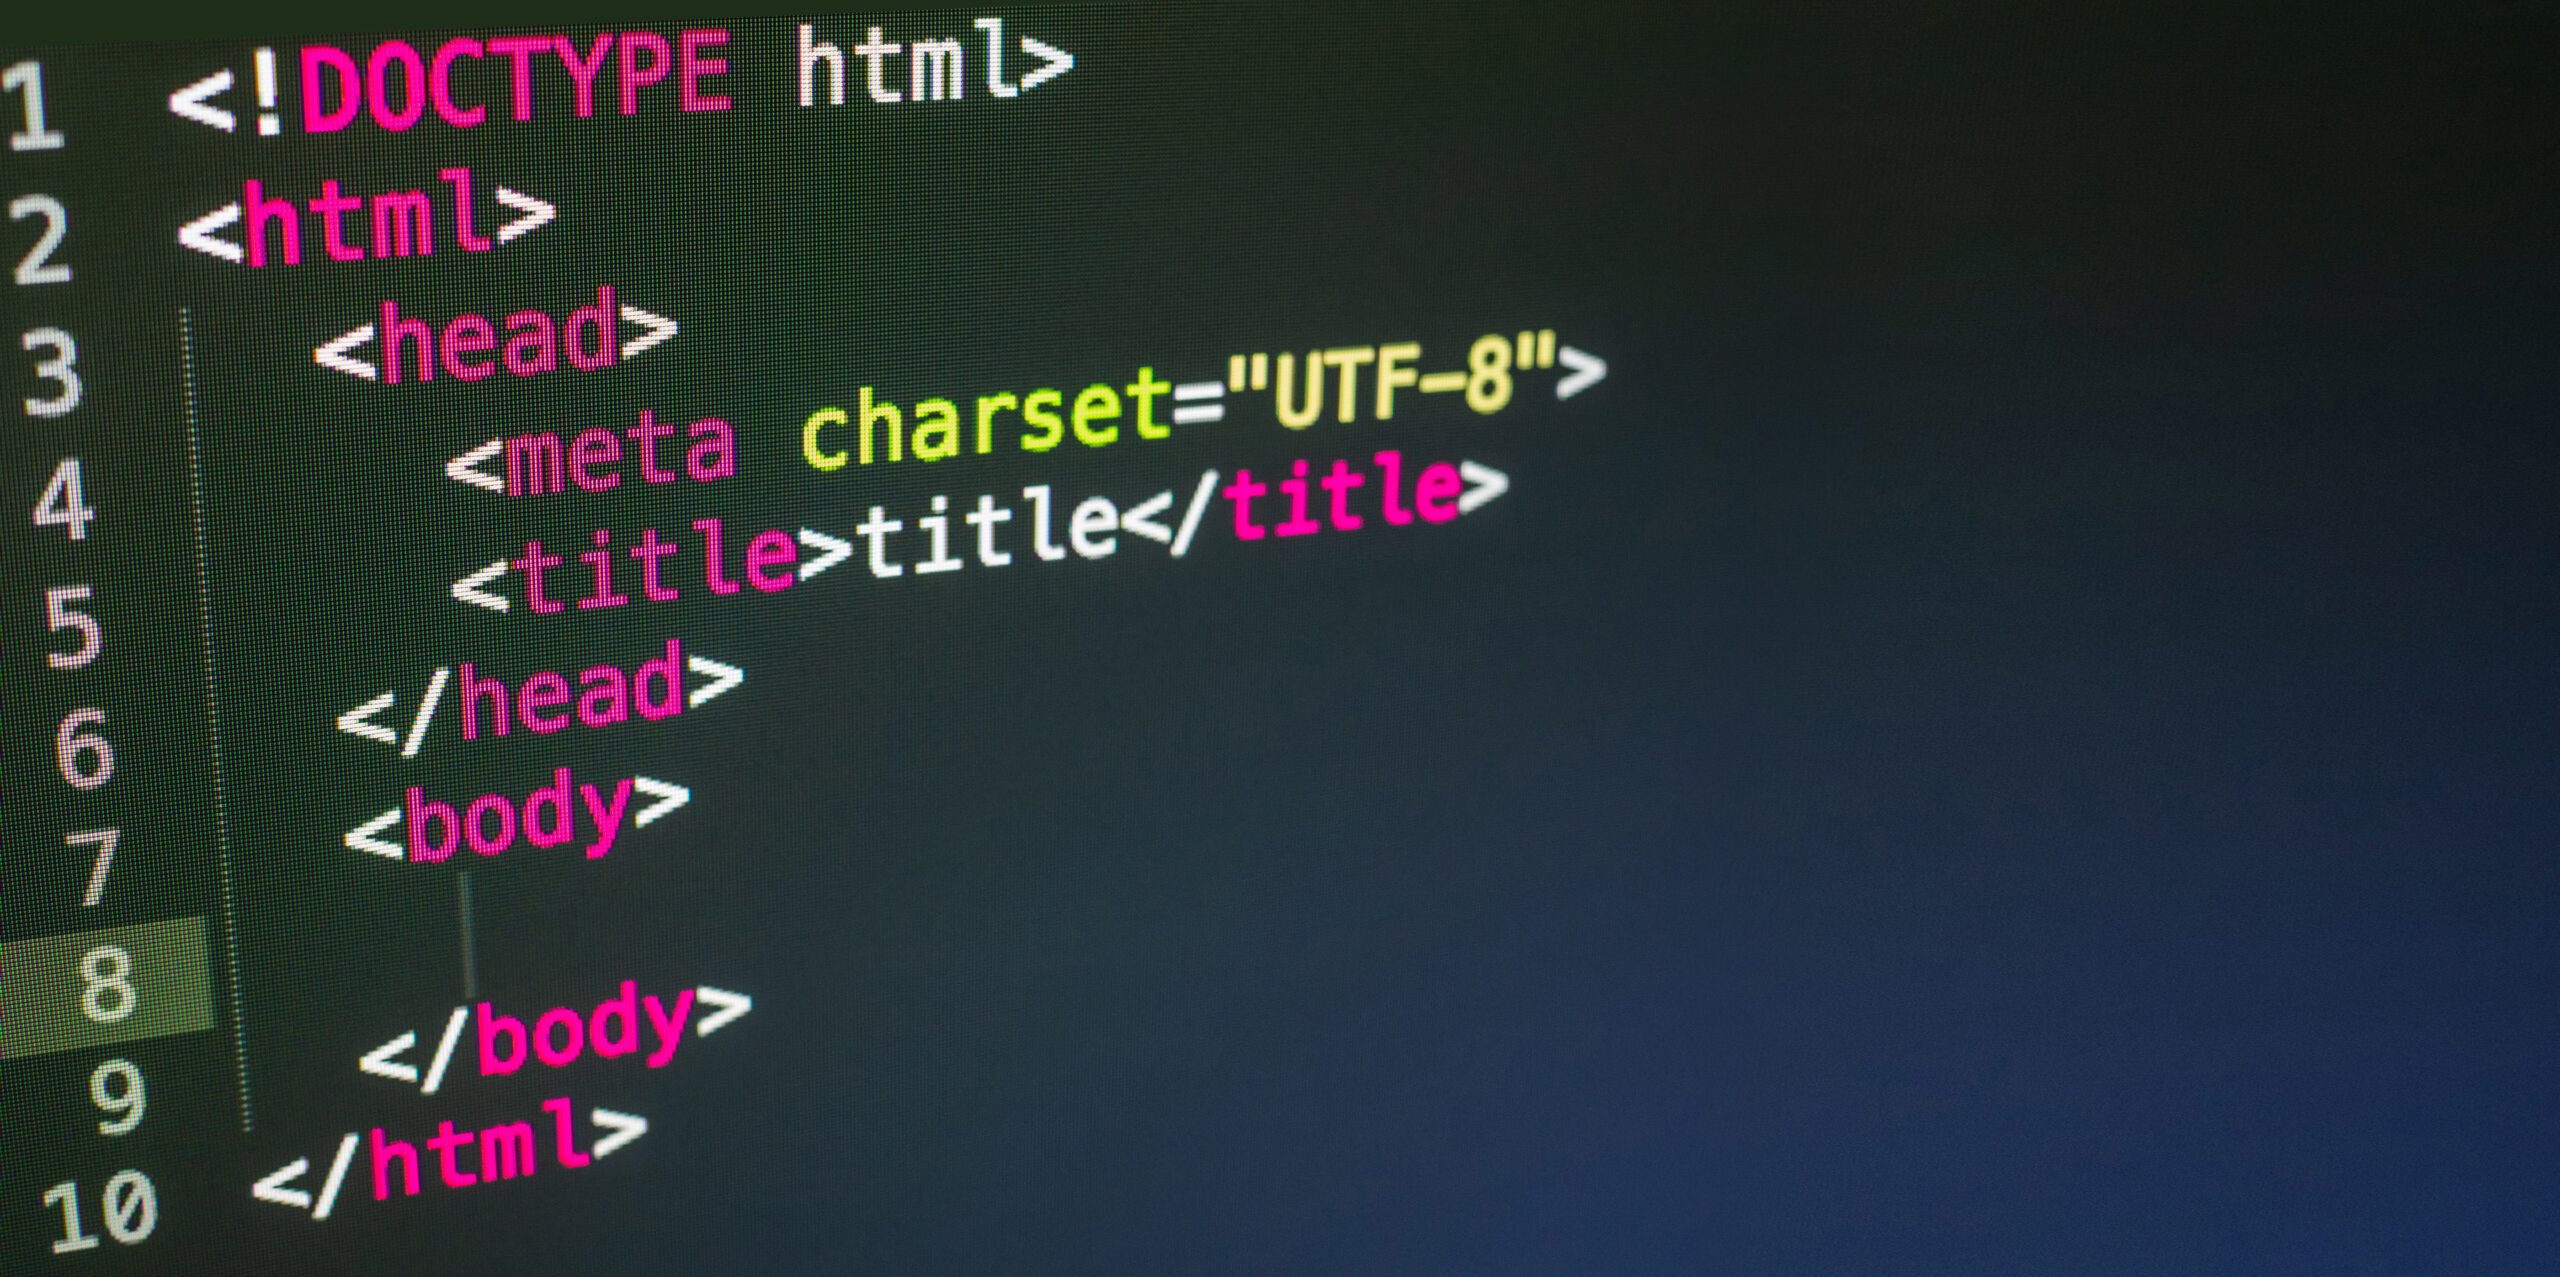
HyperText Markup Language
The US government wanted a standardized way of creating electronic documents for printing. This was the Standard Generalized Markup Language, ISO8879.
SGML has the advantage of being very application-specific. If you are writing a book, you use one set of tags, if you are creating the Message Of The Day, you use a different set of tags.
The power of markup is that you describe what you are marking up, rather than formatting whatever it might be.
Consider and address. Bilbo Baggins, 999 Bagshot Row, Hobbiton, The Shire. As written in this sentence, it is just a row of text. You could write it that way on a letter and it would be delivered, but the postman would be unhappy at the formatting
<b>Bilbo Baggins</b><br/>
999 Bagshot row<br/>
Hobbiton, The Shire<br/>
Is the address formatted, which looks like
Bilbo Baggins
999 Bagshot row
Hobbiton, The Shire
Using DocBook, a particular version of SGML, we would write that same address something like:
<address><surname>Baggins</surname><givenname>Bilbo</givenname>
<street>99 Bagshot row</street>
<city>Hobbiton</city><state>The Shire</state>
</address>
We do not know how to display the address, but we know that it is an address. If we are provided rules on how to display addresses, we can display this address per the rules.
Structure
HTML was designed to be simpler than SGML. There are fewer tags, and the fixed meaning of the tags made it easy to write HTML by hand.
Almost every post I create is written in raw HTML. That HTML is then styled and displayed in nearly pretty ways.
HTML defined the structure of the document. The structure was of a header section, describing the page, and a body section with the actual content.
Within the content section were the different displayable content. You had headers, levels 1 through 5, you had numbered lists, unnumbed lists, and definition lists (a word with an attached definition). There were paragraphs, links, tables, and finally, there were images.
This content was rendered however the browser wanted to.
There were formatting tags for bold, italics, blinking, and not much more.
If you wanted to “layout” your webpage, you used tables and fought to get things right.
Cascading Style Sheets
CSS allowed us to provide styling to an element. The paragraph above has margins, padding, and boarders applied to it. It has colors applied for the background and for the font. All are set via a style sheet. Your browser has a default style for each element.
The problem that arises is how to attach that styling to particular elements. The answer starts with the structure of the document.
p {
  color: red;
  background-color: green;
  margin-left: 50px;
  border: 2px;
}
This uses a CSS selector, ‘p’ to locate all paragraph elements. It then sets the background to green, the font to red, moves it to the right 50px, then draws a 2px solid border around the paragraph.
This is a basic selector. Selectors get very complex.
DOM
Every element in an HTML document is loaded into the DOM. From there, we can select elements and modify the style of the element with CSS and CSS Selectors.
The simplest method is to give important elements an ID. IDs are unique for a DOM. If there is more than one element with the same ID, this will generate an error, which most people will never see. The rules tell us which element will own that identifier.
To find a particular element with a particular ID you use the ‘#’ symbol. Thus, to find the header just above, we would write “#DOM”. While the header would look like <h3 id=”DOM”>DOM</h3>.
We can add a multiuse identifier, called a class, to multiple elements at the same time. <div class=”quote”> is the code I use to create a quote. The class “quote” has a CSS group attached. This causes all the divs of class quote to be rendered as a block quote.
We then have the tag selector. We used one above with the “p” element. This allows us to select all the elements of a particular type. The selector “li” would select all the list items in the DOM. We could use this to make every line italic.
We can combine selectors to limit which elements are selected. “ul>li” would select all line items of unordered(without numbers) list, while “ol>li” would select all line items which were part of an ordered (with numbers) list.
These selectors can even allow us to move through the DOM in a structured way. We can ask for the first paragraph after a header for special treatment.
DOM Manipulation
When we load JavaScript on a web page, that JavaScript can watch for events on elements. This is done by locating an element with a selector, then watching for a particular event to take place on that element.
The JavaScript can then modify the DOM. This can be by changing the structure of the DOM, or it can be modifying the style of elements in the DOM.
A recent example of this, I added a class to some table data items (td). I did it with a class. I then found all the elements with that class and watched for a mouse click on those elements.
When the click was detected, my JavaScript ran. The JavaScript grabbed the contents of the element, stripped out formatting, then put that content into a text input box, displayed the text input box for the user to edit.
When the user completed their edit, the value they entered was formatted, the input was removed from the DOM. The formatted value was then placed back in the element.
All with a bit of good selection to make it work.
Finally, Selenium uses different types of selectors to find elements for manipulation or testing.
Very powerful stuff.