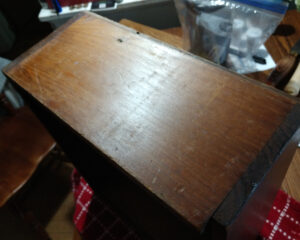
Allyson had picked up a wooden box a few years ago to take to events. It was a plain wooden box with just a bit of decoration and a porcelain knob attached to the sliding top.
The knob and screw holding it are not period. The rest was pretty period. Or more precisely, it was period-20.
It looked period at 20 feet.
Over the years, it has taken a beating. This knocked the back off, pulling out the brads.
She asked me if it could be repaired. TiteBond III to the rescue. I pried the back out enough to get glue where it was needed. Clamped the entire thing closed and called it a day.
Until I decided that it could be better.
Today, we use petrochemicals to create high-quality, strong, enduring coatings for our cabinetry and furniture.
Modern finishes are long chain polymers that have all the right characteristics for a long-lasting, shiny surface.
I’ve used polyurethane finishes. They can be polished to a near mirror like finish.
But that is the modern world? What were they doing 100 years ago? 200? 300? They were using some of the same finishing methods we use today.
Wood can be thought of as numerous straws glued together. The open ends are end grain and the sides are side grain. If you cut the straw at an angle, you get a long oval like whole.
The goal of a wood finish is to seal all the openings and to fill any gaps that might exist between the “straws”
When sealing the wood, there is often the issue of the sealer going on unevenly. Modern coatings are thick enough that they flow into the low spots and then are “self leveling”, which means they flow until the top surface is smooth.
Wet sanding, with a fine grit sandpaper, will take that plastic to a high sheen with a little work.
Old school, we would need to do something else. The answer of the day was shellac.
Shellac is harvested from secretions of the Laccifer lacca. This is processed into flakes, which can then be easily transported.
The end user then dissolves the shellac flakes in alcohol. The ratio is general expressed in pounds per gallon of alcohol. I prefer a 2 pound cut, others use a 1 pound cut.
The more dilute the cut, the more the shellac is carried into the wood fibers. The alcohol evaporates, leaving the shellac behind, sealing the wood fibers.
Shellac comes in different tints, so it can be used to darken the color of the wood.
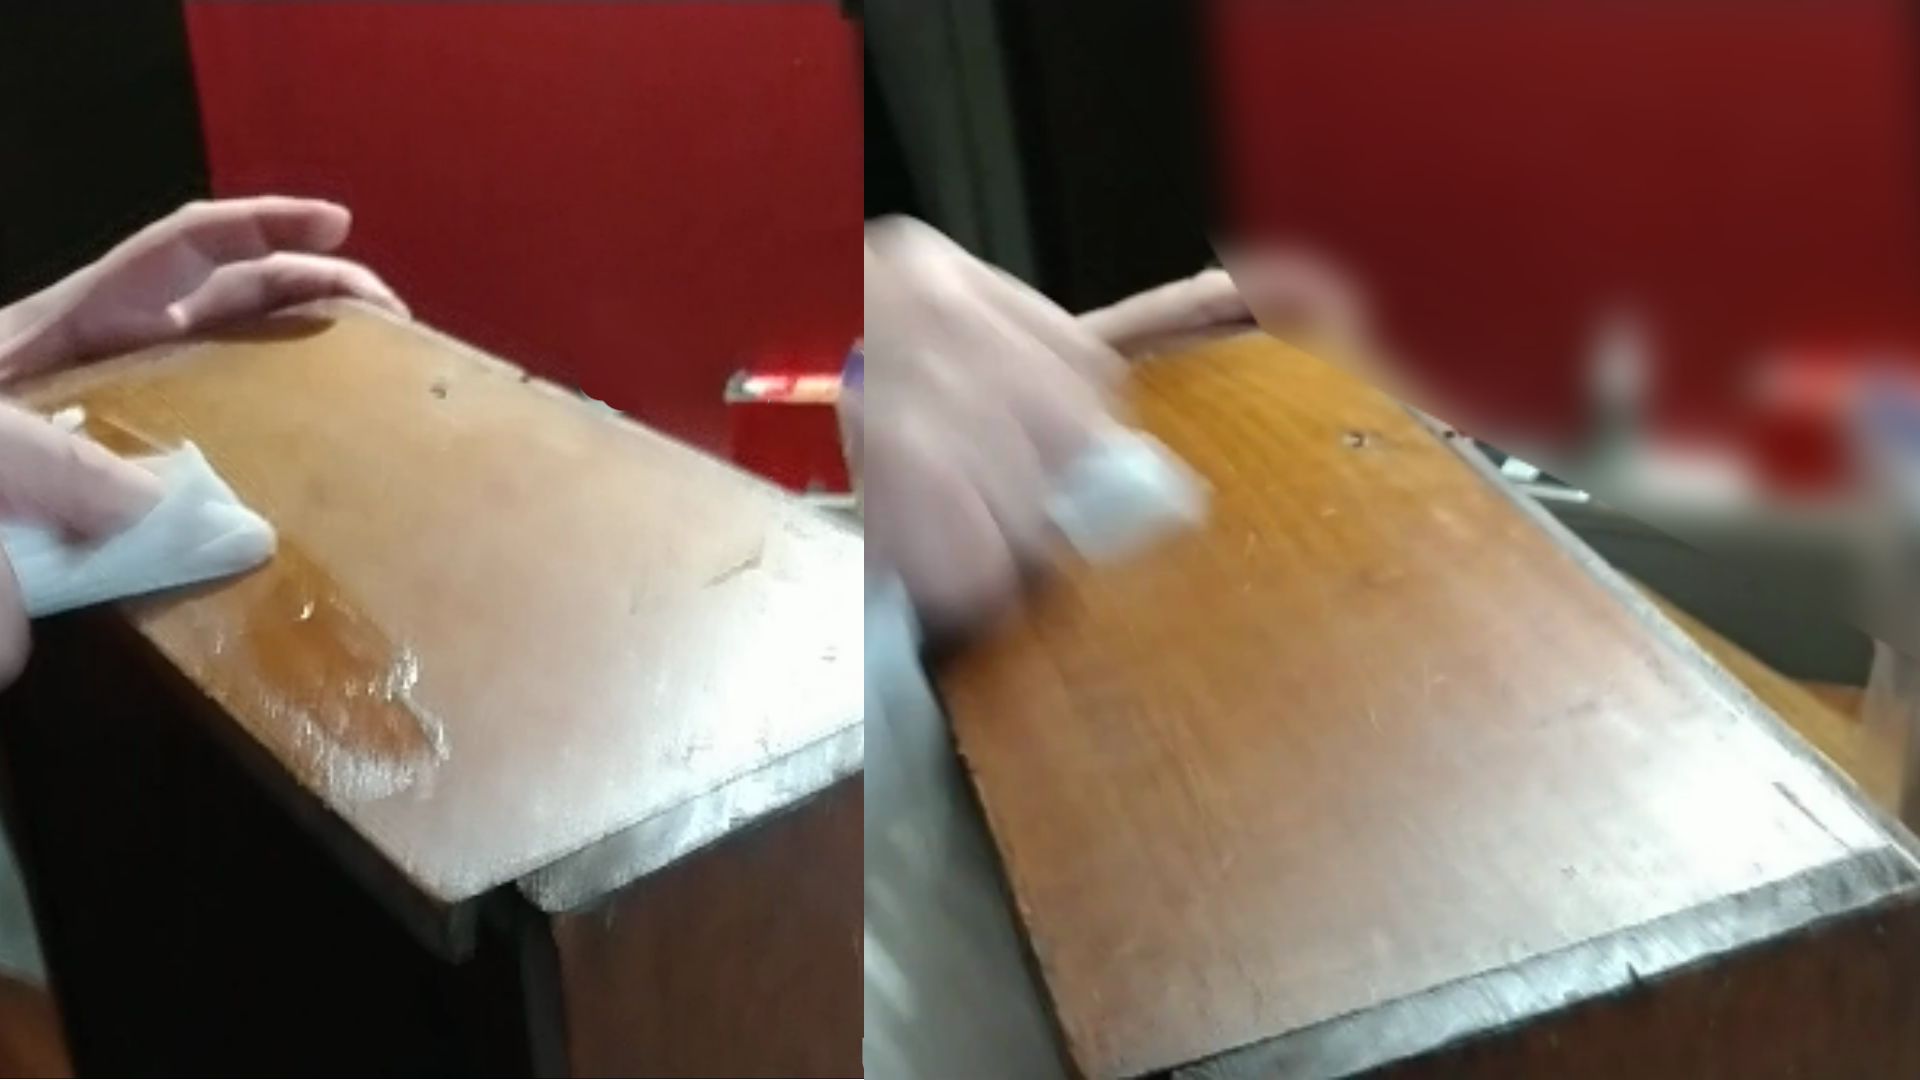
Since this wood box was already properly tinted (stained), and had some sort of sealer on it, and because I’m lazy, I went to my standard “old school” methods.
This is to first rub in a paste made from bee’s wax and oil. In the period, the oil would have been linseed oil. Today, I use mineral oil. I do have a commercial blend of boiled linseed oil and bee’s wax, which I didn’t use.
In a double boiler, heat the oil until the wax begins to melt. The ratio is 4 parts oil to 1 part wax, by weight.
This is nearly the same procedure I use when polishing items on the wood lathe.
First: a sanding/finishing paste is applied. This is the wax paste with pumice added. This acts like extremely fine grit sanding paper. Any excess is polished off with a clean cloth.
I did not do that for this box.
Next, the wax paste is applied and worked in with a cloth. On the lathe, enough pressure is used to cause it to heat up. This makes a nice starting finish.
This can be repeated as needed until the wood is no longer absorbing the wax paste.
Then bee’s wax is rubbed in. On the wood lathe, there is enough friction to cause the wax to heat up to become soft. This puts a nice layer of wax on the wood.
Finally, everything is polished with a clean rag.
My goal is to make some boiled linseed oil and wax as a paste to use. I’m very interested in how that will work out.
Sanding Sealer, Stain, finish
A sanding sealer is designed to flow into the fiber of the wood. It is applied in multiple layers. A layer is applied, it is allowed to dry. The surface is then sanded until bare wood shows. Another layer is applied. This is repeated until the surface is completely smooth.
With each layer, you are knocking down the high spots as the low spots are filled. This is a requirement if not using a modern one application finish.
A stain is applied to change the color of the wood. Modern stains will make cheap pine have the color of oak or walnut, or dark walnut or any color of wood, darker than the raw pine. It doesn’t change the softness of the pine, nor does it change the grain pattern. But you can get a nice cherry look with cheap pine.
The instructions for staining vary. It is dependent on what your sealers will do, how well your sealers will absorb stain and many other issues. I’ve used modern stains, I’ve not researched stains of the period.
Finally, we have the actual finish. This is designed to seal the surface completely. To protect the surface from water incursion. To give a flat surface. And to make the wood look nice.
This week, I plan to start the process of making some wood items, starting from a tree felled in the back 40.
If you’re restoring old wood the thomas johnson antique furniture restoration YouTube channel is a great resource. He’s near you in Maine and works on a lot of high end antiques including veneer repair, French polish etc.