Nikon DSLRs as almost all DSLRs or other digital cameras allow you to capture your images in raw format. This is a cropped image from my Nikon D4 with an OK lens and the minimal amount of processing. The processing that has been done is “Raw black/white point”, “demosaic”, “input color profile”, and “output color profile”.
The “Raw black/white point” is some sort of magic I don’t understand. It is a required module and I’ve not modified any of the settings.
The demosaic module is designed to remove patterns that come about because the sensor is a collection of small sensors and they are arranged in a mosaic. By demosaicing an image you remove those patterns.
Input and output color profile express what part of the color spectrum you are shooting for. For me, it is normally sRGB as most of the images I create are designed to be used in computer/web instances.
As you can see, the image is on it’s side and looks green as crap. It looks shitty to say the least.
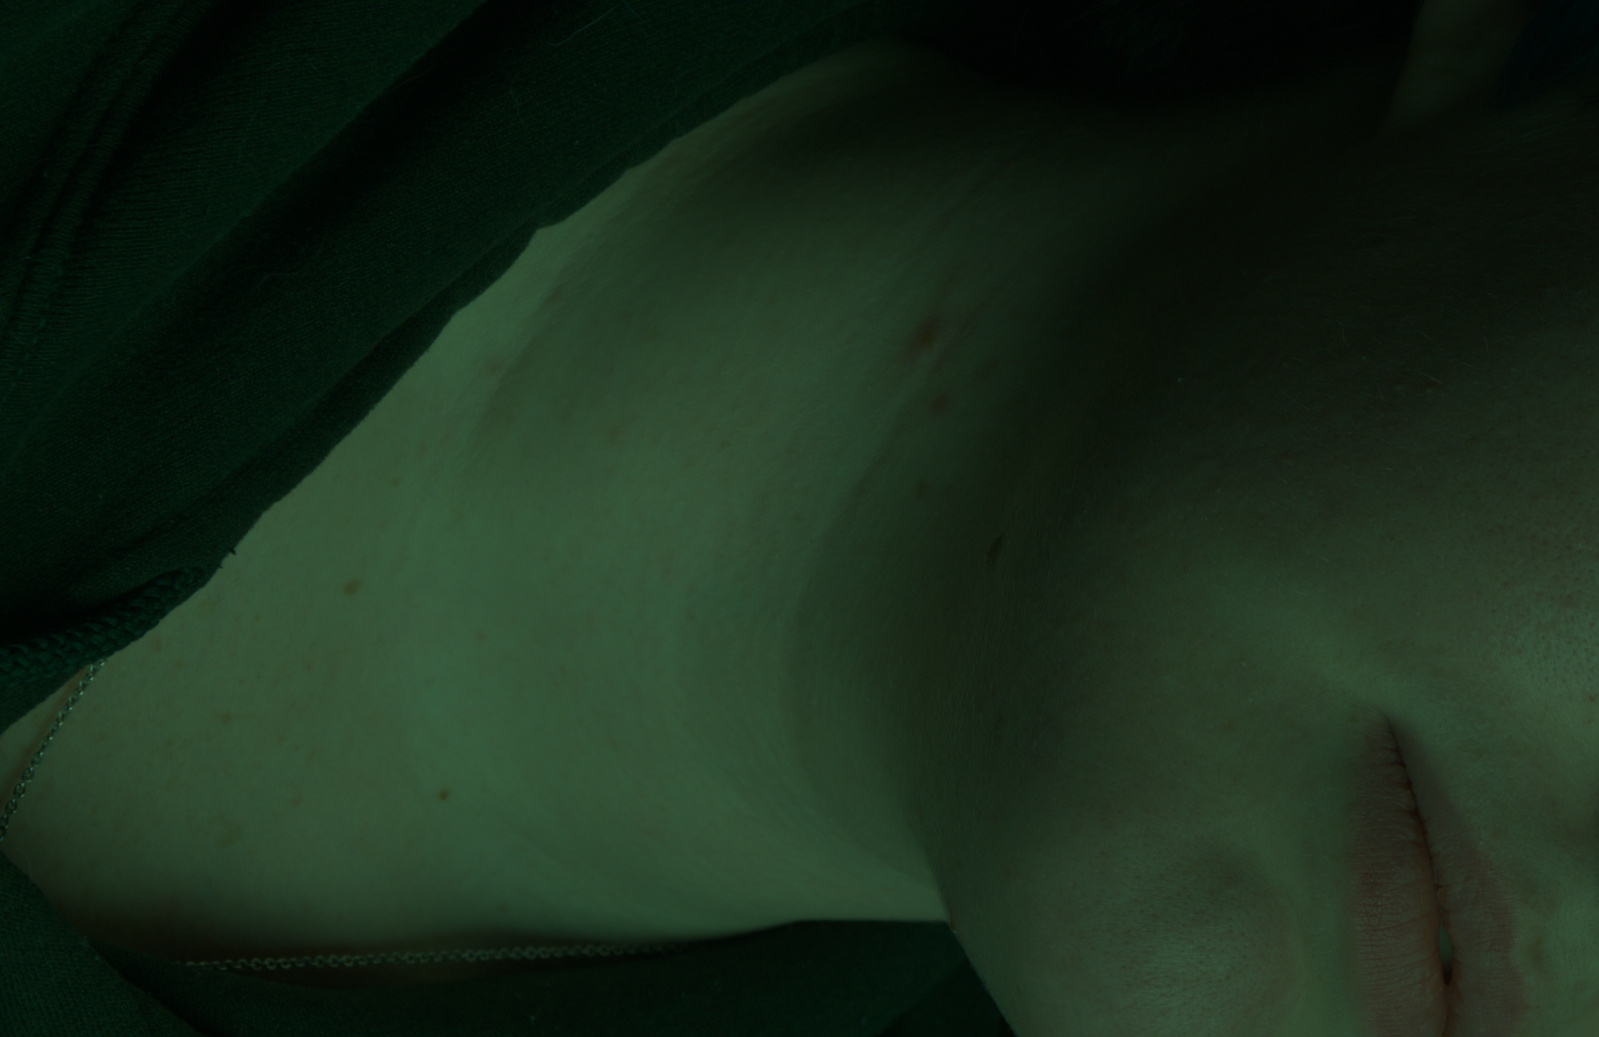
In this next image we have turned on the white balance. This tells the processing software what the numeric value of “white” is. The Nikon D4 has an “auto white point” feature which is the default. It is not what my image processing software expects. I’ve since changed the white balance to be D65 which is the expected input to this software.
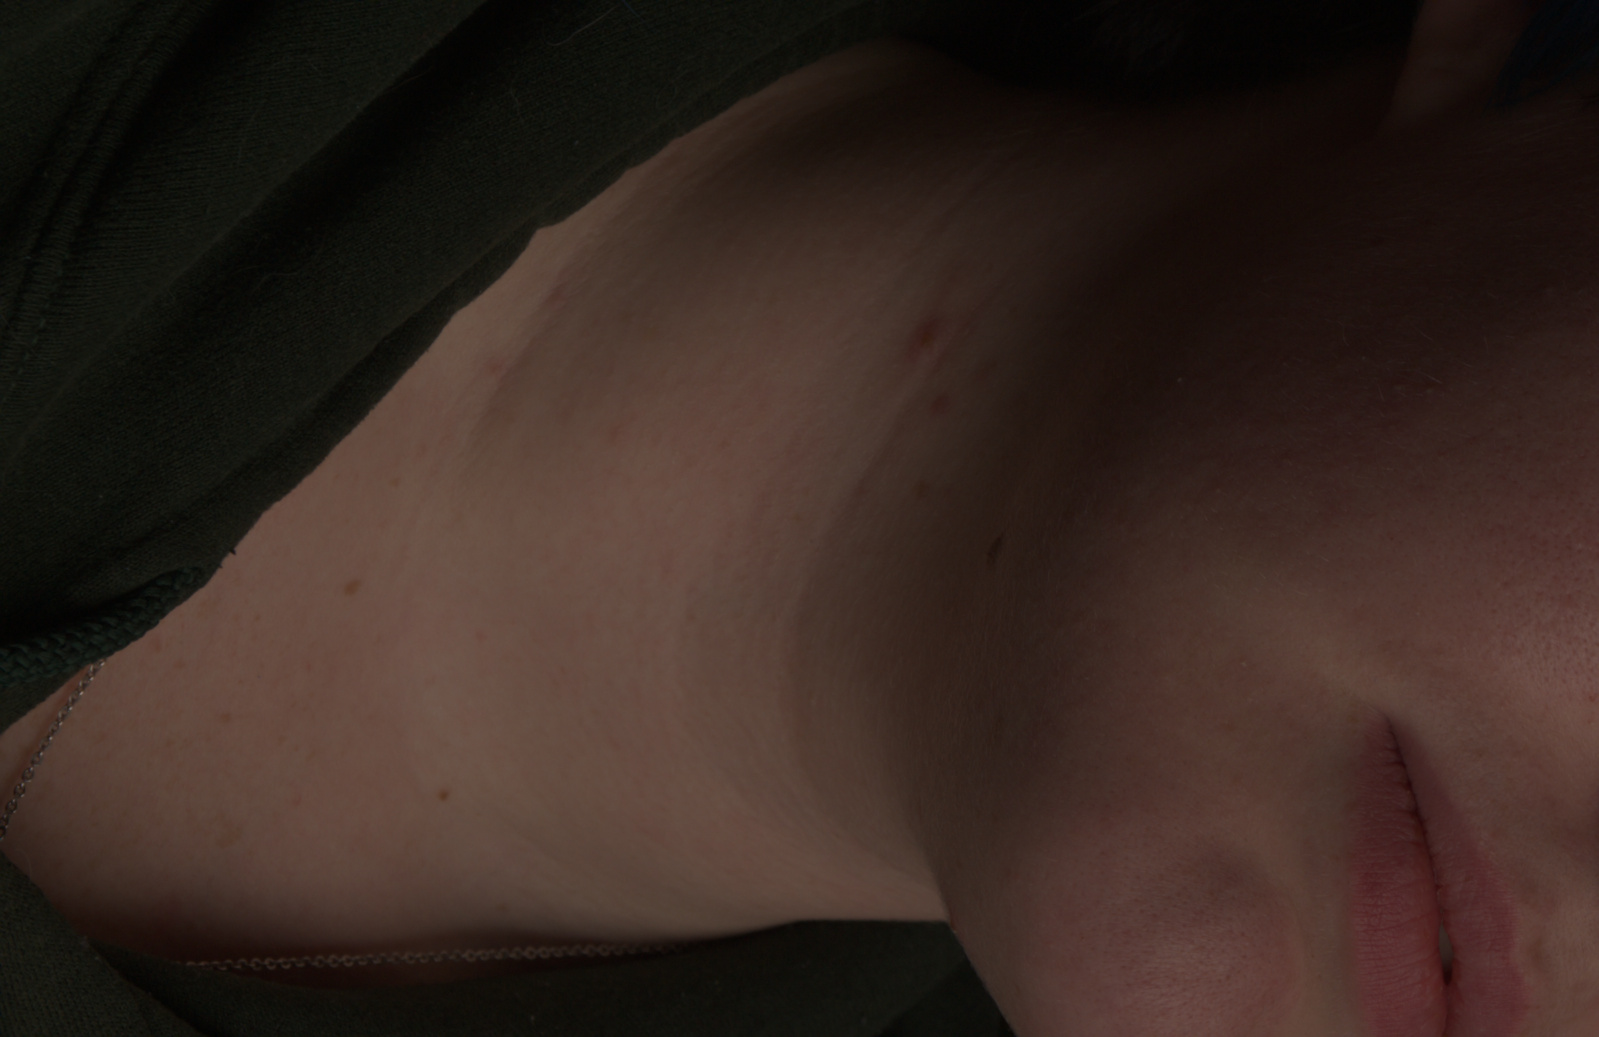 From here we turn on “highlight reconstruction”. The values of each pixel can extend outside of the range of the color profiles used and can also create “blowout” in the highlights. This module “fixes” that. I just know that I’m suppose to leave it turned on.
Lens correction comes next. My software has a mathematical model of many different lenses. The model describes exactly how the lens bends light at different focal lengths and how it affects the brightness in the corners and a couple of other things.
You might not be able to see the difference between the two images but when you turn them module off and on you can see the image change. This module is not on by default but I always turn it on. It makes a difference.
Next we turn on the orientation. This module reads the EXIF from the image and rotates the image to bring it upright. There is another module for “rotate and perspective” which allows you to correct perspective issues to make the image look more correct. I use it from time to time but it isn’t needed most of the time.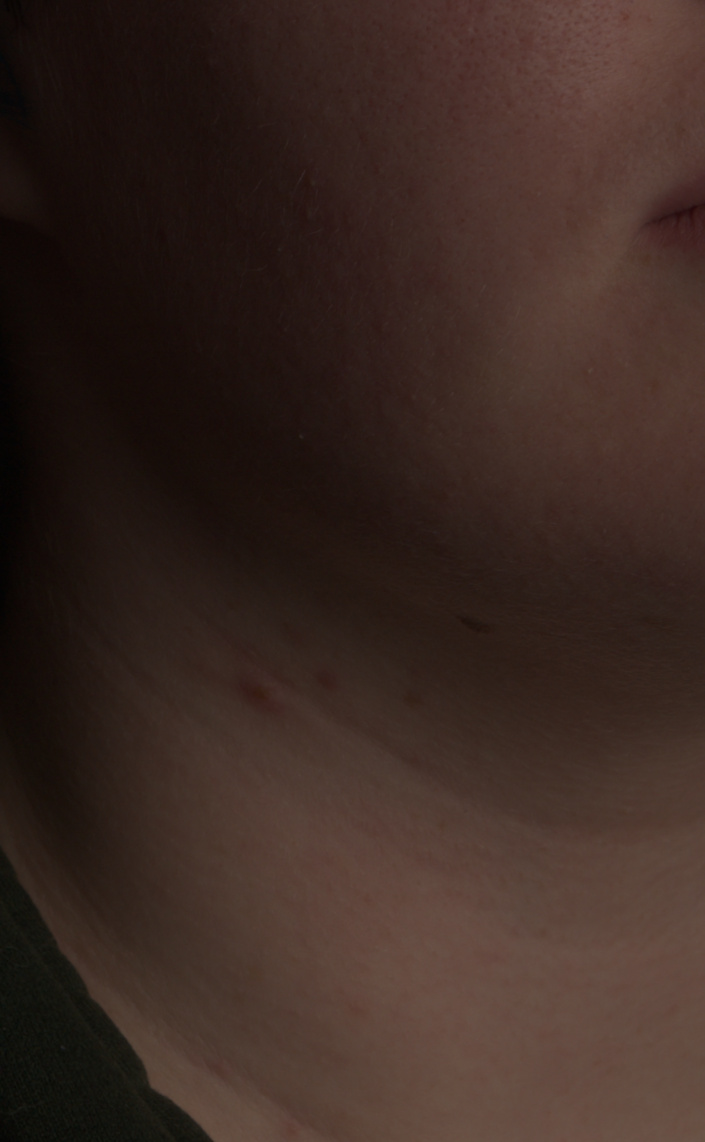
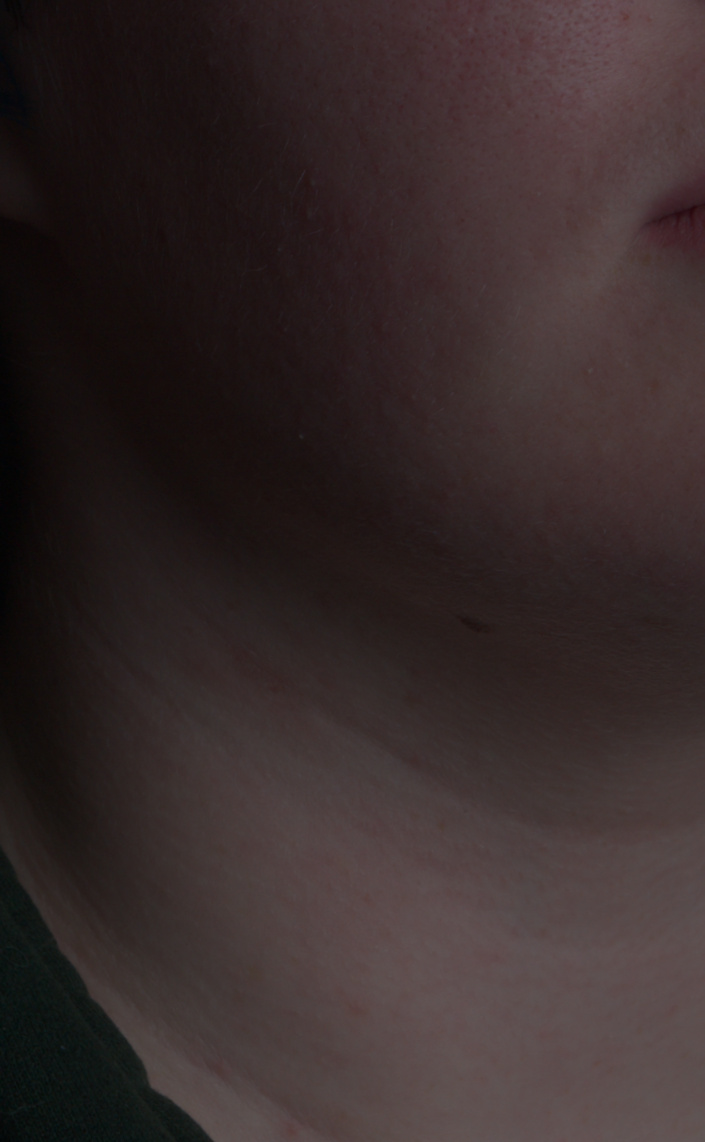
This module is the first module where I’m actually making changes to the content of the image. This is the retouch module. Using wavelet image compression I have removed some of the skin blemishes. If I was going to be using this for something very important I would remove all skin blemishes.
Note, a “skin blemish” in this case refers to something that is not normally there. My model has a small birthmark, mole on the lower right side of her jaw. That would stay. On the other hand the red splotches of a teenager get removed. There are more on her cheek but I didn’t work on those for this demonstration.
The image below shows where the white balance has been set more correctly. The image above is with a white point of 6500K, the one below is 3887K. By using the correct white point her skin tone more closely matches her real life color.
This image is changing to use “filmic rgb”. This is an internal color space that works to keep the colors correct in shadows and highlights. Because of the way color works, as a pixel starts to get brighter it shifts color. This module works to keep the color the same as the brightness changes at the expense of how much space is available for brightness.
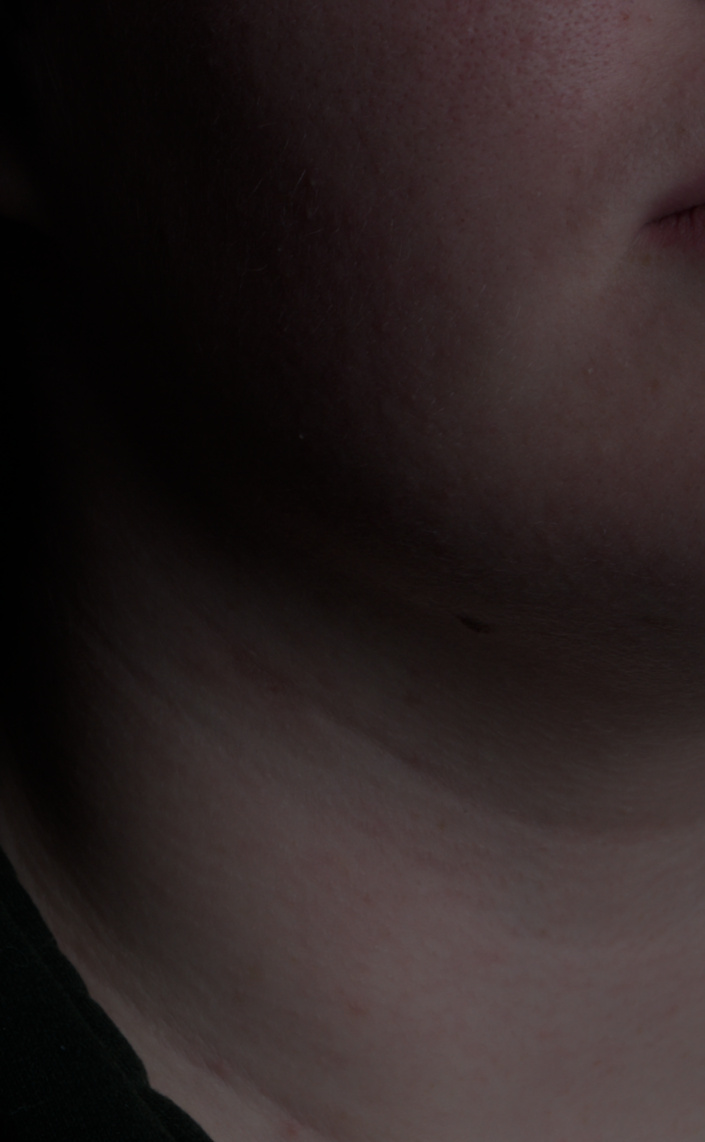
I should have used the exposure module earlier, I just missed it as I put this together for a post. The original image was under exposed when I took the image. I liked the pose as did my model so we kept the image. It was to dark. Here we adjust the exposure to bring out more detail. This is a full two stops of exposure and there is still more room before we run out of gammat.
At this point we have just about everything done. Only one more step to go.
The watermark module. This allows you to put a text or image on top of your image to mark it as yours. You do NOT need to have a copyright mark on an image, photo, drawing, or writing for it to be copyrighted. It is copyrighted as it comes out of your mind and is recorded. Putting a watermark on an image is bragging and it tells people where to come to purchase the right to use your work(s).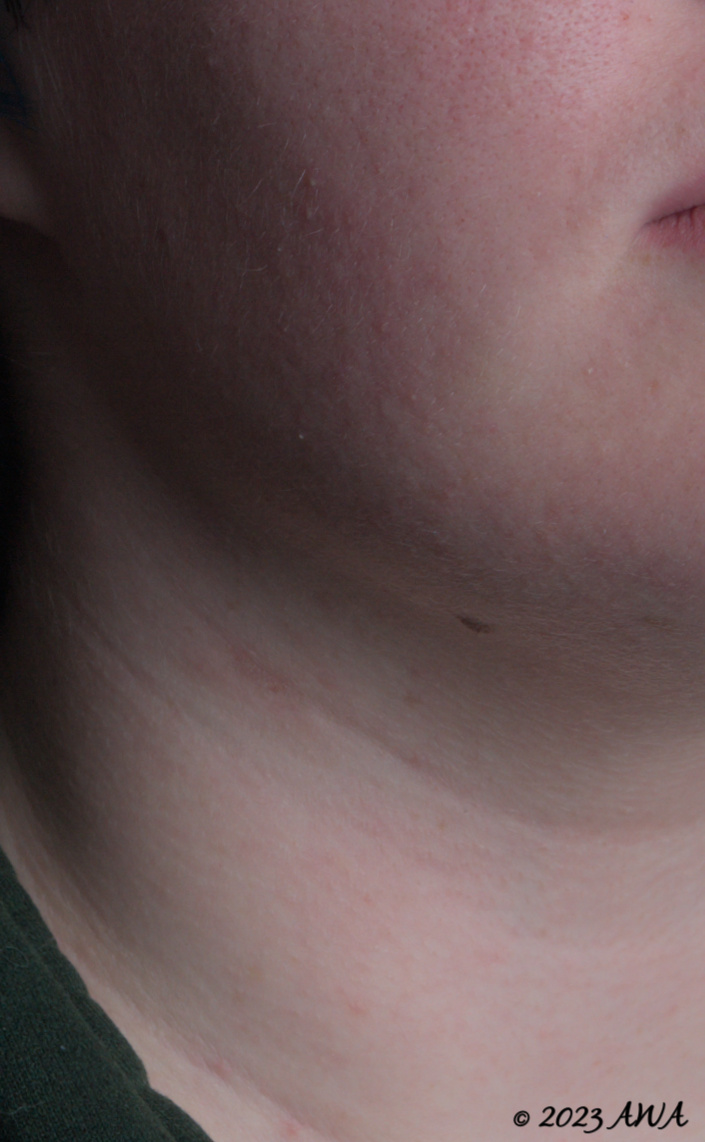
There are other modules as well. There are technical as well as artistic modules. One I did not mention is the “crop” module. This entire series was created with the crop module in place.
In the “artistic” group is the ability to add a frame around an image, vignetting which is adding dark corners to make it look like you can only truly see the center of the image, grain which attempts to introduce noise that looks like film grain, contrast equalizers.
There is a blur module. When used with a good mask it allows you to blur all or part of an image. This is better done in a post processing stage with Gimp or Photoshop.
The censorize module is pretty cool. It allows you to put those pixelation blocks over sensitive areas or to just blur that area. I’ve used this to erase serial numbers from images of firearms.
Regardless, there is a lot here. I’ve barely touched on the process. I’m just pleased that I can go from shoot to on the web in just a few minutes with a 100 images as compared to the hours I use to spend per image in film days.
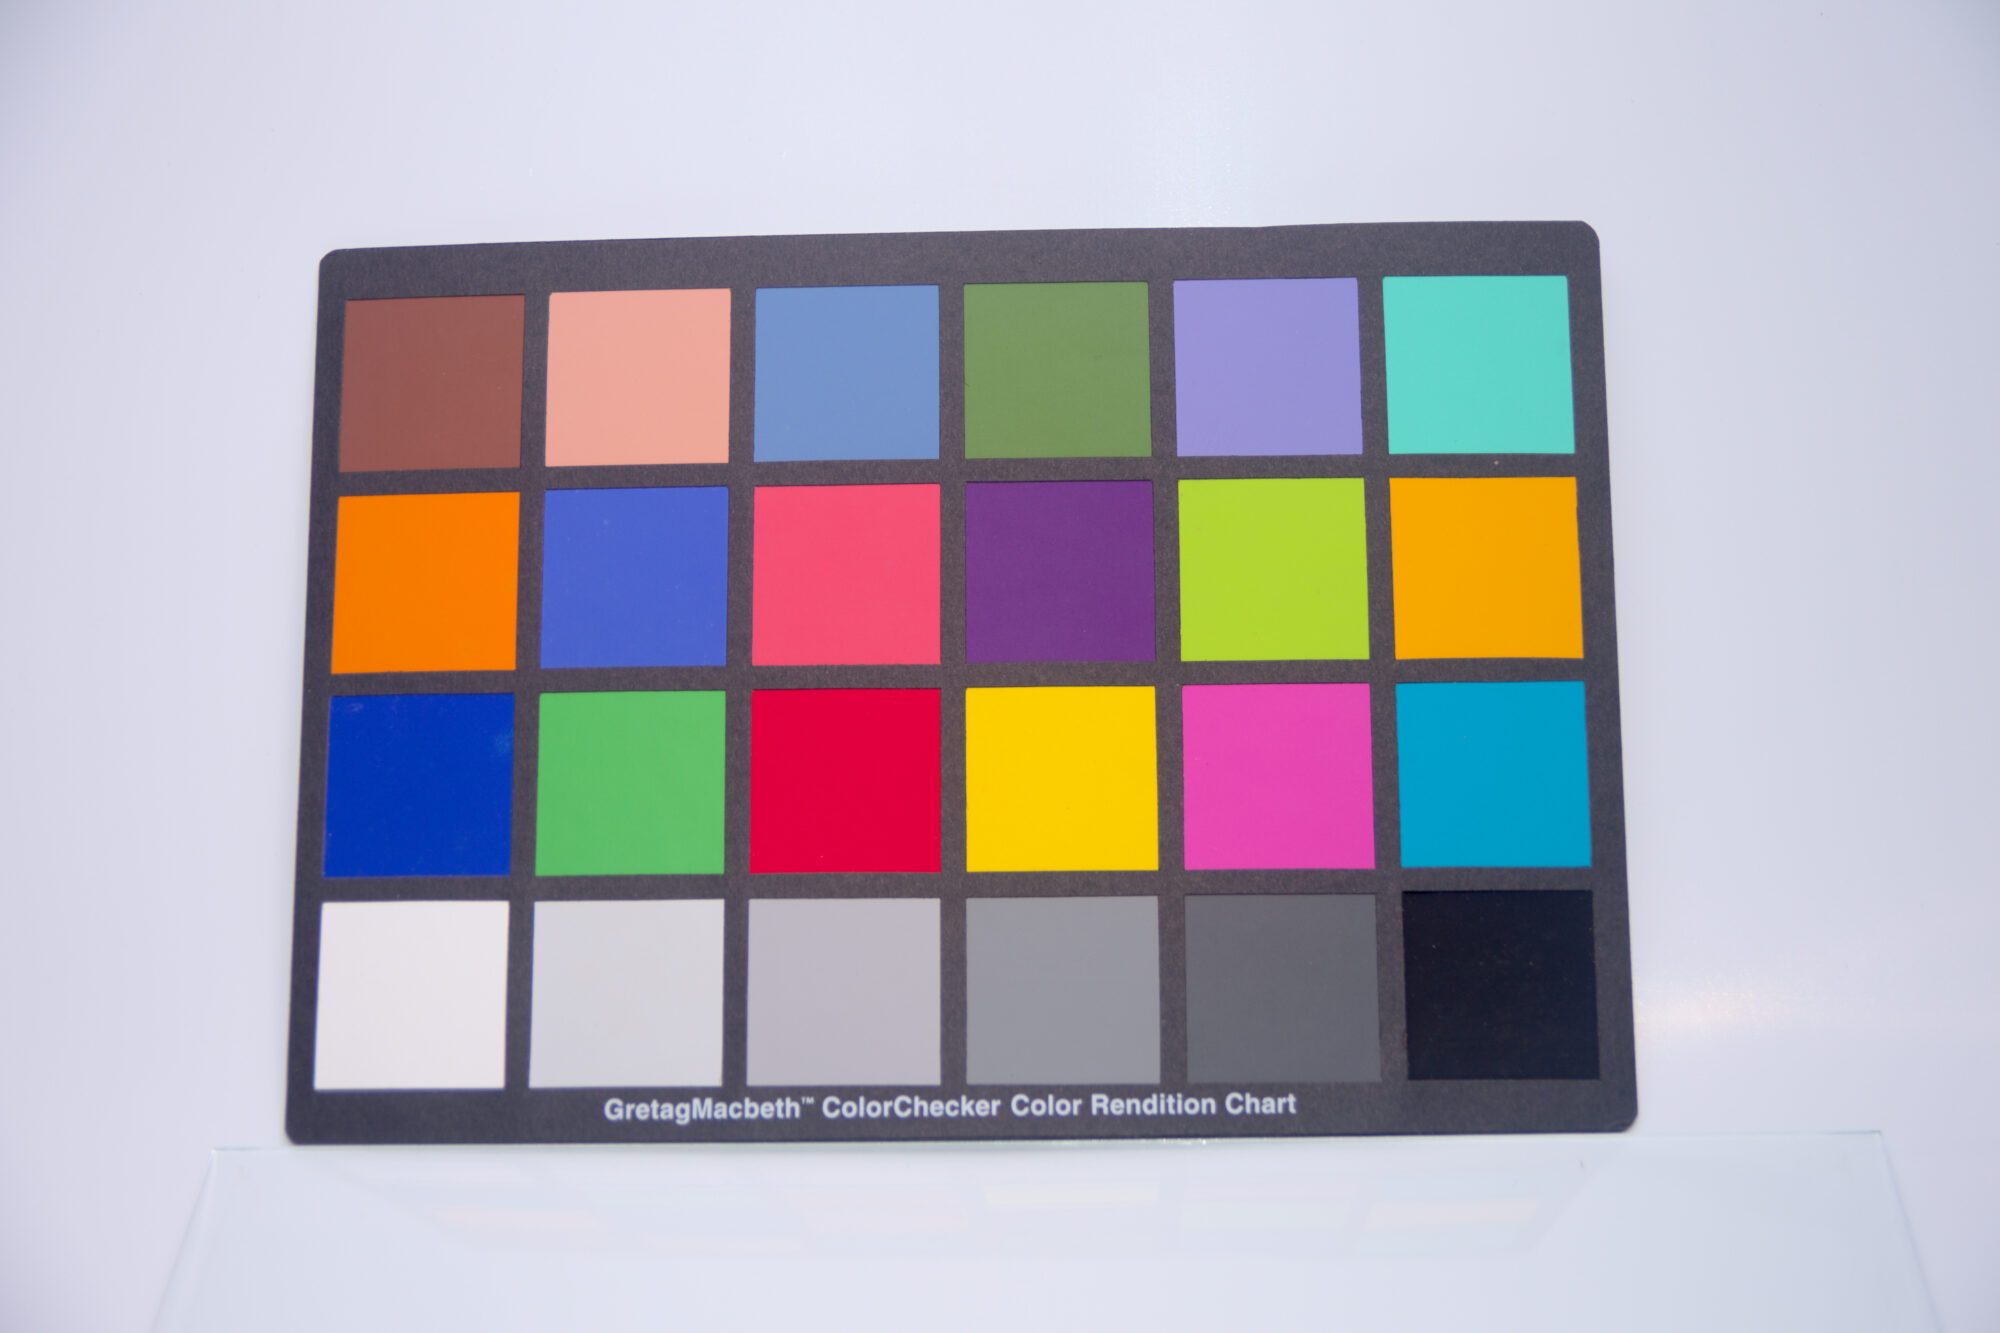
UPDATE — Here is how I do real color calibrations, I take a picture of a color checker chart and then use that to set all the color matrices
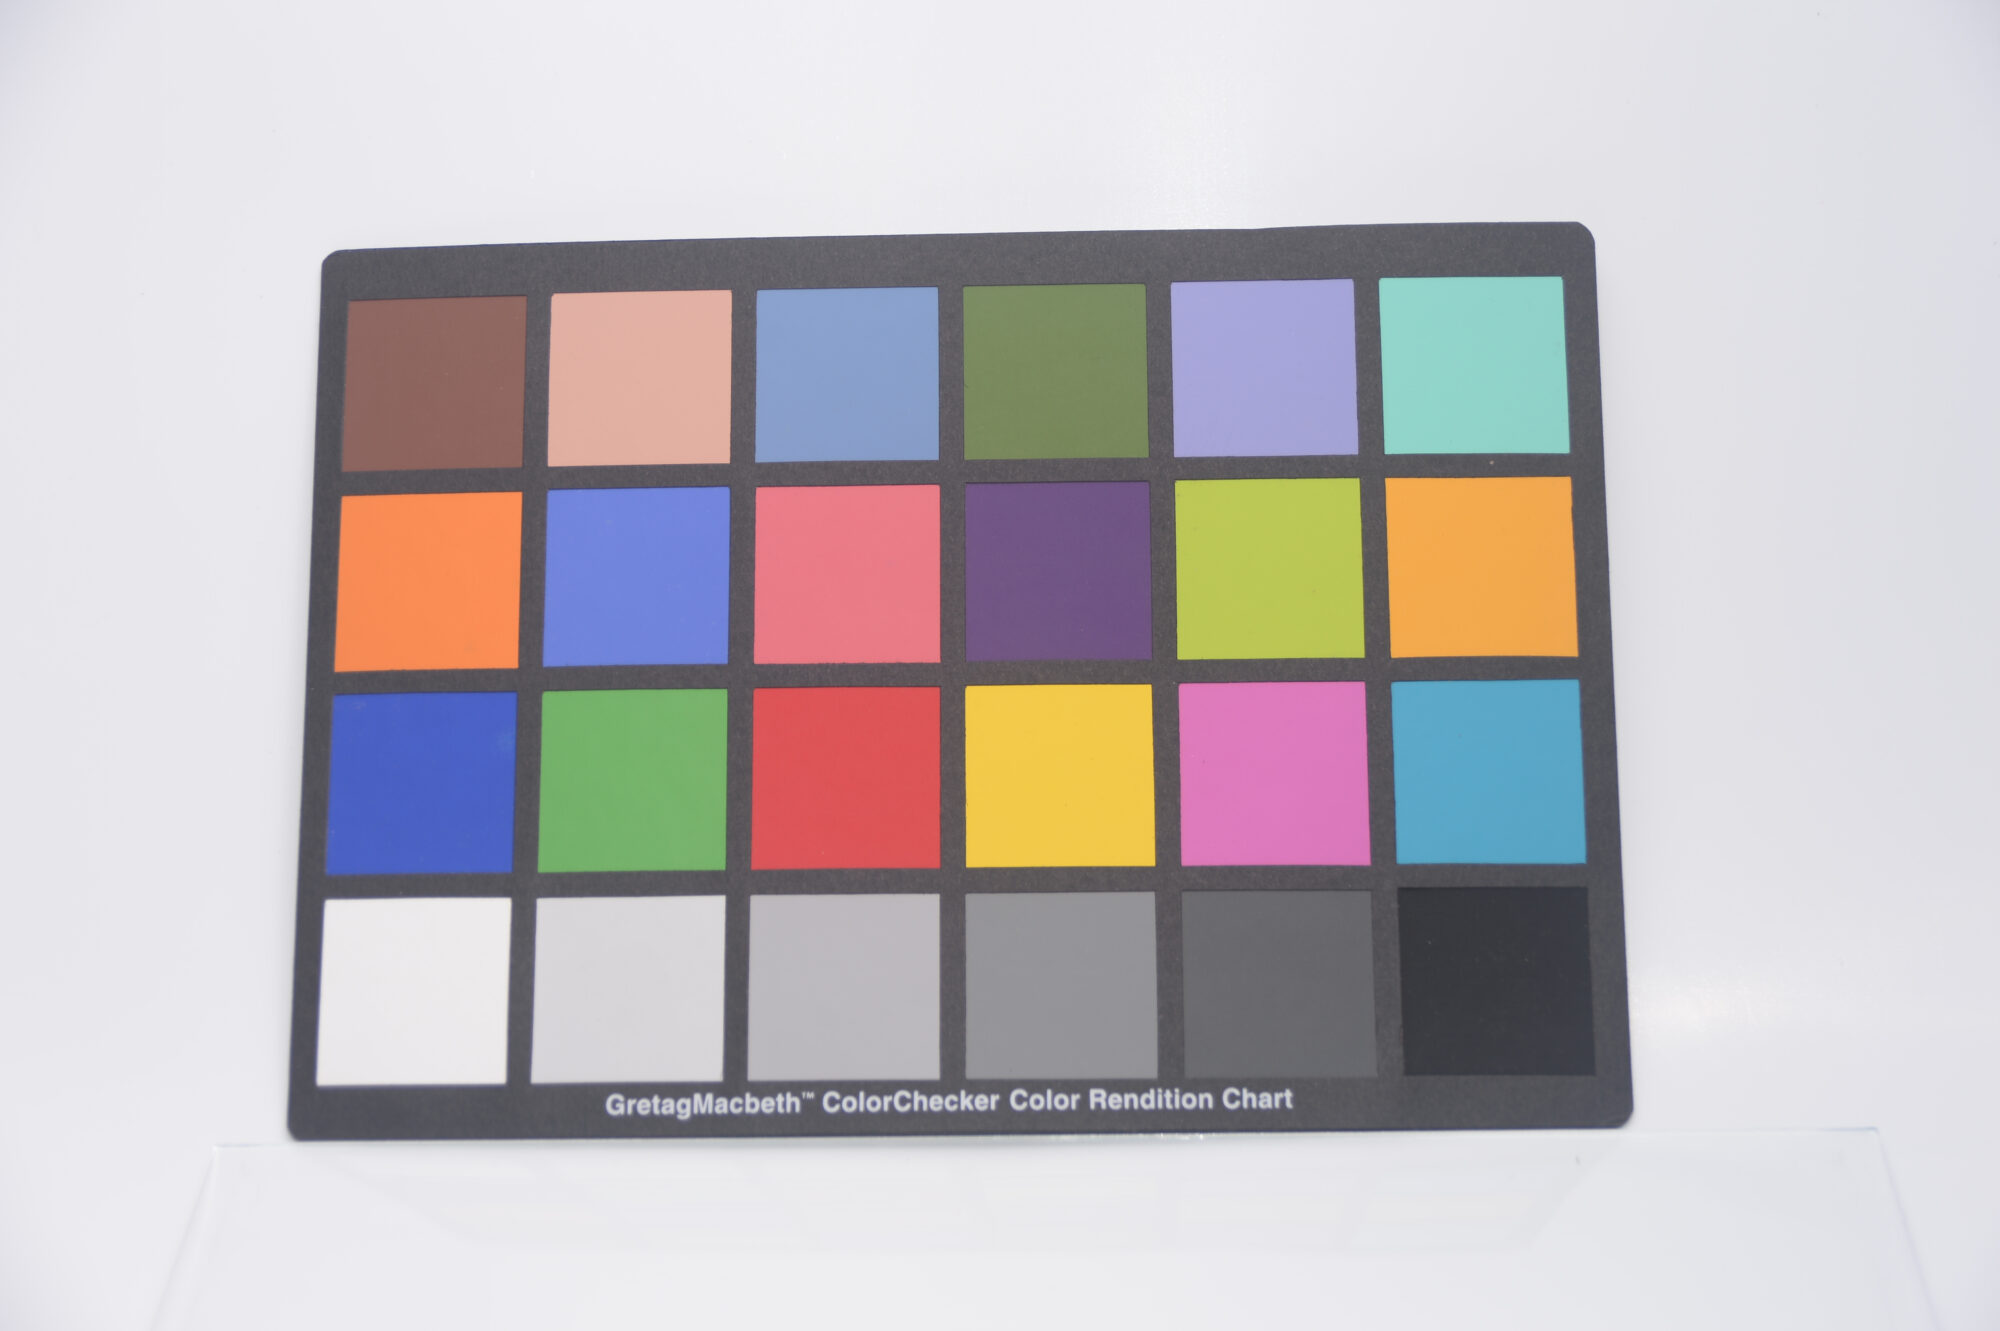
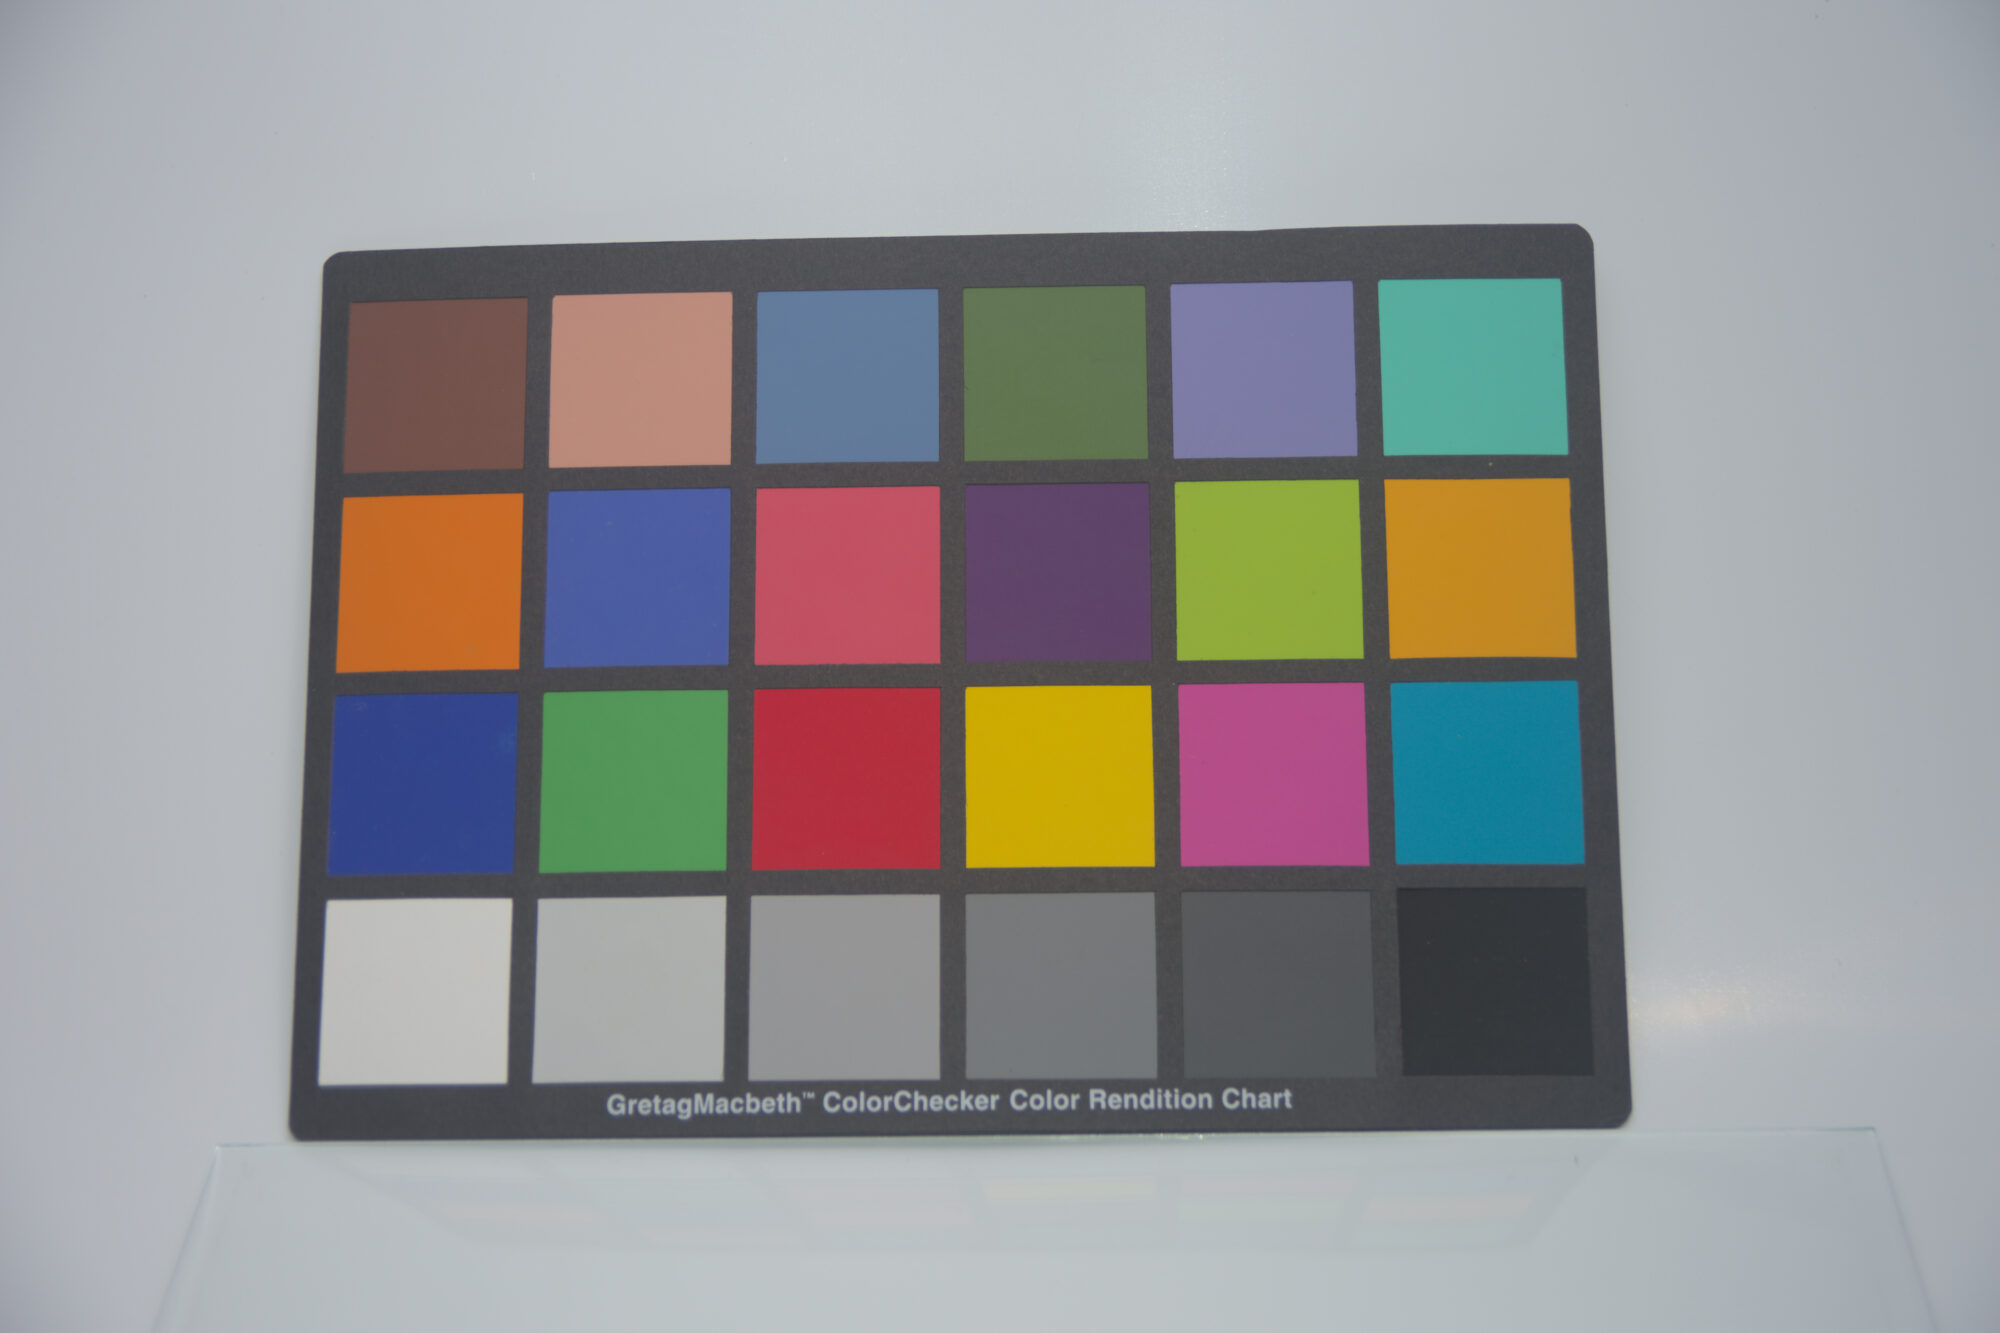
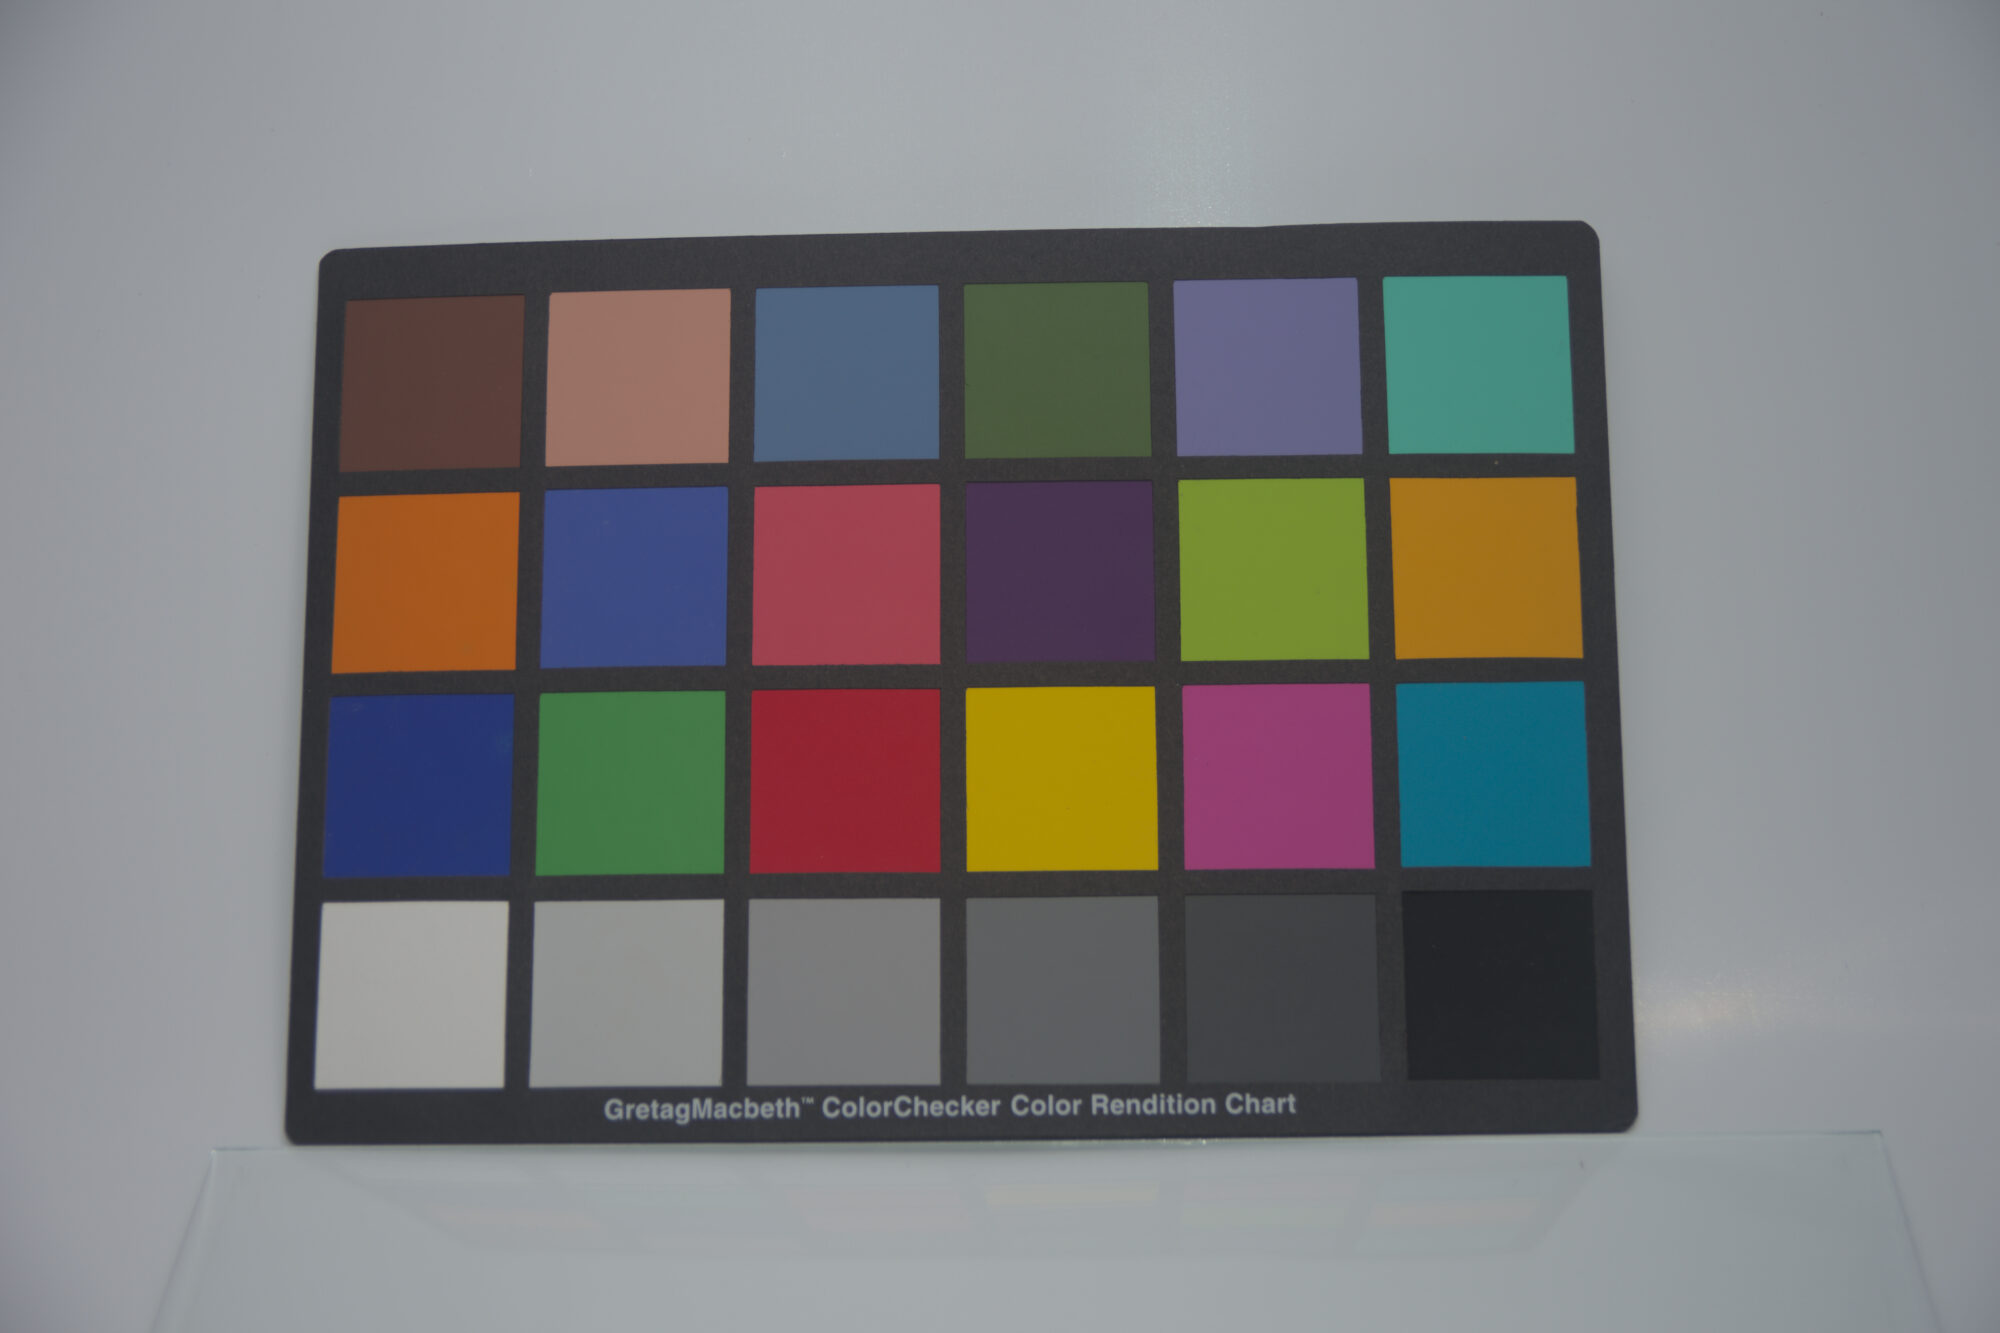
As you can see, the final raw image has the correct colors, the grays and whites are all the correct colors. What is still off is the exposure.


My knowledge of photography ended about when the point and shoot one use cameras phased out into early digital cameras but I was always interested. Even took a few courses but the instructor was more interested in showing us her photography than having us take any.
This info is like crack thank you for sharing it its amazing how far things have come.
OK, seriously… you decided to use skin tones as a way to learn processing RAW images? Could you have chosen something a bit more difficult to get right? No, you could not have. Well, maybe a maine coon cat, but seriously, on a scale of 1 to 10 getting skin tones from RAW to fantastic image is about a 9. (The cat would be about a 14)
Not kidding, go with something that has bright colors, and not a lot of variation first. A picture of a bunch of flowers, or a line of brightly colored houses, even the paint color display at your local hardware store would be a better choice to learn on.
Actually no. I did not start with skin tones. I picked that particular image because it was easy to find and I knew it had some blemishes I wanted to remove.
.
There is a color calibration module. It has built in definitions for a number of color charts. I can take a picture of my McBeth color chart and then use the color calibration module to apply the correct color modification matrices to get the colors to match what they are known to be.
.
I will be using a color calibrator puck to measure the actual colors of my monitors to create a good color profile for each of my monitors.
.
For me it is fun to play with color science because it is part of my history in computer graphics.