A Simple Box
Last week’s project was to make a shooting board.
I had all the stock prepared and had started assembling it when I realized that the screws were too long. They poked out into the part my plane slides down.
This is not good. The project is on hold until I receive more screws.
A Joiner’s Box
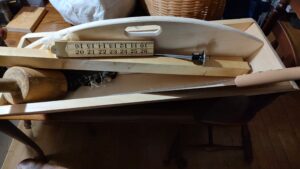
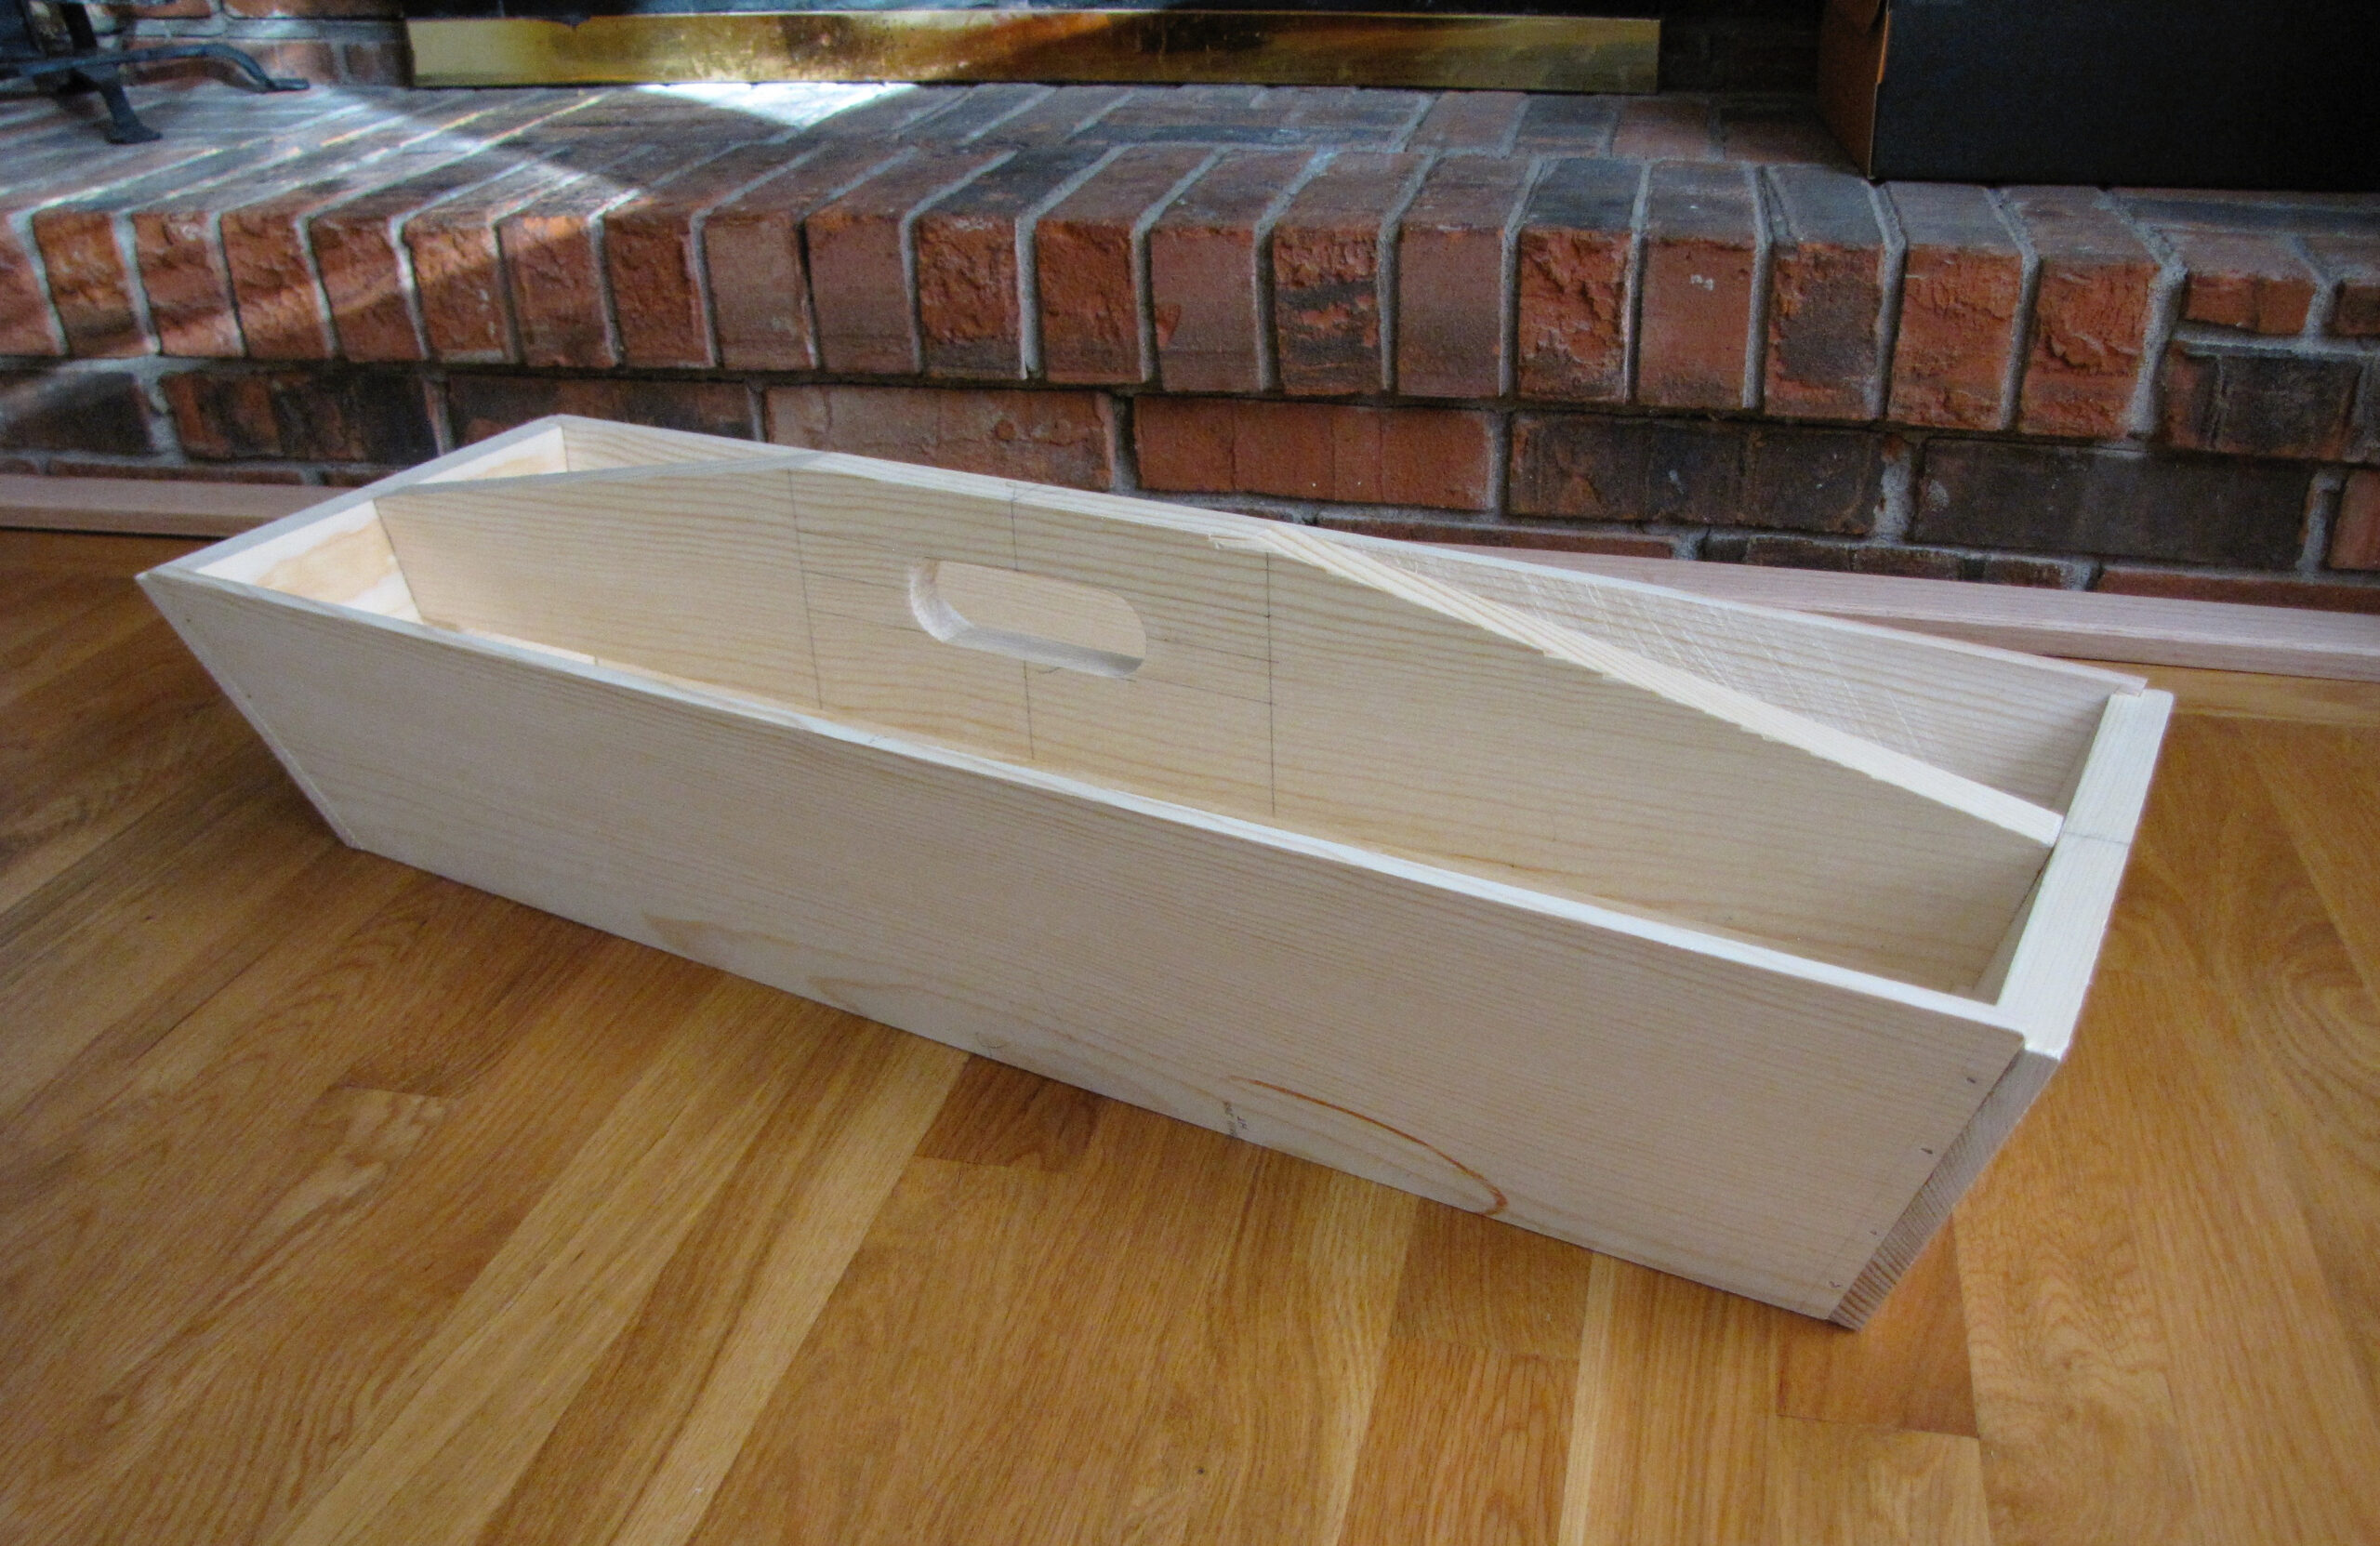
This is a simple box to hold my tools. It is about 38″ wide, 15″ deep, and 13″ tall. I think. The design calls for a simple till, an internal box for small parts. I think I will do the more period-correct and have two sliding trays the length of the box.
I brought in my first glued-up panel for my wife to fuss over and tell me nice things. Ego stroking for sure.
She came clean and told me that it was just a board to her, not really worthy of praise.
This led me to think about that simple panel.
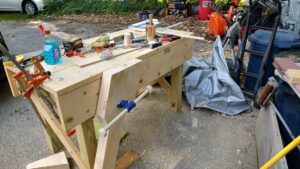
To get to the point where I could make that panel, I needed to build my workbench. This was a big build; it is done.
I needed work holding for the bench. I installed a leg vise and drilled holes for hold-downs. I made a batten to hold boards in place as they are planed. This was more than a bit of work.
The first step of making a panel is to be able to cut it to size. My skills at handsawing have gotten good enough that this is no longer an issue for right-angle cuts. It is fast enough that I’m not interested in using a power tool.
Next, the stock needs to be planed smooth and flat. My smoothing plane made short work of the smoothing, and my jack plane got the boards flat. I was able to quickly check for twist and flatness with my winding sticks and a straight edge.
The first board I attempted to smooth and flatten took me hours, and I did a poor job. Today it went quickly, with low effort.
That is because I’ve spent far too many hours sharpening plane irons and chisels. My slow-speed grinder now puts a 26-27° bevel on an iron or chisel; the three stones then bring that to 25°, and the strop polishes the bevel to a mirror-like finish. It is to the point where I only need to use the fine, extra-fine, and strop to bring an edge back to razor sharpness.
You can hear and feel when the blade is sharp. If I would only put the time into sharpening the irons of all the planes every day before starting, my life would actually be better and easier.
Even with a sharp iron, you need to know how to adjust the plane. Before I started this journey, I didn’t know how to do that. My planes fought me constantly. Now they are a pleasure to use.
Besides knowing how to tune, sharpen, and adjust your planes, you need to know how to use them. It is to the point where the process of smoothing and flattening a piece of stock is easy. I start with the #4, make it smooth, and move to the #5 Jack plane for the flat. Using the Jack plane at an angle to present a shearing action also makes the boards flat from side to side.
It only takes 5 to 10 minutes to make a board smooth and flat.
The next part of stock prep is to square an edge. Again I start with the #4, knock down the high spots until I have a smooth edge from end to end, and then I switch to the #5 again.
Checking for squareness is easy but humbling. Except that more and more often the edge is square after the Jack plane.
I’ve been playing with the Jointer plane. It is a huge, heavy, and long plane. The iron is wide enough to cover 2+ inches of wood in a single pass.
For my first panel, I clamped the finished faces together with the squared edges aligned with each other. Less than 4 minutes in the vise with the Jack and Jointer, and the edges are jointed.
The glue-up went very smoothly. There was a very thin bead of glue that came out of the glueline, as wanted. The final product is pretty darn good for my first glue-up in many years.
After the glue had dried for a few hours, I took the clamps off and gave it the once-over. It is not flat enough to plane the finished surface, so I worked on the back surface.
I think that this will be the last panel that I glue up that is full thickness. From now on, I’ll either rough plane the back surface or feed it through the (cheating) bandsaw to take 3/16 off the back face to reduce the amount of chips I make.
So that very unimpressive 12×13 panel represents an entire series of new skills. I’m looking forward to doing still more.