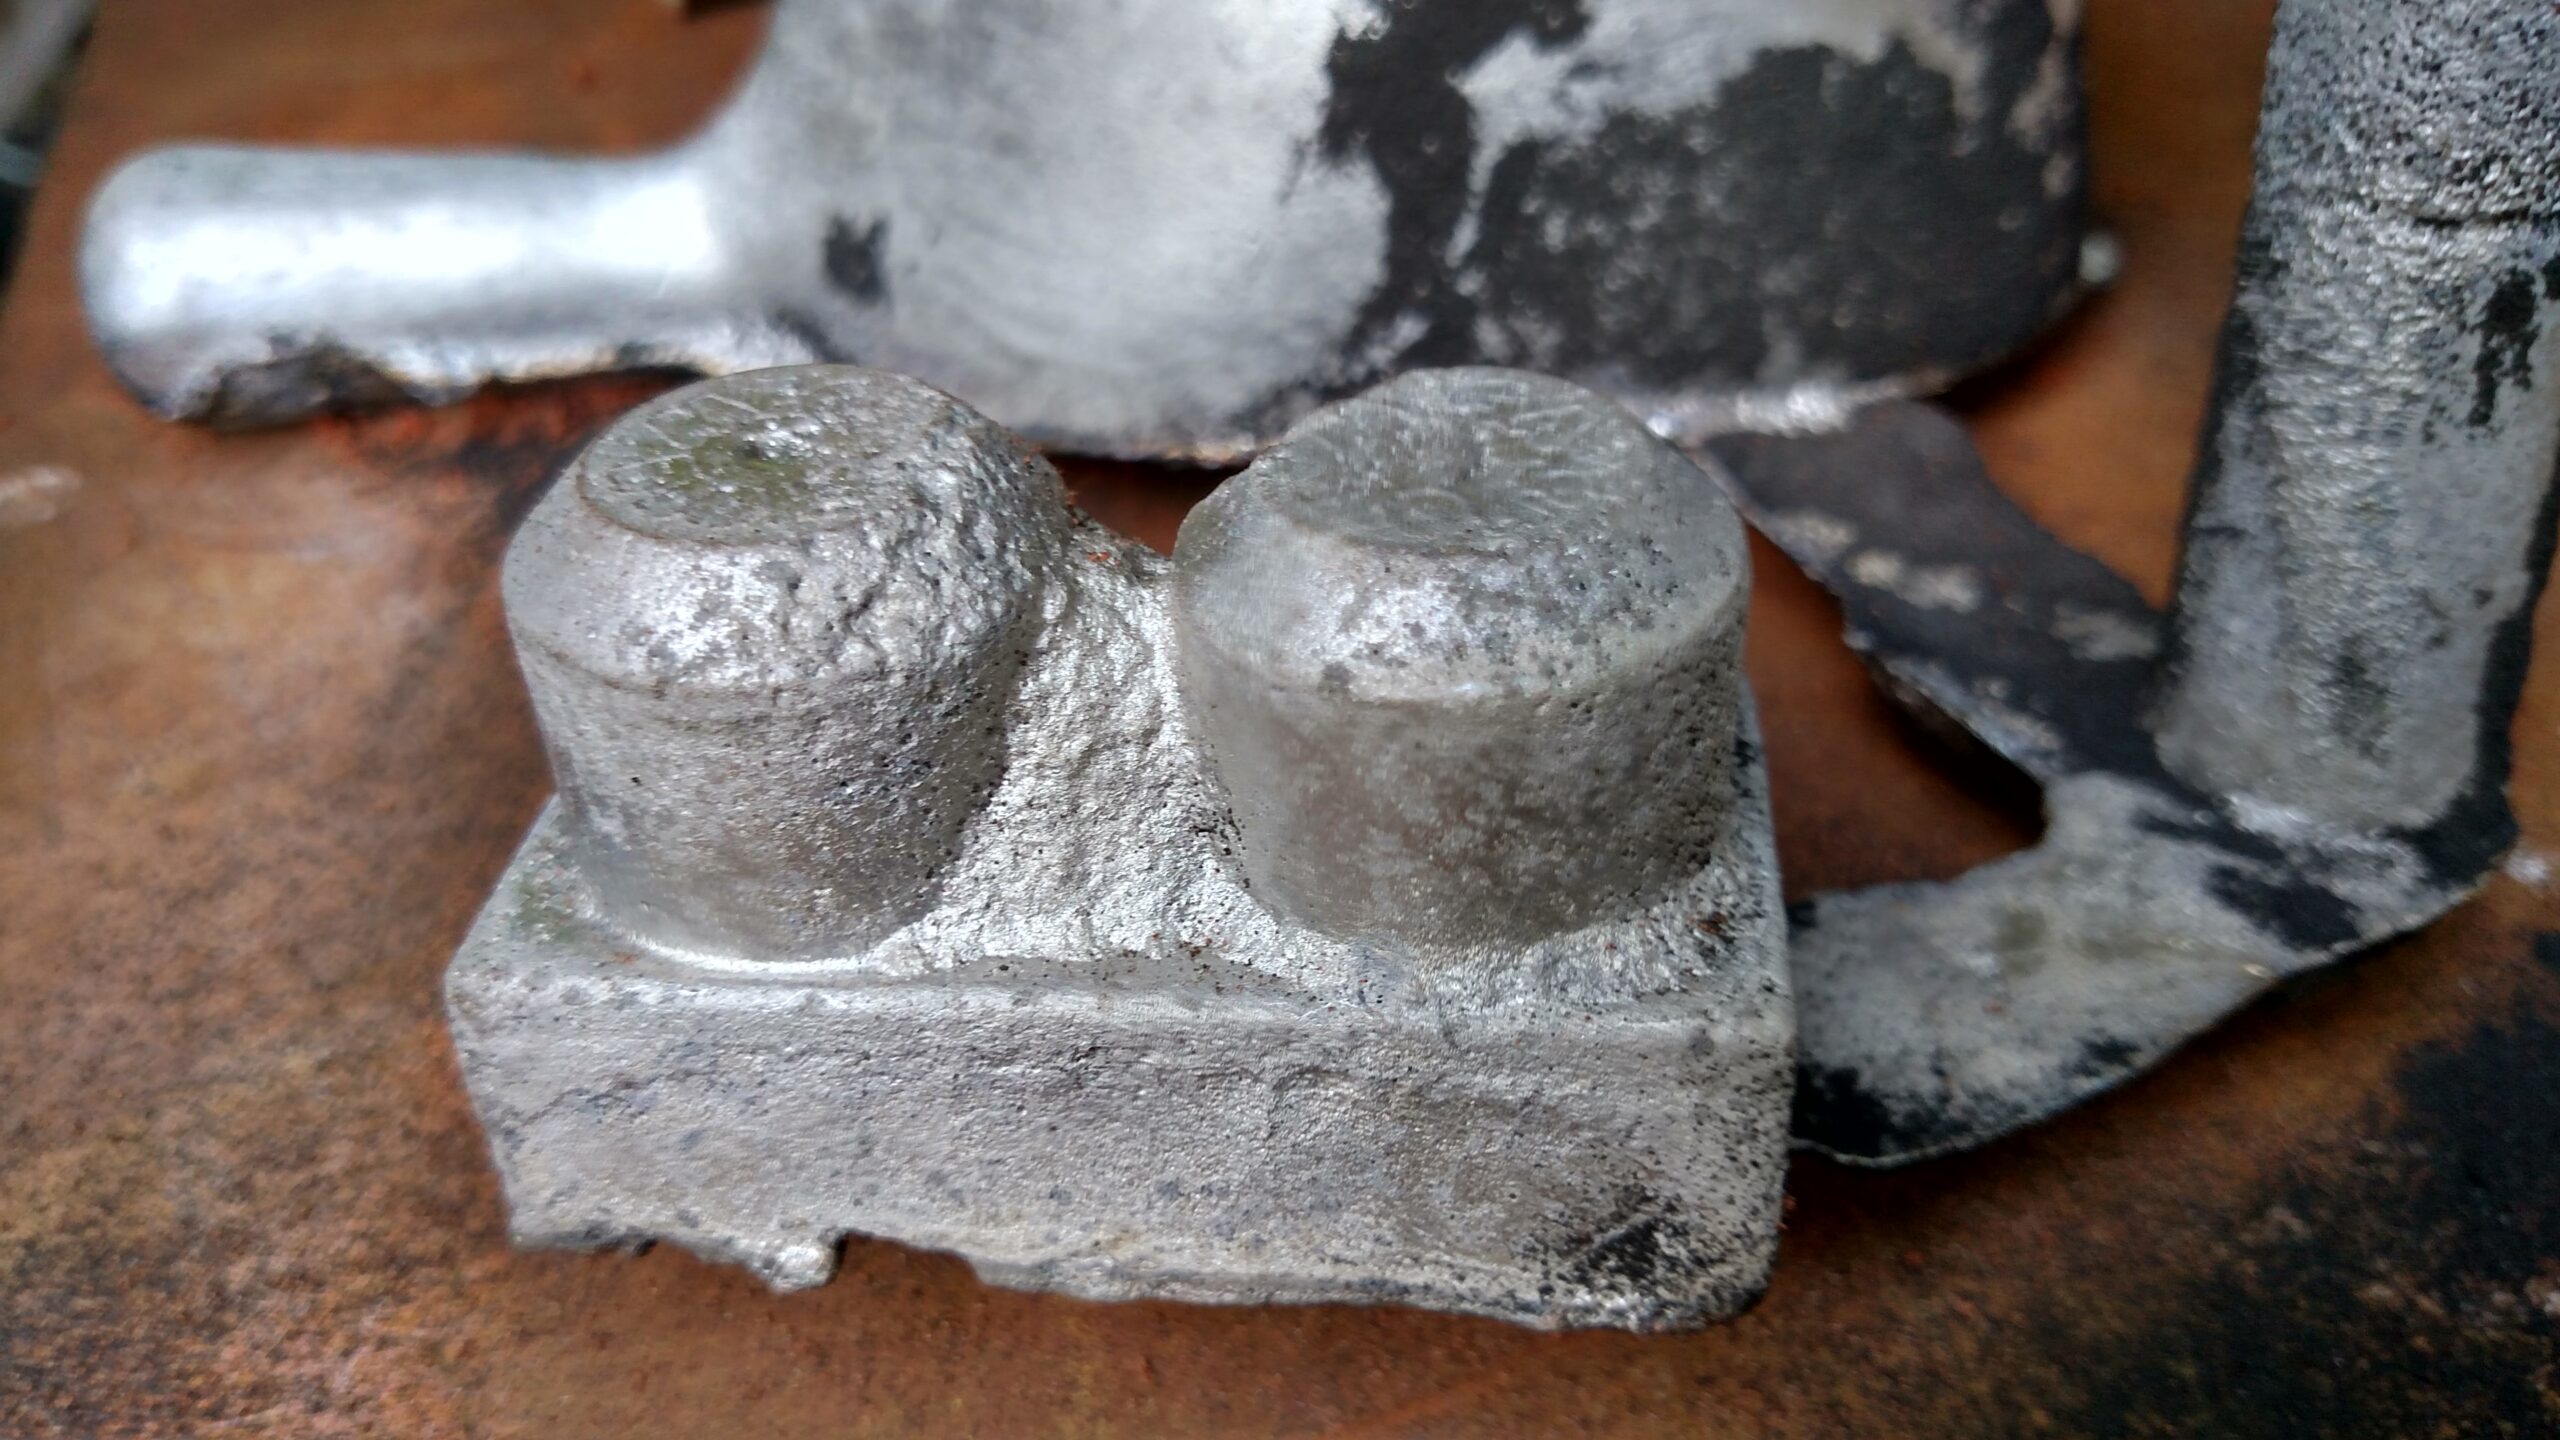
The featured image is of one of my very first sandcastings. It came out better than expected given my level of experience. My later castings were much better.
I used Petrabond for this casting, which gives fine details. The item in the front is a Duplo block, and the part in the back is from a wooden bowl with a handle.
Sand Castings
A sand casting starts with a pattern. The pattern needs to create a void in the sand, which will be filled with molten metal. To allow the sand to hold its shape, fine sand is mixed with a binder and a liquid. When the binder and liquid are in the proper ratios and thoroughly mixed, when compacted, the sand will hold its shape after the pattern is removed.
This means that you must be able to remove the pattern from the sand without damaging the void. Any sand that crumbles from the sides will cause an imperfection in the surface of the casting. Or worse, it can cause a void inside the casting.
Because we need to be able to remove the pattern safely, The pattern is created with “draft” or taper. With proper draft, as soon as the pattern releases, it is no longer in contact with the sand at all. If the pattern is undercut, meaning the sand covers the pattern, there is no way to remove the pattern from the sand without disturbing the sand.
For the parts shown, there is only one piece of the pattern. For a pattern that does not have a flat side, we use two patterns that fit together to form a whole, called a split pattern.
The Flask
The flask is a two piece box that is open on the top and bottom. The bottom piece is called the drag because you drag it across the molding board. The top is called the cope.
You start by placing the drag upside down on the molding board. Then you position the pattern inside the drag with the taper pointing up. The molding sand is then added to the flask until the pattern is covered.
The sand is then “rammed” up. This means compacting the sand by ramming it again and again with the end of a stick. This will force the sand to bind together and bind to the edges of the drag. More sand is added and the next layer is rammed up. This is repeated until the drag is overfull of sand.
Once the drag is full, a stick is used to scrape off the excess sand, called striking off. This leaves a flat sand surface.
A second molding board is placed on top of the drag and then the sandwich of the bottom molding board, drag, and upper molding board is flipped over. This leaves the pattern exposed on top side, sitting in a cavity in the sand. The sand is extremely firm if rammed correctly.
Now the cope is put over the drag to complete the flask.
Ramming Up the Cope
With the cope in place, we can put the other half of our split pattern in place. More parting powder is dusted over the pattern and top of the drag. Think of parting powder as non-stick spray for sand casting.
Once the pattern is in place, we can then ram up the cope the same way we rammed up the drag.
When we finish striking off the cope, we cut a sprue for pouring molten metal into the mold.
The cope can now be lifted straight up, and with a little luck, the top pattern will come away in the cope and the bottom pattern will stay in the drag.
To make sure everything goes back together, the cope has alignment pins, and the drag has alignment holes.
Pattern Extraction
This is the most frustrating part of the process for me. The two halves of the split pattern are firmly held in their sand voids. We need to get them out. The surface of the pattern that is facing us is normally very flat.
If you have made the pattern correctly, there should be threaded holes to insert screws into. Once these screws are in place, you tap and rattle them to cause the pattern to shift slightly in its void. If done correctly, this makes a very thin space between the pattern and the sand.
When you think you have done this enough, you carefully lift the pattern straight up. If you don’t, you can destroy some of the void in the sand.
This is why making patterns is such a high skill level job. The pattern must have enough draft, or it won’t release. The surface needs to be very smooth to reduce the friction between the pattern and the sand. There can be no undercuts. And the pattern must be sturdy enough to withstand being rammed up, over and over again.
Once the patterns are drawn out of the sand, gentle air from a squeeze bulb or from a low pressure air hose is used to remove all the stray sand. Sharp lips of the pattern might be gently touched with a soft brush to remove any sand that might separate from the walls when the casting is poured.
Cutting Runners and Gates
Tools are now used to remove sand from the drag to make channels, called runners, from the sprue hole around the different patterns in the drag. Smaller channels are then cut from the runners to the void/patterns. These are called gates.
Cutting runners and gates is a science unto itself. They have to be large enough for the molten metal to reach all the gates before it starts to freeze. It can’t be so large that you waste metal that is needed for the casting. The metal needs to be a laminar flow; turbulence can cause erosion of the sand of the walls of the runners and gates.
In addition, you want a place for sand carried in from the pour to go and settle out without the loose sand entering the casting.
Closing the Flask
Once all the work is completed on the mold, it is time to prepare the mold for the pour.
The mold needs to be transported to the foundry floor. For large castings, the mold is created right there on the foundry floor. I’ve watched videos of them molding and casting drive wheels for steam locomotives, wheels 5 feet or more in diameter.
The process is the same, except the flask is huge and is rammed up on the floor. Overhead cranes or other types of cranes are used to lift and flip the flask. It is remarkable to watch.
If the mold is small, then the cope is put on the drag, the alignment pins bringing the two parts in to perfect alignment with each other. It is important to note that it is not relevant that the cope and drag be in perfect alignment, just that they align repeatably. That is to say, when the alignment is correct, the voids in the two halves of the flask will be perfectly aligned.
Once closed, the mold is transported to the foundry floor for the pour.
Occasionally the mold is too heavy to be closed and moved. In this situation, the drag is first moved to the foundry floor, then the cope is moved and put into place.
If the mold is truly too heavy to move, even in halves, then the mold will be rammed up on the foundry floor. Cranes will lift the cope off and put it back when required.
Pouring
When the mold(s) are in place, ready for the pour, the furnace is started. The metal is brought up to temperature. Additives will be added to create the correct type of iron or steel or aluminum.
When the metal is up to temperature, the crucible will be lifted out of the furnace and transferred into a pouring gizmo; the word escapes me. For large pours, the furnace has a pour spout at the base; the furnace is opened, metal runs out and is caught in a crucible or ladle.
Regardless of the method of getting the molten metal into the pouring crucible or ladle, the metal is carefully carried to the molds and then poured into the feed sprue.
The metal has to be poured at a constant speed into exactly the correct spot on the mold. If the pour is too slow, the metal will freeze, and you will not get a good pour. If you pour too fast, you risk overrunning the sprue, which will get metal to run out over your flask, which can be very dangerous.
You want to continue pouring until you see metal start to come up the risers. If you don’t see this happen, then you have a short pour, meaning that the casting might not be complete because it didn’t get enough metal to completely fill it.
The pour has to be continuous as well. You can’t stop and start. To do so would be to cause chill spots and potential freezing.
The Wait
After pouring, you need to wait for the metal to completely freeze. To cool enough that it can be handled.
Different metals have different wait times, affected by the mass of the castings.
I was able to observe a bronze bust being poured. I asked when they would break open the mold. They laughed at me because it would soak in the mold for at least 24 hours.
Certain metals perform much better if they are allowed to cool slowly.
Luckily for me, the wait time for aluminum castings is about an hour.
Even after 2 or 3 hours, the castings I make are warm or hot to the touch.
Rough Finishing the Casting
Once the casting is cool enough to work with, the casting is cleaned. The means to remove all the sand that is still attached after breaking the casting out of the mold. If there was a core print, the casting might be soaked in water to help remove the core.
After all the sand has been removed, the casting is cut free from the gates and risers.
The flashing is also removed. The flashing is where metal leaks between the two halves of the mold. You can see the parting line in most objects that are cast or molded.
In some foundries, the casting is then processed to clean up any remaining excess metal.
For some metals, the casting needs to be heat-treated before it can be machined. This consists of putting the casting in a heat treat oven and bringing the metal up to temp. Then the casting is held at that temp for a known amount of time. Finally, it is allowed to cool according to the heat treat instructions.
Most metals have internal stress. I’ve watched a piece of 1/8″ steel curve like a banana when I cut it longways due to the internal stress being removed.
Part 2 tomorrow, about lost sand.
Its an interesting process.