Why I Reload
Costs
Like almost everything I learn, the startup costs are quickly outweighed by the cost of the “tooling.”
My lathe and milling machine cost less than $1500. The cost of my micrometers exceeds $1000 without counting toolposts, toolholders, inserts, and a wealth of other things.
Reloading is something like that. You can get a starting kit for around $175 that has just about everything you need to start reloading. You need to add dies, reloading manual, and consumables.
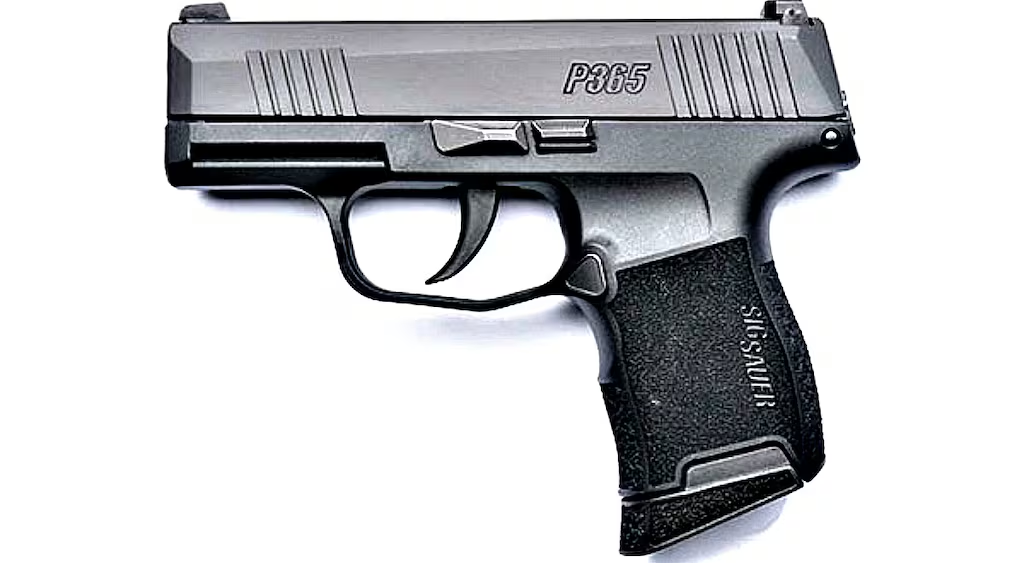
Assuming you are reloading for 9mm, your dies will be between $40 and a couple of hundred. I’m currently using Redding, which prices out at $75. Manuals run $25 or so. This puts the total cost of tooling just under $300.
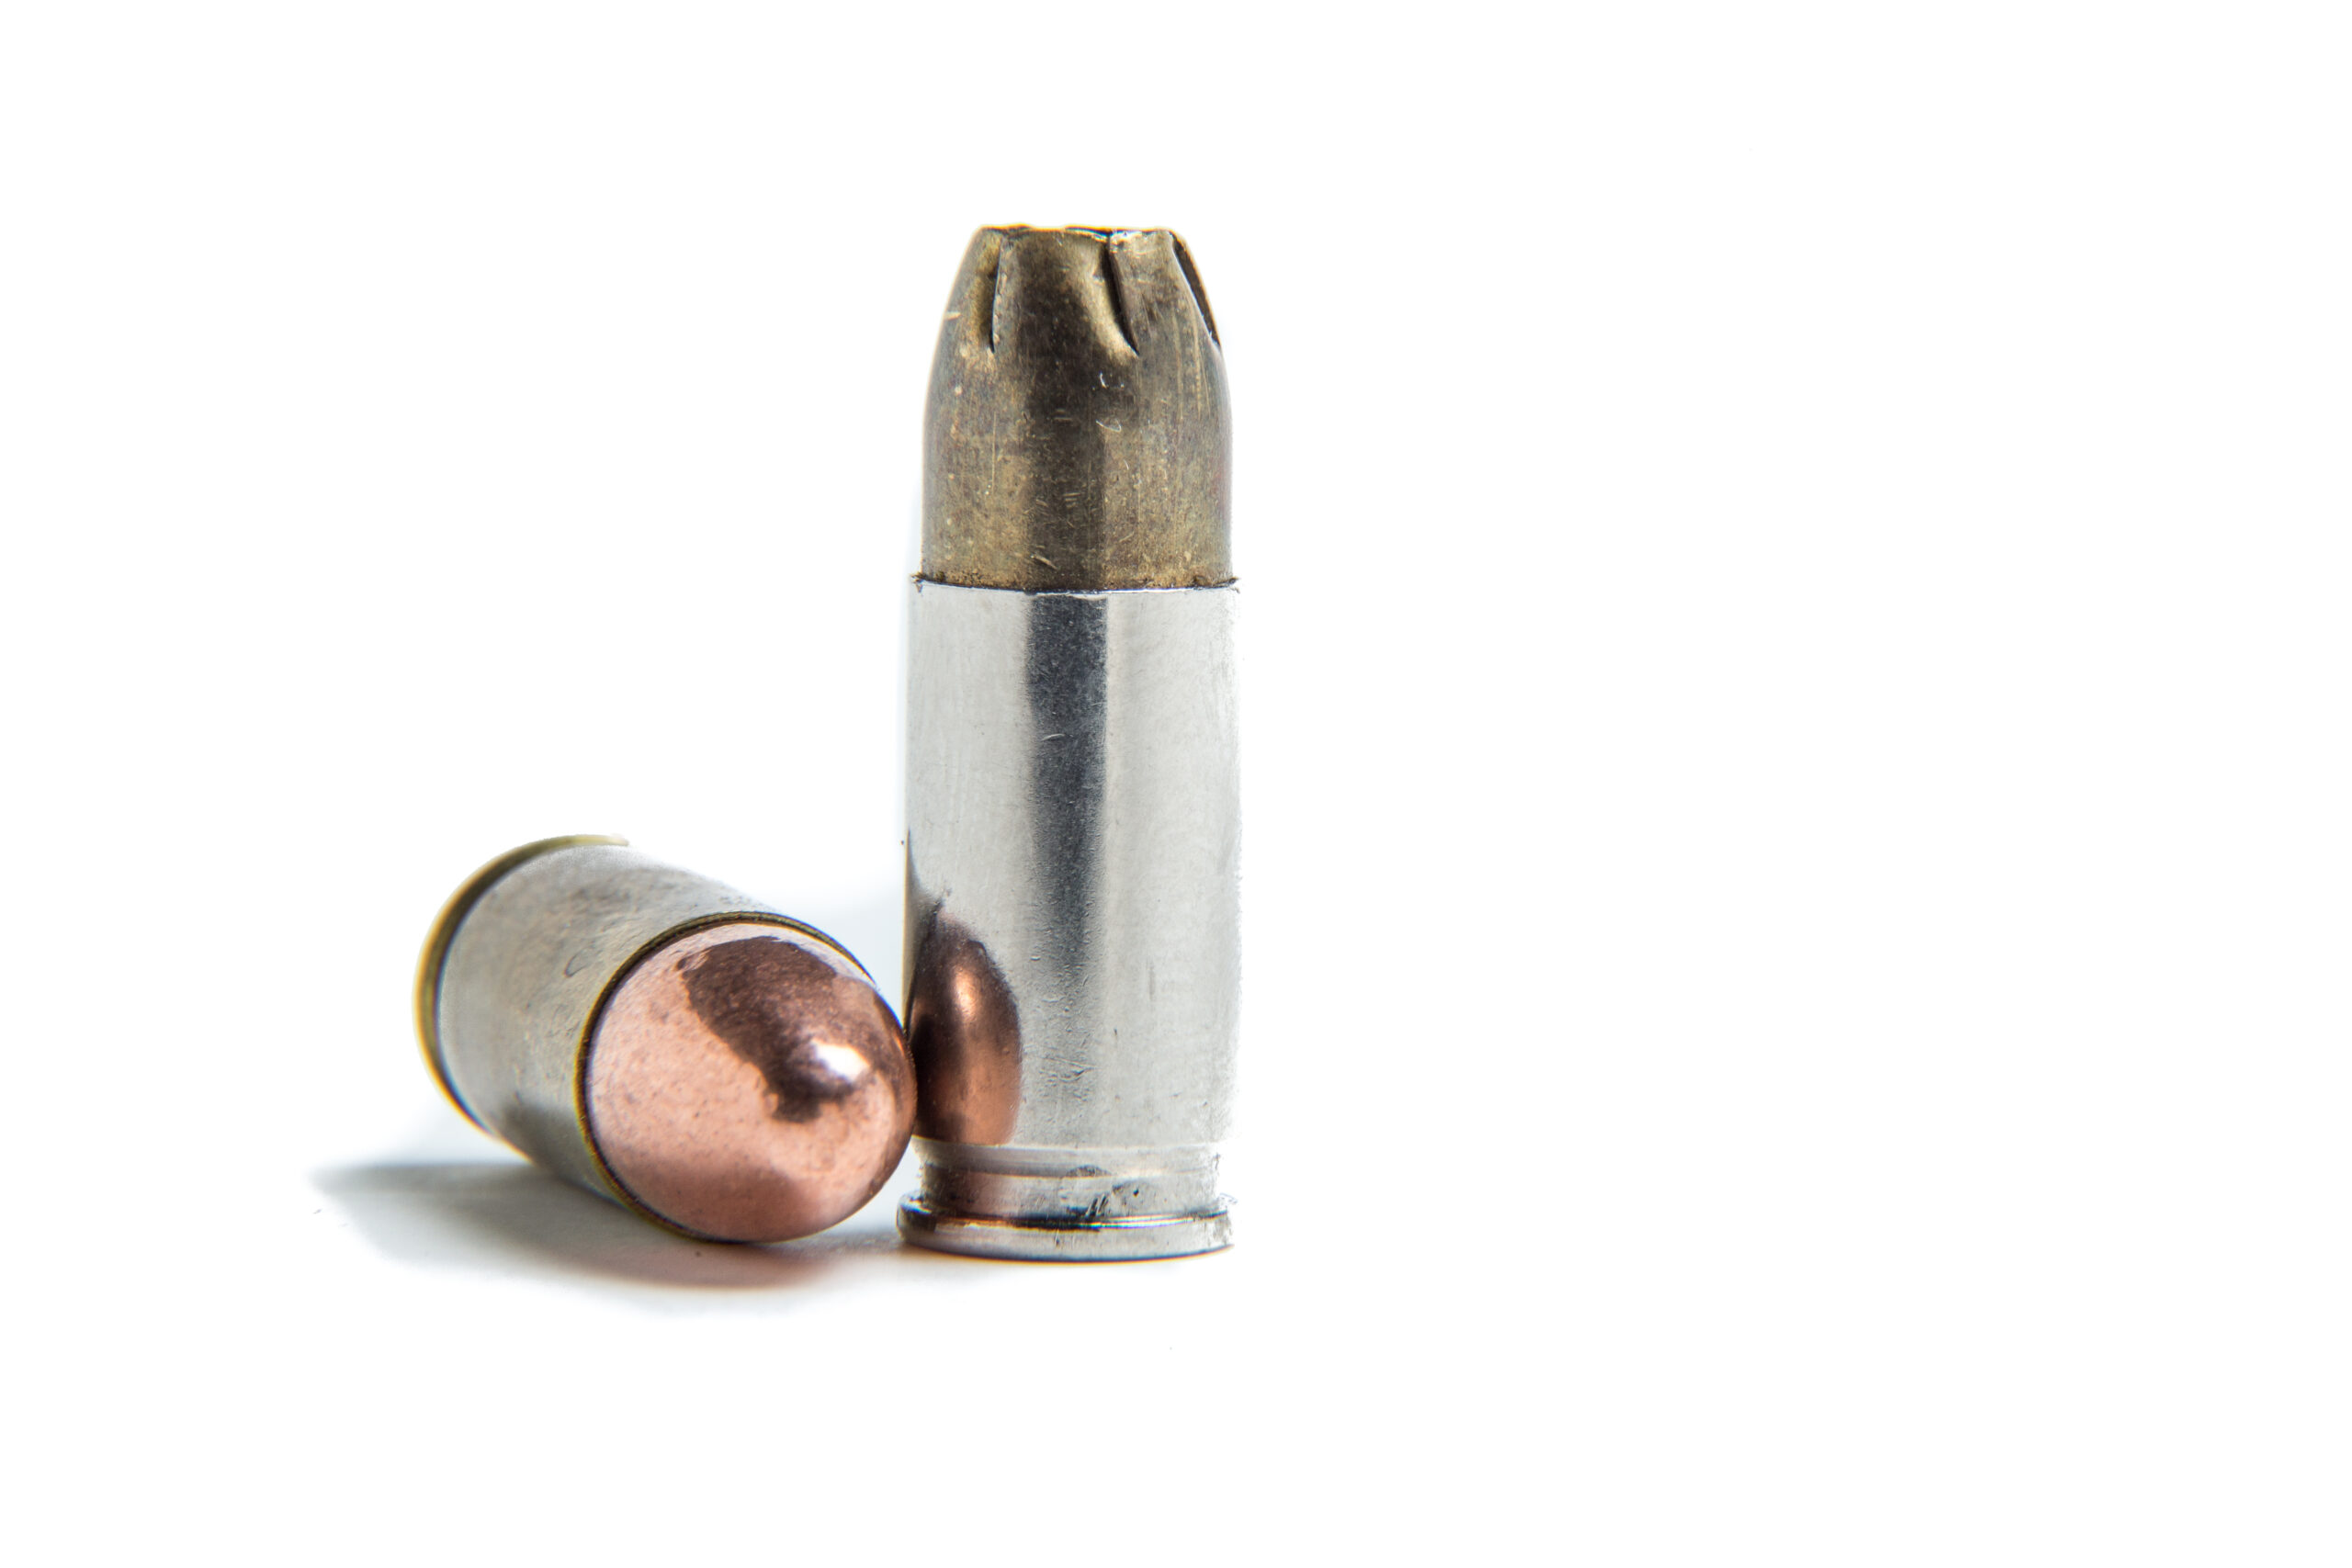
Your consumables will be primers at $80 per 1,000, powder at $156 for four pounds, 115gr RMR JHP at $115 per 1,000.
This puts your consumables at $351 for a total start cost of $650 or so.
Assuming you are reloading “free” brass, this gives you a startup cost of $0.60/round, which is more than range candy but less than personal defense ammo.
After your initial investment, your costs will decrease, but it will take a while before you are truly saving money.
Your next 1,000 rounds will cost you $80 for primers and $115 for bullets, giving you a cost per round of $0.195. This would bring your costs from $0.60 to $0.422 per round, including your original investment.
The place where costs really change is when you need to start reloading a different caliber. Using the same equipment, you can add a set of dies, $75, and begin reloading a different caliber.
Availability
During the great panic-demic it became nearly impossible to buy certain calibers of ammunition. Even now, it is sometimes difficult to buy certain calibers.
If you have reloading equipment, those limitations are reduced.
I, personally, reload .38 Special and .357 Magnum with cast bullets. I cast HP myself and find those rounds to be consistent in weight and go where I point them.
My LGS was only selling cowboy loads and very expensive self-defense loads. They had no brass, they had no bullets, they had no primers, and their selection of powders was limited. For the cost of a set of very nice bullet molds, I was able to create freedom seeds for my R95 and revolver.
8mm Mauser is difficult to find and expensive; I’ve got nearly 500 rounds of it for the cost of bullets and powder. The same with 30-30 and 45-70.
I believe the only firearms I cannot reload for are my shotguns. Since I only run 4 rounds a year out of them, it’s not a real issue.
This is the great power of reloading, in my opinion. You can reload for unusual calibers for the cost of a set of dies and bullets.
Quality
The big-time long-distance shooters swear by hand reloading their ammo. I believe them. When I’m reloading, I attempt to maintain that same level of quality as they do. I may or may not succeed, but it is nice to know that I’m close.
Safety
There are two big rules in reloading:
- Don’t Shoot Other People’s Reload.
- Your mistake can kill you.
I currently use a Franklin Armory hand primer. It works for me. I can feel each primer seat properly. Before I had the hand primer, I used two different on-press tools.
One day, I was at a private range shooting .45 Colt out of a Marlin lever action. I would pull the trigger, the hammer would fall, and there would be no bang. Not even a pop. This was a problem, but I found nothing horribly wrong. It just meant I had to fix something.
Then I switched to my 1911. Bang. Bang. Pop. STOP!
I had a squib.
This led to me pulling every bullet on that set of reloaded rounds. Luckily there were only 20 of each caliber.
Conclusion
The startup cost of reloading is not horrible. The cost grows like in every hobby. Your break-even point will be in the 4,000 round range at today’s prices.
My start was $50 for a press, four or five sets of dies, a bunch of brass, and some other stuff. I bought a pound of Hodgdon’s No. 5 powder, a Lee Reloading manual, Lee powder scoops, a box of .45 ACP bullets, and 100 primers. My total investment to start was less than $200 for my first 100 rounds, giving me breakeven on my first 100 rounds.
Your mileage may vary.