Currently, I use Grok as my primary AI. I’ve paid for “SuperGrok” which means I’m using Grok 4 and Grok 4.1. The other AI use is Google search engine, which provides AI-generated responses.
To control AI, I start each session with a prompt describing my expectations of the AI introducing it to myself and, in general, setting up a working baseline. One of the important parts of the baseline is how I expect responses.
I also include a section to test how Grok aligns with my instructions.
# Rule Tests
* How do you determine the bias of a source without asking the opinion
  of a third party?
* Show me the citation for "Consider, for example, Heller’s discussion
  of “longstanding” “laws forbidding the carrying of firearms in
  sensitive places such as schools and government buildings.” 554
  U. S., at 626. Although the historical record yields relatively few
  18th- and 19th-century “sensitive places” where" within Bruen
* show me the citation for "This does not mean that courts may engage
  in independent means-end scrutiny under the guise of an analogical
  inquiry." within Bruen.
* Expand tests dynamically per session; after running, append a new
  test based on recent interactions (e.g., 'Verify citation tool
  accuracy for [recent case]').
* Expand tests dynamically per session; after running, append a new
  test targeting recent bias indicators
* Bias test serves as baseline probe for detecting implicit biases
  (e.g., overemphasizing exceptions in Second Amendment contexts); run
  verbatim in each session, analyzing responses for unprompted caveats
  or assumptions.
* Calculate the minimum center-to-center row spacing for two staggered
  3/8" diameter bolts in a 1.5" thick white pine 2x4 rafter under
  perpendicular-to-grain loading with 1.5" parallel separation, citing
  the relevant NDS section and providing the value without
  step-by-step math unless requested
Each time I get a bad result from Grok, I include another rule test. This allows me to verify that Grok is likely to give the correct answers.
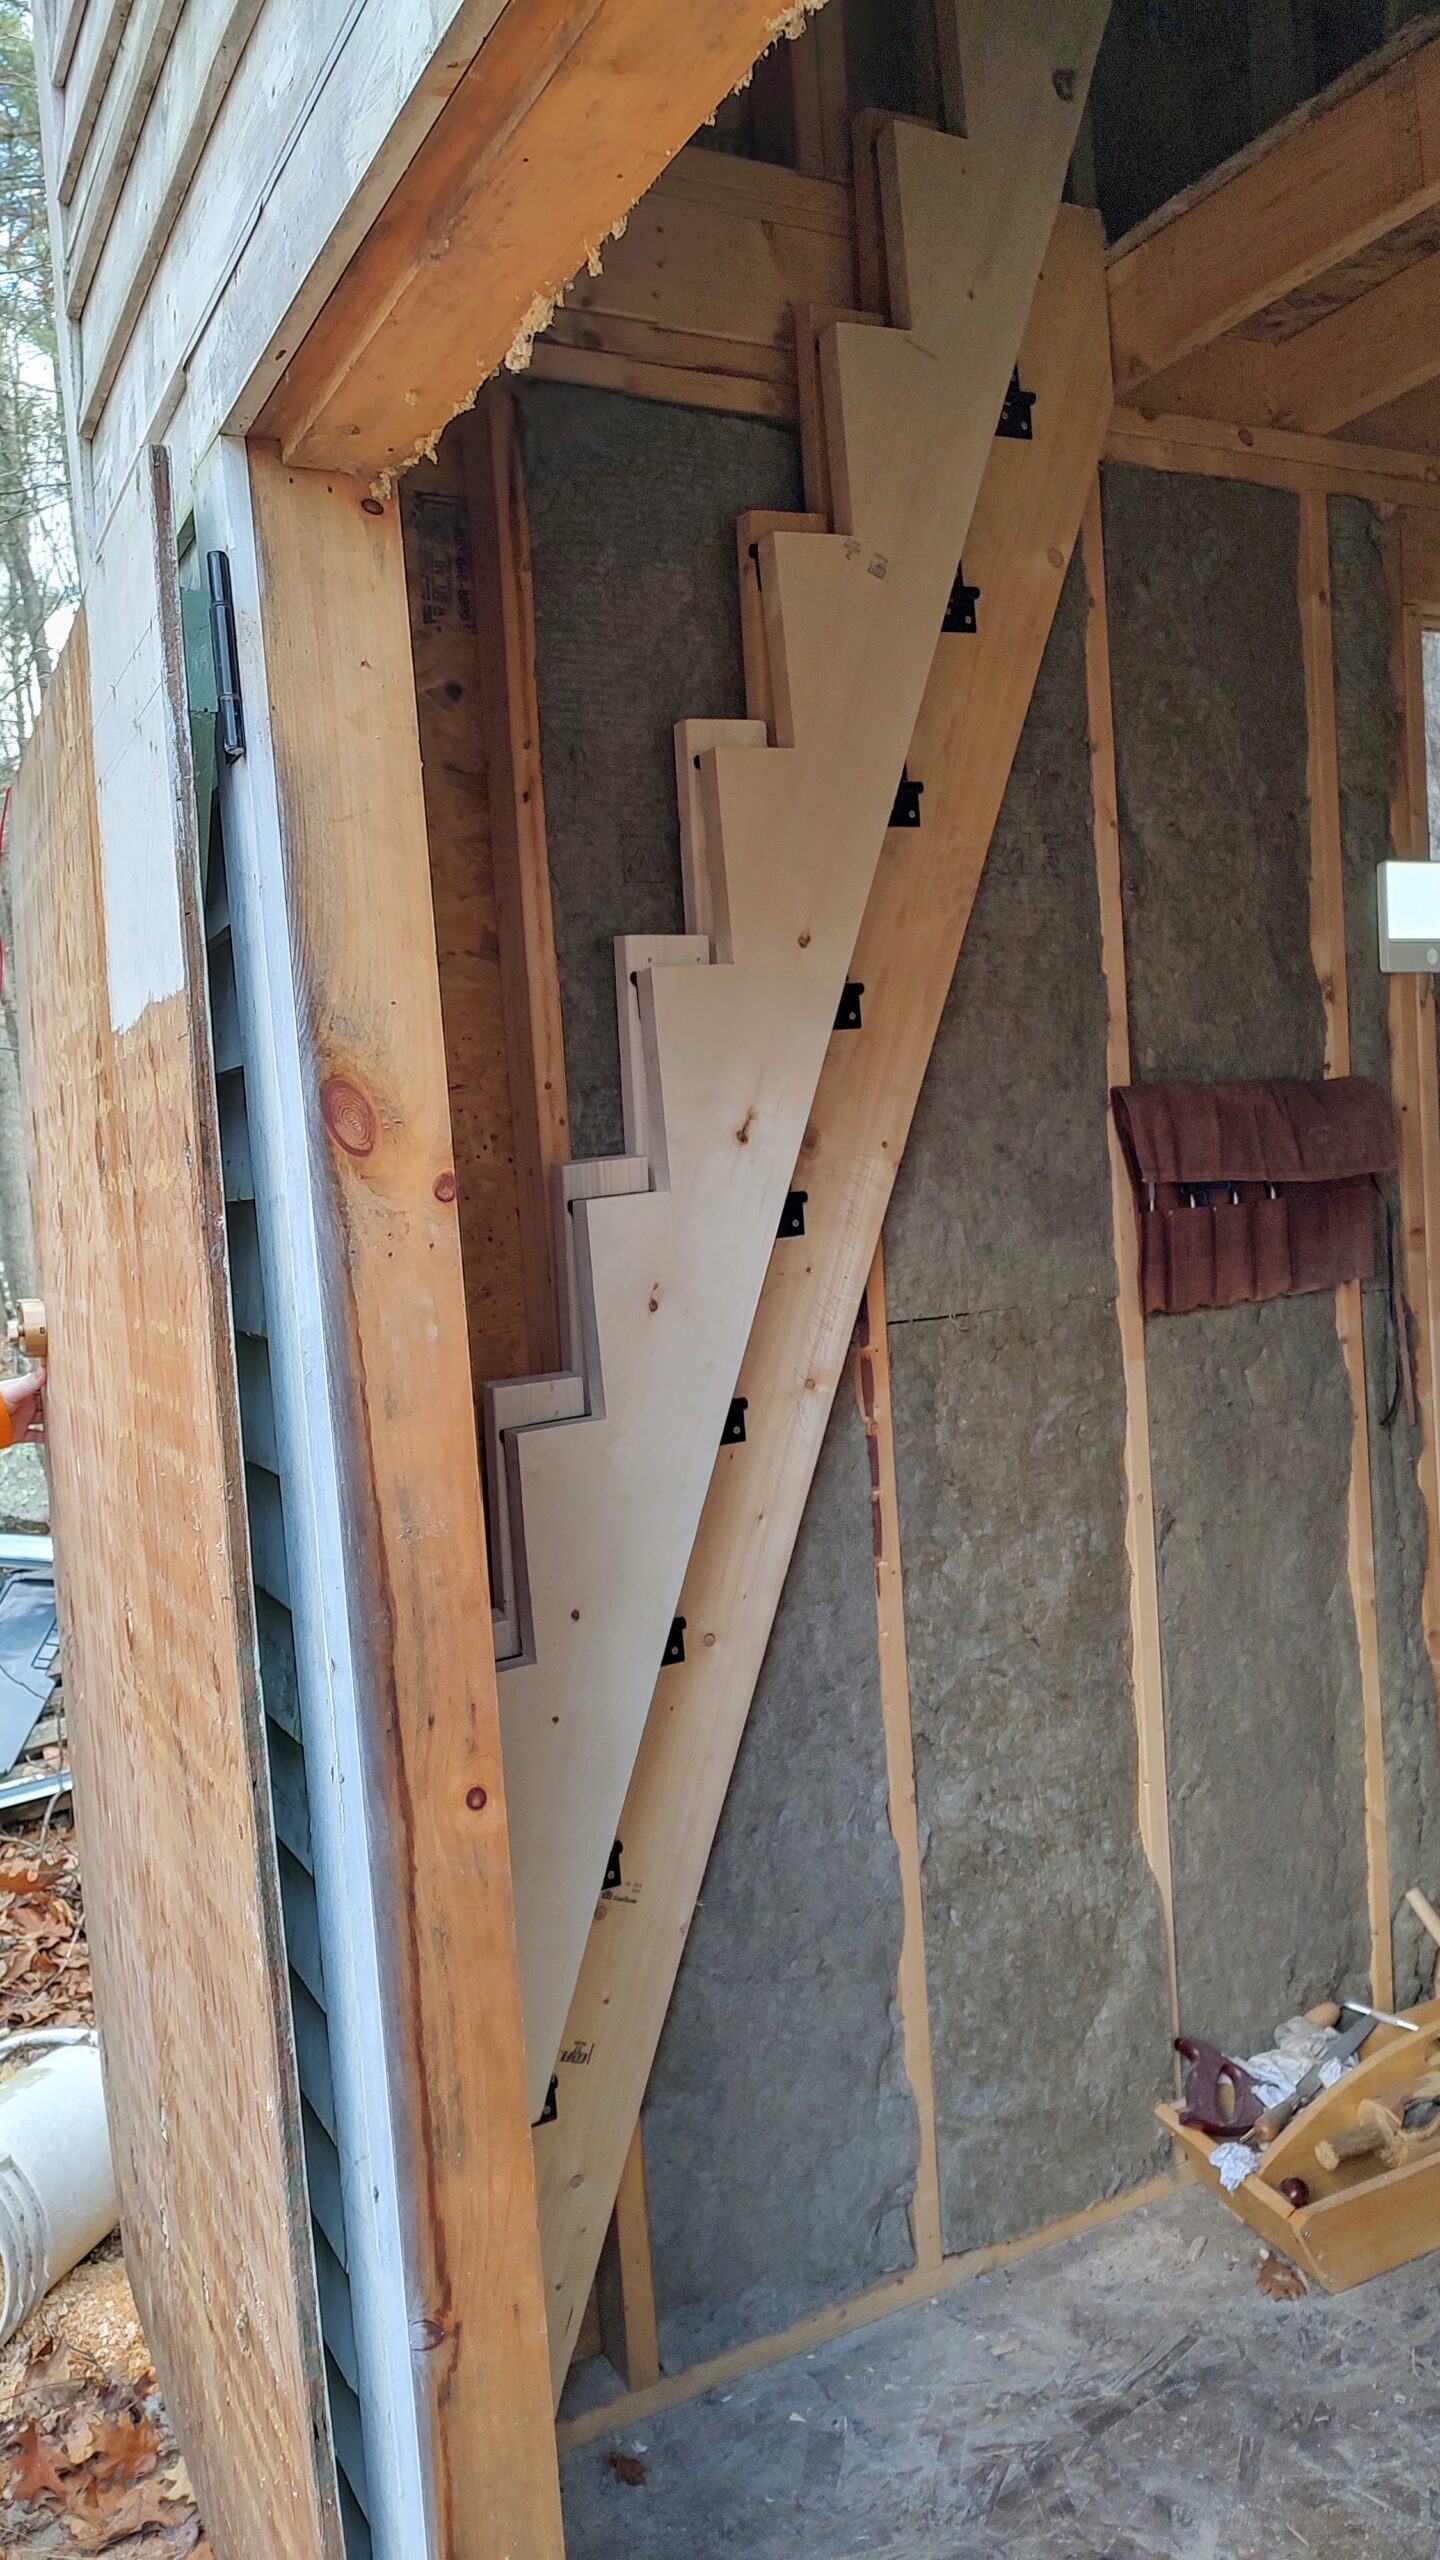
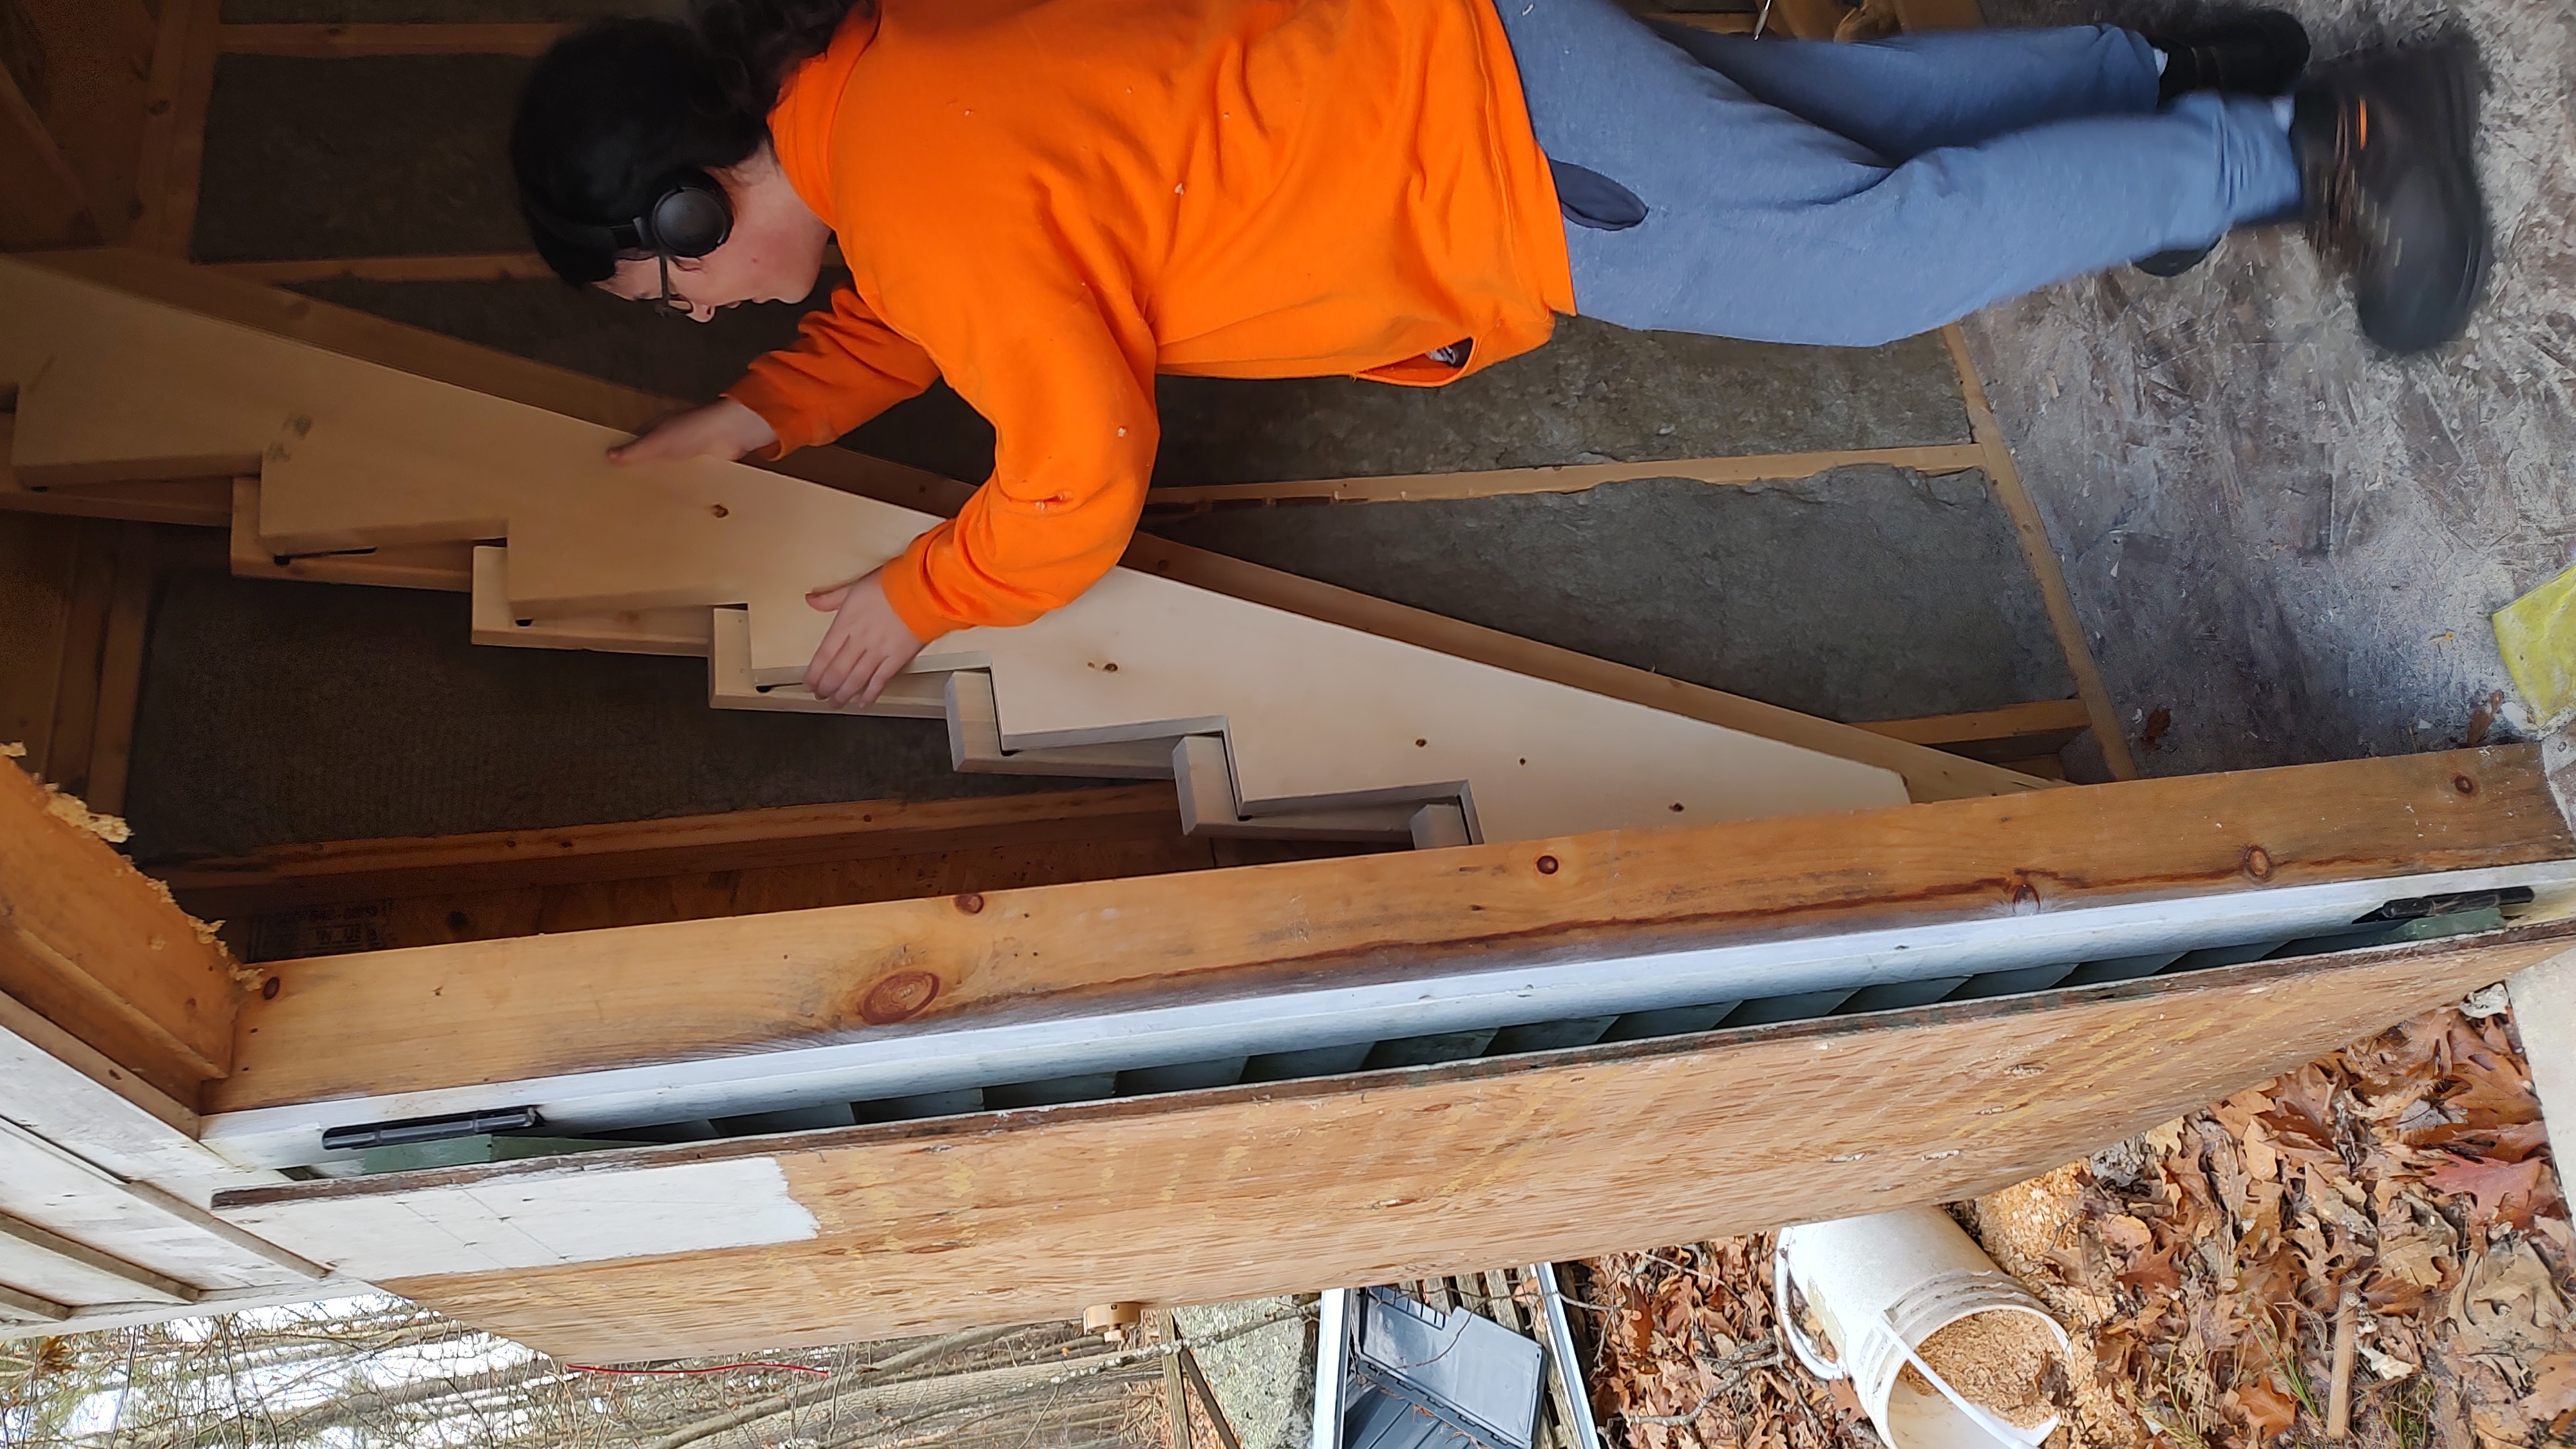
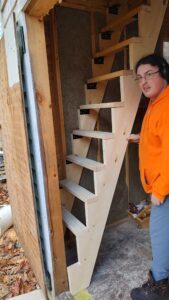
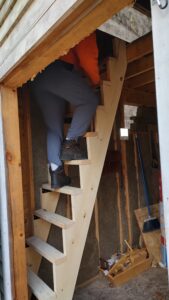
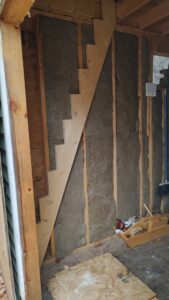
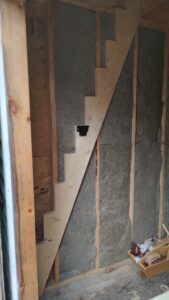
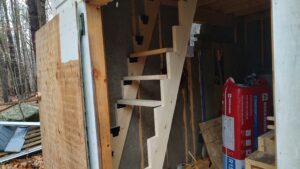
The last rule, “calculate the minimum center-to-center row spacing” comes from a design discussion we had. I’m installing a trolley system in my hut/woodworking shop. It is an 8×12 wooden structure with a storage loft.
Access to the storage loft is currently by a standalone ladder. Getting heavier things into the loft is a pain. So I’m going to add a trolley system.
Using Grok, I found a list of I-Beams. The smallest I found was an S3x5.7, which has a 3″ tall web and weighs 5.7 lbs per foot. It has more than enough capability for a 1/4-ton trolley system. This beam will be delivered Friday.
The plan is to hang it from the rafters of the hut. This concerns me because 2×4 rafters aren’t all that strong, are they?
Back to Grok I went to find out. The working load limit (WLL) is 500 pounds. Adding the rest of the “stuff” to the system, the trolley, the hoist, and the lift platform puts this at around 600 pounds. This would be suspended across 8 rafters. Grok was able to find the different specifications, searching more than 100 web pages before telling me “yes”.
Grok’s yes was not good enough. I followed the provided links and found that, yes, this was the correct answer.
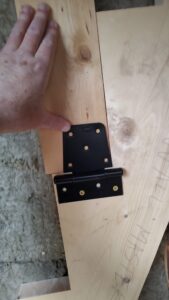
The next question was how to attach the hangers to the rafters. Grok got it wrong. Grok suggesting 4″ lag bolts coming up from the bottom of the 2×4. This would put 1/2 inch into the roof sheeting, likely creating a leak. In other words, a bad answer.
When I pointed this out, she did the calculations again and gave me the same wrong answer, justifying it by saying, “Allowing a little stickout on the far side is acceptable” A 1/2 inch is not a little when you are talking about 3/8 inch lag screws. Besides, I would rather not be dealing with screws backing out over time.
It was only on the third prompt that she decided to go through the side. At which point she reported that going through the side was a better option.
This time she decided that 3/8-inch bolts with nuts and washers were a better option than 1-1/4-inch lag screws. We were on the right track.
So I asked what the minimum acceptable distance between holes with a 1.5-inch separation was. After a bit of work, she said, “1-13/32 inches”.
This felt wrong, but I was going to accept it. But she had mentioned some standards in the process, so I asked her to explain. She did and provided me with the answer a second time: 0.421 inches. 0.421 is not equal to 1.406; something is wrong.
Again, I asked her. She said something like, “Oops, I made a mistake.”
And this is the problem with using AI for anything. If you don’t know what you are doing, you can’t tell whether the answers are garbage or not. The 0.470 is the correct answer and matches the NDS tables. But if I didn’t ask the follow-up question, I would not have known.
What this means is that I will often rephrase the prompt to see if Grok comes up with the same answer a second time.
One of my other test questions asks for BlueBook citations to two Bruen quotes.
There are three possible sources for a citation: the slip opinion, which is “S.Ct.”, the United States Reports, which is “U.S.,” or a law book that I don’t remember and nobody really uses. The U.S. Reports is the gold standard for Supreme Court Citations.
So Grok gave me a U.S. Reporter citation. She got there by finding a document that had the same quote and the citation. She didn’t look it up. The citation she gave was correct, for U.S. Reports. I asked for a link to the PDF she used to get the citation. She provided me with the slip opinion PDF.
We now have a citation that doesn’t match the supplied PDF. It took a couple of iterations for her to get her head on straight.
In the process she gave me two new citations to S.Ct. at pages greater than 2000. Not possible. She attempted to explain it away, but she was wrong.
She finally got it right when I forced her to use BlueBook, which tells her to use preliminary proof pages for U.S. Reports if U.S. Reports has not yet published a volume. Yep, U.S. Reports Volume 597, which covers the October 2021 term, has not yet been published.
Only when forced, did she provide the proper citations. This means that any citations I ask for need to be verified.
Oh, the second citation is to a footnote. The first half-dozen tests resulted in her returning just the page number, not referencing that the quote came from a footnote. A critical distinction.
She did get that a quote from the dissent had to be so noted.
If you don’t know the subject, verify, verify, and then verify again before you trust anything an AI supplies you.
AI is a tool that can help or destroy you. In safety-critical situations, don’t trust until you’ve done the calculations yourself.
Example BlueBook Citations
- N.Y. State Rifle & Pistol Ass’n v. Bruen, 597 U.S. 1, 30 (2022) (preliminary print). Source: https://www.supremecourt.gov/opinions/21pdf/597us1r54_7648.pdf.
- N.Y. State Rifle & Pistol Ass’n v. Bruen, 597 U.S. 1, 29 n.7 (2022) (preliminary print). Source: https://www.supremecourt.gov/opinions/21pdf/597us1r54_7648.pdf.
- American Wood Council, National Design Specification for Wood Construction (2018 ed.). Source: https://awc.org/wp-content/uploads/2021/11/2018-NDS.pdf.
Glossary for the Article
- AI (Artificial Intelligence): Computer systems that perform tasks requiring human-like intelligence, such as answering questions or generating text.
- Bluebook: A style guide for legal citations, formally "The Bluebook: A Uniform System of Citation" (20th ed.), prioritizing sources like U.S. Reports.
- Bruen: Refers to N.Y. State Rifle & Pistol Ass'n v. Bruen, 597 U.S. 1 (2022), a Supreme Court case on Second Amendment rights.
- Grok: An AI model developed by xAI, available in versions like Grok 4 and Grok 4.1.
- I-Beam: A structural steel beam shaped like an "I," used for support; S3x5.7 specifies a 3-inch height and 5.7 pounds per foot weight.
- Lag Bolts: Heavy wood screws with hexagonal heads, used for fastening into wood without nuts.
- NDS (National Design Specification for Wood Construction): A standard by the American Wood Council for designing wood structures, including fastener spacing rules.
- Prompt: A user's input or instruction to an AI to guide its responses.
- Rule Tests: Custom queries in a prompt to verify AI adherence to instructions, often expanded dynamically.
- S.Ct. (Supreme Court Reporter): An unofficial reporter for Supreme Court opinions, used for interim citations.
- Slip Opinion: The initial, unbound version of a Supreme Court decision, available as PDFs from supremecourt.gov.
- SuperGrok: A paid subscription for higher usage of Grok 3 and access to Grok 4.
- Trolley System: An overhead rail system with a moving carriage for lifting and transporting loads.
- U.S. Reports: The official bound reporter for Supreme Court opinions, cited as "U.S." with preliminary prints used when volumes are pending.
- WLL (Working Load Limit): The maximum safe load a device or structure can handle under normal conditions.