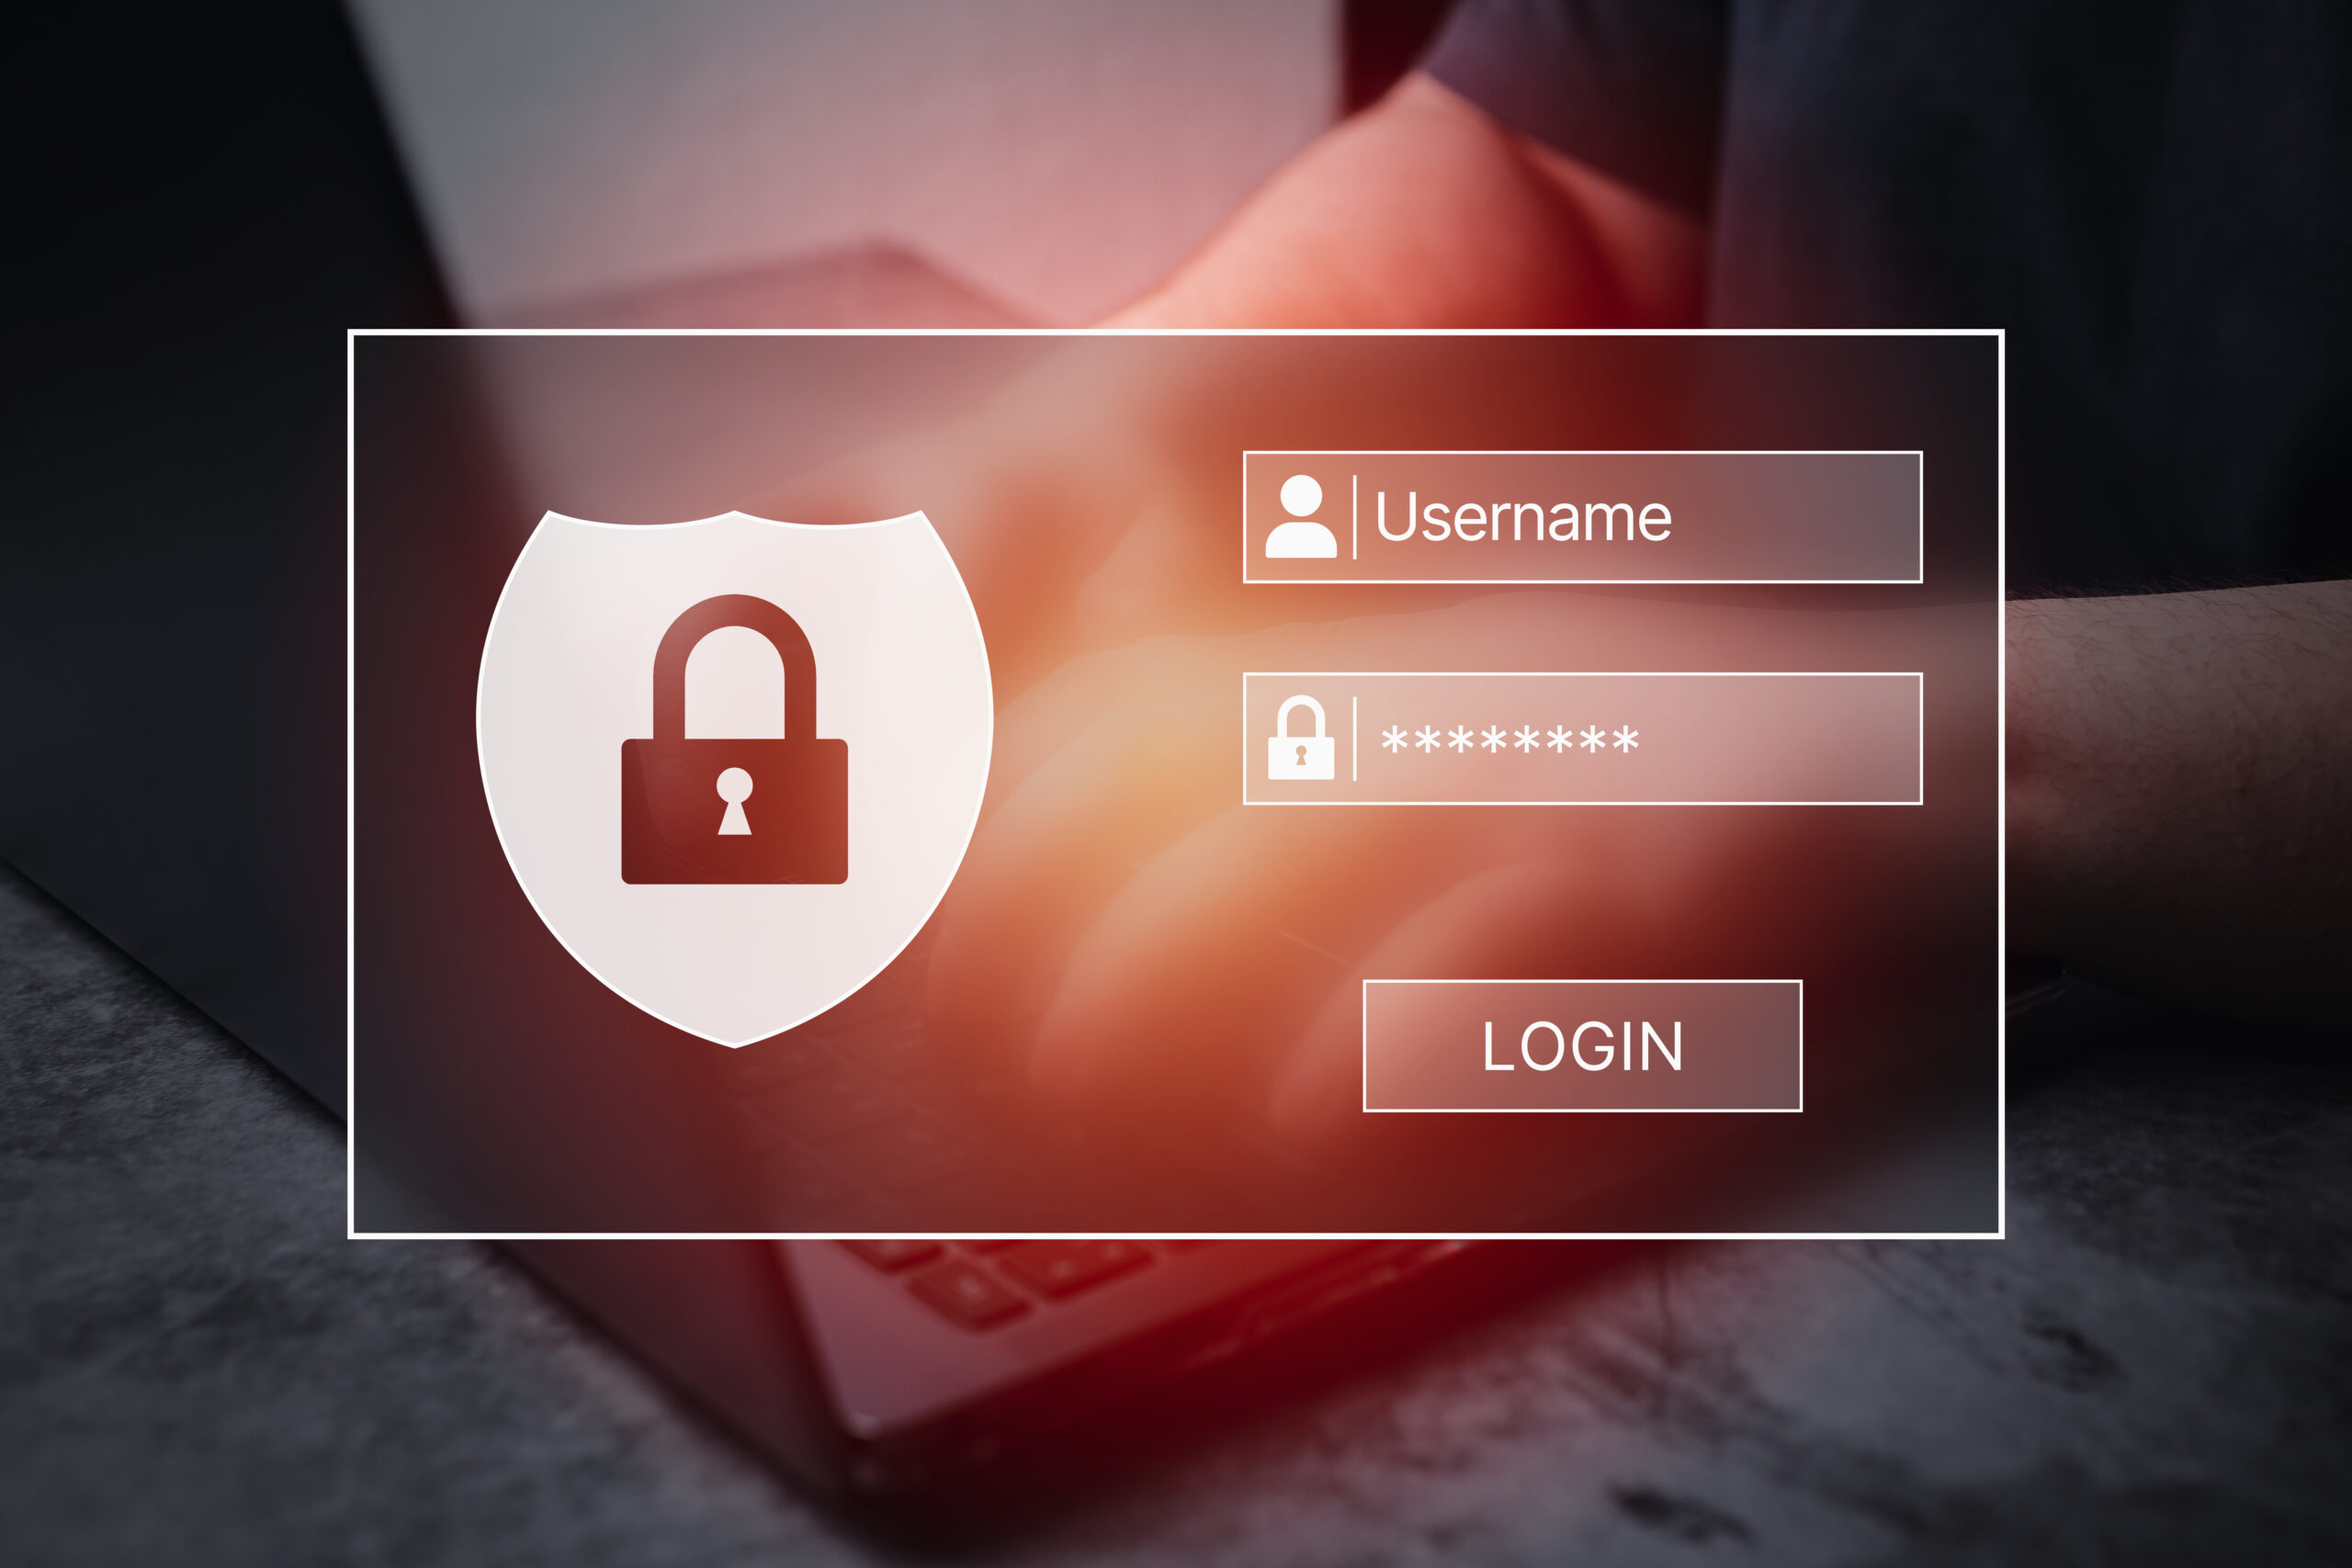
Skills

wooden cubes with words from the computer, software, internet categorie . This image belongs to the series cube with computer, software, internet words. The series consists of frequently used words in the categorie computer, software, internet

WYSIAYG vs WYSIWYG

I started my computer career with the command line, or as it is known today, the CLI.

Almost everything I do is done via CLI.

I’ve had clients that had hosts in China, Ukraine, and London. They all look the same to me because they are just another window next to the other windows on my desktop.

When programming, my hands seldom leave the keyboard. I don’t need to use the mouse to program. It is mostly done with control key sequences.

When I need to configure something, I use a text editor and edit the configuration file. If the configuration file is JSON, I use JSON CLI tools to manipulate the file. Everything is done via the command line.

Even this post is done from “the command line.” I am typing raw HTML into a simple text editor. So an aside is written as:

<div class="aside">This is the aside</div>

Which renders as

This is the aside

The editor also has a visual editor. What we call a “What You See Is What You Get” or WYSIWYG.

In the WYSIWYG, you type, and it is formatted close to what it will look like when presented in a web browser.

You have likely used a word processor like Microsoft Word, Apple’s old Mac Write, or the modern LibreOffice. If you’ve used Google Docs, you have used the online version of LibreOffice.

The idea is that you can look at what you type in these WYSIWYG editors and that is what it will look like when printed.

We have another term for Graphical User Interfaces, WYSIAYG, or What You See Is All You Get.

What do I mean by that? Well, if you have a GUI that performs configuration options, then only the options that are implemented in the GUI are available to you through the GUI.

The new level 3 managed switch has a web GUI. It is rather nice. You can see the status of each port. There are pleasant drop-downs to give you choices.

One of the issues I needed to deal with was to get DHCP running on it, rather than the old DHCP server.

After fumble fingering my way through the interface, I had a working configuration.

The other day, I wanted to set up network booting. I am installing Linux on so many machines, both virtual and bare-metal, that I wanted a simple method to use. Network booting seemed like the answer.

This requires setting the “next-server” and “bootfile” options in the DHCP configuration file.

There is NO place in the web GUI to do so. It is available through the CLI. Undocumented, of course.

WYSIAYG. I muddled through, I got it working. I can now do a network install anytime I want. And I can provide multiple options.

Which leads me to the root cause of this rant.

They are now building CLI tools that require CLI tools to configure them. And the CLI tools that do the configuration are not well documented because you should use the CLI management tool!

I needed to install incus on a system to configure a working OVN network! I am so frustrated right now that I could scream.

salmon knishes cooling on a rack

The Weekly Feast – Yom Kippur Knishes

I preface this by saying that I’m not Jewish. However, having dated several Jews over the years, I can tell you that the food is INCREDIBLE. Since Yom Kippur began on Friday at sundown, I thought this delicious parve (meaning it can be eaten any time by Jews, provided they aren’t fasting) dish would be just perfect to share today. Remember that Yom Kippur is not a “happy” holiday; it’s a religious time of reflection and introspection. Mostly, people who celebrate Yom Kippur just want to be left alone for their 25 hours of attonement. After the fast, families tend to enjoy a small feast together.

Ingredients:

  • 1 package puff pastry dough
  • 1 large onion, diced and sauteed
  • 2 (7- and- 3/4-ounce) cans salmon
  • 2 medium potatoes, cooked, cooled, and drained
  • 2 eggs, whisked (for egg wash)
  • sesame seeds, for topping
  • 1/4 teaspoon pepper
  • 1 teaspoon salt

Defrost the dough per package directions. Pay attention to this, as you don’t want it to be too moist and melty, but it can’t be frozen either. Roll out the dough to 1/4″ thick, and then cut into 3-1/2″ squares.

Combine all the ingredients for the filling, and mash it very fine. You can use a food processor if you want, but it’s better to do it by hand. You want it to be fairly smooth, almost like a pate, so that it fills the pastry well. Put a heaping tablespoon of filling into the center of each square. Fold the dough over, and press to seal. You can do this “pirogi style” (fold it in half, seal with fork tines for a pretty edge) or Jewish style (fold the corners up and seal it, making it back into a square, then flip it over and put the seam side down. Put your knishes onto a parchment paper lined cookie sheet.

Brush the knishes with the egg wash, then sprinkle with sesame seeds. Bake at 350*F for 40 minutes, or until they are golden brown.

Notes:

If you celebrate Yom Kippur, these are designed to be eaten AFTER you’re done fasting. You can make them ahead of time, and then just reheat them easily enough. They can tide you over until the rest of your meal is ready! If you aren’t Jewish, these can be enjoyed anytime. As a bonus, they’re also safe to feed to observant Jewish friends.

a person using a ferro rod to make a fire

Prepping – Starting a Fire

I’ve talked about having access to fire in the past, but I haven’t really gotten in depth about how to start one. I figured that was a decent place to go, this Friday, what with all the storm disaster stuff going on. This is a really complex topic, and I’m going to include some videos so that you can see as well as read about the subject. If you have more information, please feel free to add it in the comments below!

So fire is started when three elements come together: fuel, oxygen, and heat. If you have all three, you have what you need to start or continue a fire. Take one away, and if a fire has already started, it will die out. That’s the science end of it. (CalSafe)

We have lots of ways of starting fire, whether it’s for pleasure, cooking, heat, or protection. The easy methods are things like lighters, everstrike matches (metal “matchsticks” that sit in fuel), blow torches, and that sort of thing. Generally speaking, these methods “just work” when you use them. They provide enough of the three elements that you can get a fire going. But what if you don’t have one of these easy methods? What if your fuel has run out, or your flint is used up?

There are ways to start fires that are “in the middle” when it comes to difficulty level. Regular matches are in this category (because they can easily get damp, don’t stay lit very long, and have a tendency to dissolve over time). Strike-anywhere matches are less prone to problems, and usually have much longer stems, which makes them easier to hold. Unfortunately, they aren’t literally strike anywhere, but require a rough surface of some kind to get them lit. I would put the most modern style of ferro rods into this category as well.

Then there are the methods that require a certain level of skill: flint and steel, bow drills, other types of friction styles, and the more esoteric types like using magnifying glasses. To use any of these requires practice, repetition, and education. It is important to learn at least a couple of these more difficult methods in advance of emergencies, because it’s too easy to lose all the easier methods of making fire. Read More

A bowl of turkey noodle soup

The Weekly Feast – Turkey Noodle Soup

That nip in the evening air, the scent of rain in the distance, and the sound of falling leaves in the forest behind the house all call to me that it’s soup weather! My favorite part about soup is that you can make pretty much anything into soup if you really want to. My turkey noodle soup is a great example. On Sunday evening, we treated ourselves to a lovely turkey breast for our supper. It was much too large for us to finish, even though it wasn’t a whole turkey, and so I diligently denuded the carcass of meat and put it into the fridge for use later in the week. Then it occurred to me that I ought to make broth!

This is a great recipe to use if you’ve got leftover carcass of any kind. If you like to pick up rotisserie chicken, it’s perfect for making this kind of soup.

Ingredients for the stock/broth:

  • 1 stripped carcass (turkey or chicken), with whatever skin and gristle there is
  • any drippings from the cooking process
  • the skin of 1 or more onion
  • several crushed garlic cloves, skin on
  • the peelings of 1 or more carrots
  • the leafy tops of 1 or more stalks of celery
  • salt and pepper to taste
  • fresh herbs to taste (optional)

Read More

Filler

I’m exhausted. I’ve been pulling fiber for the last two days. All part of an infrastructure upgrade.

Normally, pulling cable in a modern datacenter is pretty easy. This is not a modern datacenter.

The original cable runs were CAT6 with RJ45 connectors. When the cables were installed, the installation had to be nondestructive. No holes in walls, no holes in floors. Hide the cables as best you can.

One of the cables we removed was to a defunct workstation. It had been run across the floor and then covered with a protective layer to keep it from getting cut or snagged. The outer insulation had been ripped away. There was bare copper showing. Fortunately, that particular workstation hasn’t been in place for a few years.

The backbone switch was mounted in the basement. Not a real issue. The people who pulled some of the last cable didn’t bother to put in any cable hangers. So it had loops just dangling.

There were drops that could not be identified. Those are now disconnected, but nobody complained, so nothing was taken offline.

I’ve found a new favorite cable organizer.

Cable Management Wire Organizer

These are reusable. They open fully and will hold many cat6 and even more fiber. They have the 3M foam double-sided tape on them. This works great against smooth, clean surfaces.

The place where they shine is that they also have a hole designed for a #6 screw. In places where there were no smooth surfaces, much less clean surfaces. The sticky held them in place long enough to drive a screw.

There are no more dangling cables.

My only hope is that there are no more configuration issues with the new switch. *caugh*DHCP*caugh*

A flooded community

Prepping – After a Flood

It seems appropriate to talk about what to do after a flood, right now. With all the devastation down in the southern states, it’s on all our minds.

First and foremost, if you’re in the path of something and you know about it, listen to locals. If you’re asked to evacuate, DO SO. The people in the Carolinas and Tennessee didn’t receive evacuation orders until after it was too late, but people in Florida knew what was coming. Those who chose to stay behind did so at their own peril. When you ignore an evacuation order, you are telling the authorities that you are entirely on your own, and do not expect any aid from them. You do so knowing that 911 won’t work, that health and medical emergencies will need to be dealt with in house, and that you’ve decided you know better than the weatherman.

I realize it can be hard to leave everything behind. I’ve done it twice in my life, and it wasn’t any easier the second time than it was the first. What you’re leaving behind is Stuff and Things, and I guarantee you, Stuff and Things are not nearly important as Friends and Family. I speak with experience and authority here. Leaving ahead of an emergency allows you to leave on your own terms.  You can take the time to pack bags, to grab family photographs and important documentation. You can bring along family pets, and favorite children’s toys. Leaving (or attempting to leave) once the emergency is upon you means you’re leaving on the emergency’s terms, rather than your own. You may not have time to find the cat cowering in the basement, or find the woobie your kid can’t sleep without.

If you can’t leave, for whatever reason, then you need to make reasonable plans for what is likely to happen, what could happen, and what is unlikely to happen. There will always be things that can’t be planned for (like the current destruction of Asheville, for example), but you have to do your best.

In my area, we deal with freezing rain often enough that we know the power will go out at least once, and likely twice over the winter. In the spring, it’s wet weather and high winds knocking down trees and taking out power lines. The most likely occurrence is that we’ll be without power for a day or less. What might happen is that we’re out of power for a couple of days, and our water might be affected. It’s unlikely that we’ll be out for more than a few days, but we have things on hand to make that less troublesome if it does happen. We’ll be very busy canning all the stuff in our freezer, honestly.

Read More

The Weekly Feast – Stuffed Squash With Sausage

There are foods that I consider to be autumn foods. Squash, pumpkin, sage sausage, and soups in general come to mind. I love cooking seasonal foods, partly because it tends to be a cheaper way of eating, and partly because there’s just something scrumptious about picking up a squash that was in a field 2 hours ago, and baking it up. Today’s recipe is for a stuffed squash, but I haven’t told you what type. The honest answer is, it doesn’t really matter. I found Sweet Dumpling Squash on sale today, but had originally gone looking for acorn. I will say that Spaghetti and Butternut Squash don’t do as well in this recipe, only because they don’t have a big hole in them to stuff full of yumminess. But if that’s what floats your boat, go for it! You do you, Boo!

Varieties of Winter Squash

Ingredients:

  • 2 winter squash, halved and cleaned of seeds
  • 1 lb ground sausage, sage/breakfast style
  • 1 small onion, diced
  • 1 small carrot, diced
  • 1 rib celery, diced
  • 2 to 5 cloves garlic, minced
  • 1/2 cup of COOKED rice, barley, quinoa, or other grain
  • spices, to taste (either sweet or savory, your choice)
  • cheese, for topping (optional)
  • walnuts, for topping (optional)

Preheat your oven to 400F. Place the four halves of squash, open side down, onto a rimmed baking sheet. Add a bit of water (this helps by steaming the flesh of the squash slightly), and put in the oven for 30 minutes to an hour. Check after 30 minutes for doneness; you want the squash to be soft through, but not brown or caramelized at all.

While the squash is cooking, brown up your ground sausage in a cast iron pan or pot. I prefer to use a nice sage sausage for this, because it’s my go-to flavor for this time of year. If you prefer sweet or hot Italian, go for it. If you don’t do pork, feel free to substitute in ground beef, tofu, TVP, venison, squirrel, turkey, or chicken. If you’re not using a sausage, pick up a good “sausage spice” to add to your ground meat, or it will be bland later. You don’t want bland.

When the sausage is thoroughly browned but not yet crispy, use a slotted spoon to remove it from the pot. Leave behind as much of the fat as you can (add olive oil if there isn’t enough in the pan). Toss in your onions, carrots, and celery, and saute until they’re just soft and starting to brown up. Add in the garlic, and saute until it releases its oils, about 30 seconds to a minute. If there’s a decent amount of meat or veg stuck to the bottom of the pan, deglaze with a splash of red wine, using a wooden spoon to mix thoroughly. Add in the cooked grain, and stir to incorporate. The grain should soak up any excess liquid. Add in the meat, and then spice to your taste.

When it comes to spicing this, you can go either savory or sweet. For savory, consider salt and pepper, oregano, thyme, and sage. If you go sweet, start with salt and pepper, then add in a bit of sweet paprika (get a GOOD type like Szeged rather than using glorified red dyed sawdust like McCormick). Then stir in either a bit of maple syrup (my favorite) or some dark brown sugar. If you go the sweet route, also consider tossing in some raisins and dried cranberries or cherries for a delicious flavor burst.

Once the squash is ready, fill the hole with your meat mixture, adding an equal amount to each half. Top with cheese if you’ve decided on savory, or nuts and berries if you’re going sweet. Return to the oven and bake at 400F for 15 minutes or so, just until everything is hot through and the cheese, if used, is thoroughly melted.

Notes:

If you have picky kids who are likely to eat the filling and then ignore the squash, do what we did: cut the squash up and add the filling to it. Make it into a casserole! This way, they have to eat the squash to get at the “good bits” and you get to feed them well. 😉

This is one of those “do whatever you like” recipes that changes every time I make it. I’ve made vegan versions with Beyond Sausage, or with diced up vegan Field Roast sausages, or with tofu. I’ve made non-pork versions for friends who don’t do pig, and it’s turned out beautiful. If you want it to be a side dish, simply skip the protein entirely and stuff the squash with your grain and whatever veggies you have on hand. Shredded brussel sprouts are pretty good in this, especially when mixed with a Tex-Mex wild rice blend and raisins.

Enjoy!

Networking, interrelationships

Part of the task of making a High Availability system is to make sure there is no single point of failure.

To this end, everything is supposed to be redundant.

So let’s take the office infrastructure as a starting point. We need to have multiple compute nodes and multiple data storage systems.

Every compute node needs access to the same data storage as all the other compute nodes.

We start with a small Ceph storage cluster. There are currently a total of 5 nodes in three different rooms on three different switches. Unfortunately, they are not split out evenly. We should have 9 nodes, 3 in each room.

Each of the nodes currently breaks out as 15 TB, 8 TB, 24 TB, 11 TB, and 11 TB. There are two more nodes ready to go into production, each with 11 TB of storage.

It is currently possible to power off any of the storage nodes without effecting the storage cluster. Having more nodes would make the system more redundant.

Unfortunately, today, an entire room went down. What was the failure mode?

DHCP didn’t work. All the nodes in room-3 were moved to a new 10Gbit switch. Actual 4×2.5 2×10. The four 2.5Gbit were used to connect three nodes and one access point. One of the 10Gbit SFP+ ports was used as an uplink to the main switch.

When the DHCP leases expired, all four machines lost their IP addresses. This did not cause me to loss a network connection to them because they had static addresses on a VLAN.

What did happen is they lost the ability to talk to the LDAP server on the primary network. Because they had lost that primary network connection, no LDAP, no ability to log in.

The first order of repair was to reboot the primary router. This router serves as our DHCP server. This did not fix the issue.

Next I power cycled the three nodes. This did not fix the issue.

Next I replaced the switch with the old 1Gbit switch (4x1Gbit, 4x1Gbit with PoE). This brought everything back to life.

My current best guess is that the cat6 cable from room 3 to the main switch is questionable. The strain relief is absent and it feels floppy.

More equipment shows up soon. I’ll be pulling my first fiber in 25 years. The new switch will replace the current main switch. This is temporary.

There will be three small switches for each room. Then there will be a larger switch to replace the current main switch. The main switch will be linked with 10Gbit fiber to the 3 rooms in server rooms. The other long cables will continue to use copper.

Still, a lesson in testing.

The final configuration will be a 10Gbit backbone with OM4 fiber, the nodes will be upgraded to have 10Gbit NICs which will attach to the room switches via DAC cables. There will then be a 2.5Gbit copper network. The copper network will the default network used by devices.

The 10Gbit network will be for Ceph and Swarm traffic.

I’m looking foward to having this all done.

Prepping – Three Weeks Without Food

I’m all about prepping canned and dehydrated food in advance of any emergency. I’m more interested in learning to garden than in having 20 years of supplies on hand. My goal is to have enough food (“food” being defined as the proper ratio of fats, carbohydrates, and proteins to keep a person not just alive, but thriving) in my pantry that I can last for 18 months. That’s the longest time I would be without a garden harvest. These are good plans, but I also like to know what I can get from the world around me.

Eastern hemlock fir tree leaves
Eastern Hemlock, a fir tree bursting with vitamin C.

I live in New Hampshire, and there are lots of things to eat that can be foraged easily. Starting with the easiest, there are blackberries, raspberries, and blueberries pretty much all over the state. They’re largely free for the taking, and there aren’t any “look alike” poisonous versions. Eastern Hemlock is a type of fir tree that is indigenous to the area. You can tell it by its flat spines/leaves (see the picture). It contains a lot of Vit C, and makes a very nice tea. In the spring, dandelion leaves are a great source of fresh greens. While a little bitter, they’re full of vitamins and minerals, and can be added to salads and soups. Don’t forget fiddleheads, though they’re only available in the spring for a very short amount of time. Cattail (you know, the “corndog” like things growing in ponds and slow moving rivers) is also edible. Different parts of the plant are good at different times of the year.

There are many mushrooms that are edible, but all mushrooms come with a caveat. Mushrooms, all of them, are edible… but some are only edible once. Meaning, there are poisonous mushrooms, and ones which will mess with your gut in bad ways even if they don’t kill you. As an example, I found a stand of amazing looking fungi at the base of a tree in my back 40. I asked a friend of mine, who is an expert mushroom hunter, if they were edible. They looked very much like an edible mushroom I know about. She laughed when she saw the image, because the shroom in the picture is more of a “draino” style medicine. Basically, if your stomach needs to be cleaned out entirely, it’s a really good mushroom to eat. It doesn’t harm you, but it goes right through your system, taking everything with it. I’m glad I didn’t make those into mushroom soup…

Read More

dijon mustard in a bowl and on a spoon

The Weekly Feast – Dijon Chicken and Barley

I made this one this past week, and was thoroughly impressed by it. The flavors were good, though it needed a bit of tweaking to make it perfect. It was a VERY good “dump meal,” meaning all I had to do was stuff things in the crock pot and set it to high. I’ve been sick as a dog this week, and needed stuff that was simple to make. This fit the bill, and was healthy and tasty as well!

Ingredients

  • 1-1/2 cups barley
  • 1 lb mushrooms, sliced
  • 2 lbs boneless, skinless chicken (thighs, breasts, or a combo)
  • 4 cups chicken broth
  • 1/4 cup lemon juice
  • 1/4 cup dry white wine
  • 6 garlic cloves, smashed and chopped
  • 1 tsp dried thyme
  • 2 tsp salt
  • 1 tsp onion powder
  • ½ tsp red pepper flakes
  • black pepper, to taste
  • 10 oz frozen sweet peas
  • 1/4 cup creme fraîche, sour cream, or plain yogurt (dairy free works well)
  • 2 tbsp Dijon mustard, plus more to taste
  • 1/2 cup fresh tarragon or dill, minced
  • Parmesan cheese

In your crock pot, combine all the ingredients from barley to the black pepper. Stir well to combine, and then cook on high for about 3 hours. Stir again, making sure to immerse the chicken in the liquid. It’s going to seem a bit soupy, but trust in the recipe. Cook for another hour on high, or switch to low to cook for up to another 3 hours.

Remove the chicken to a plate and let sit for a few minutes while you do other things. Stir in the frozen peas and let them heat for about 2 minutes.

While the peas are warming, whisk together the creme fraîche and mustard. Taste, and add more mustard to suit your palate. Fold this mixture into the barley and mushrooms in the crock pot. Now, shred or pull apart your chicken. It should fall apart easily. Return the chicken to the pot, then taste to see if you need any more salt or pepper. Stir in the chopped fresh herbs, and serve immediately.

Add the Parmesan at the table, for those who wish it.

Notes:

I found the tarragon to be a bit strong in flavor, even though I only used about a tablespoon of it. The slight liquorish flavor just overpowered the rest of the dish. I would omit this next time, and use either all dill, or a mix of dill and Italian Seasoning instead. Another suggestion would be Herbs de Provence.

Even though you’re only adding about a half cup total of “creamy” stuff to this dish, it comes out incredibly creamy tasting. I used a cashew based yogurt, because I’m not able to eat dairy, and it was delicious. I used a smooth traditional Dijon, and I think I might try a more stone ground style next time. This was great as a stand-alone, and could easily be put together in a morning before running out the door. I think it would also be nice paired with a light salad.