Upgrade, why you break things!
Features, Issues, Bugs, and Requirements
When software is upgraded or updated, it happens for a limited set of reasons. If it is a minor update, it should be for issues, bugs or requirements.
What is an Issue? An issue is something that isn’t working correctly, or isn’t working as expected. While a Bug is something that is broken, that needs to be fixed.
A bug might be closed as “working as designed,” but that same thing might still be an issue. The design is wrong.
Requirements are things that come from outside entities that must be done. The stupid warning about a site using cookies to keep track of you is an example. The site works just fine without that warning. That warning doesn’t do anything except set a flag against the cookie that it is warning you about.
But sites that expect to interact with European Union countries need to have it to avoid legal problems.
Features are additional capabilities or methods of doing things in the program/application.
Android Cast
Here is an example of something that should be easy but wasn’t. Today there is a little icon in the top right of the screen, which is the ‘cast’ button. When that button is clicked, a list of devices is provided to cast to. You select the device, and that application will cast to your remote video device.
We use this to watch movies and videos on the big screen. For people crippled with Apple devices, this is similar to AppleTV.
When this feature was first being rolled out, that cast button was not always in the upper right corner. Occasionally it was elsewhere in the user interface. Once you found it, it worked the same way.
A nice improvement might be to remember that you prefer to cast and what device you use in a particular location. Then when you pull up your movie app and press play, it automatically connects to your remote device, and the cast begins. This would be just like your phone remembering how to connect to hundreds of different WiFi networks.
If you were used to the “remember what I did last time” model and suddenly had to do it the way every other program does, you might be irritated. Understandably. Things got more difficult, two buttons to press when before it just “did the right thing.”
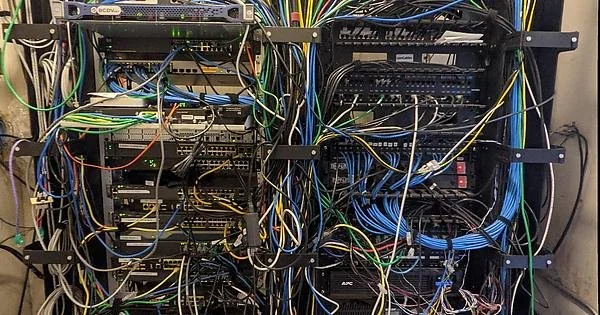
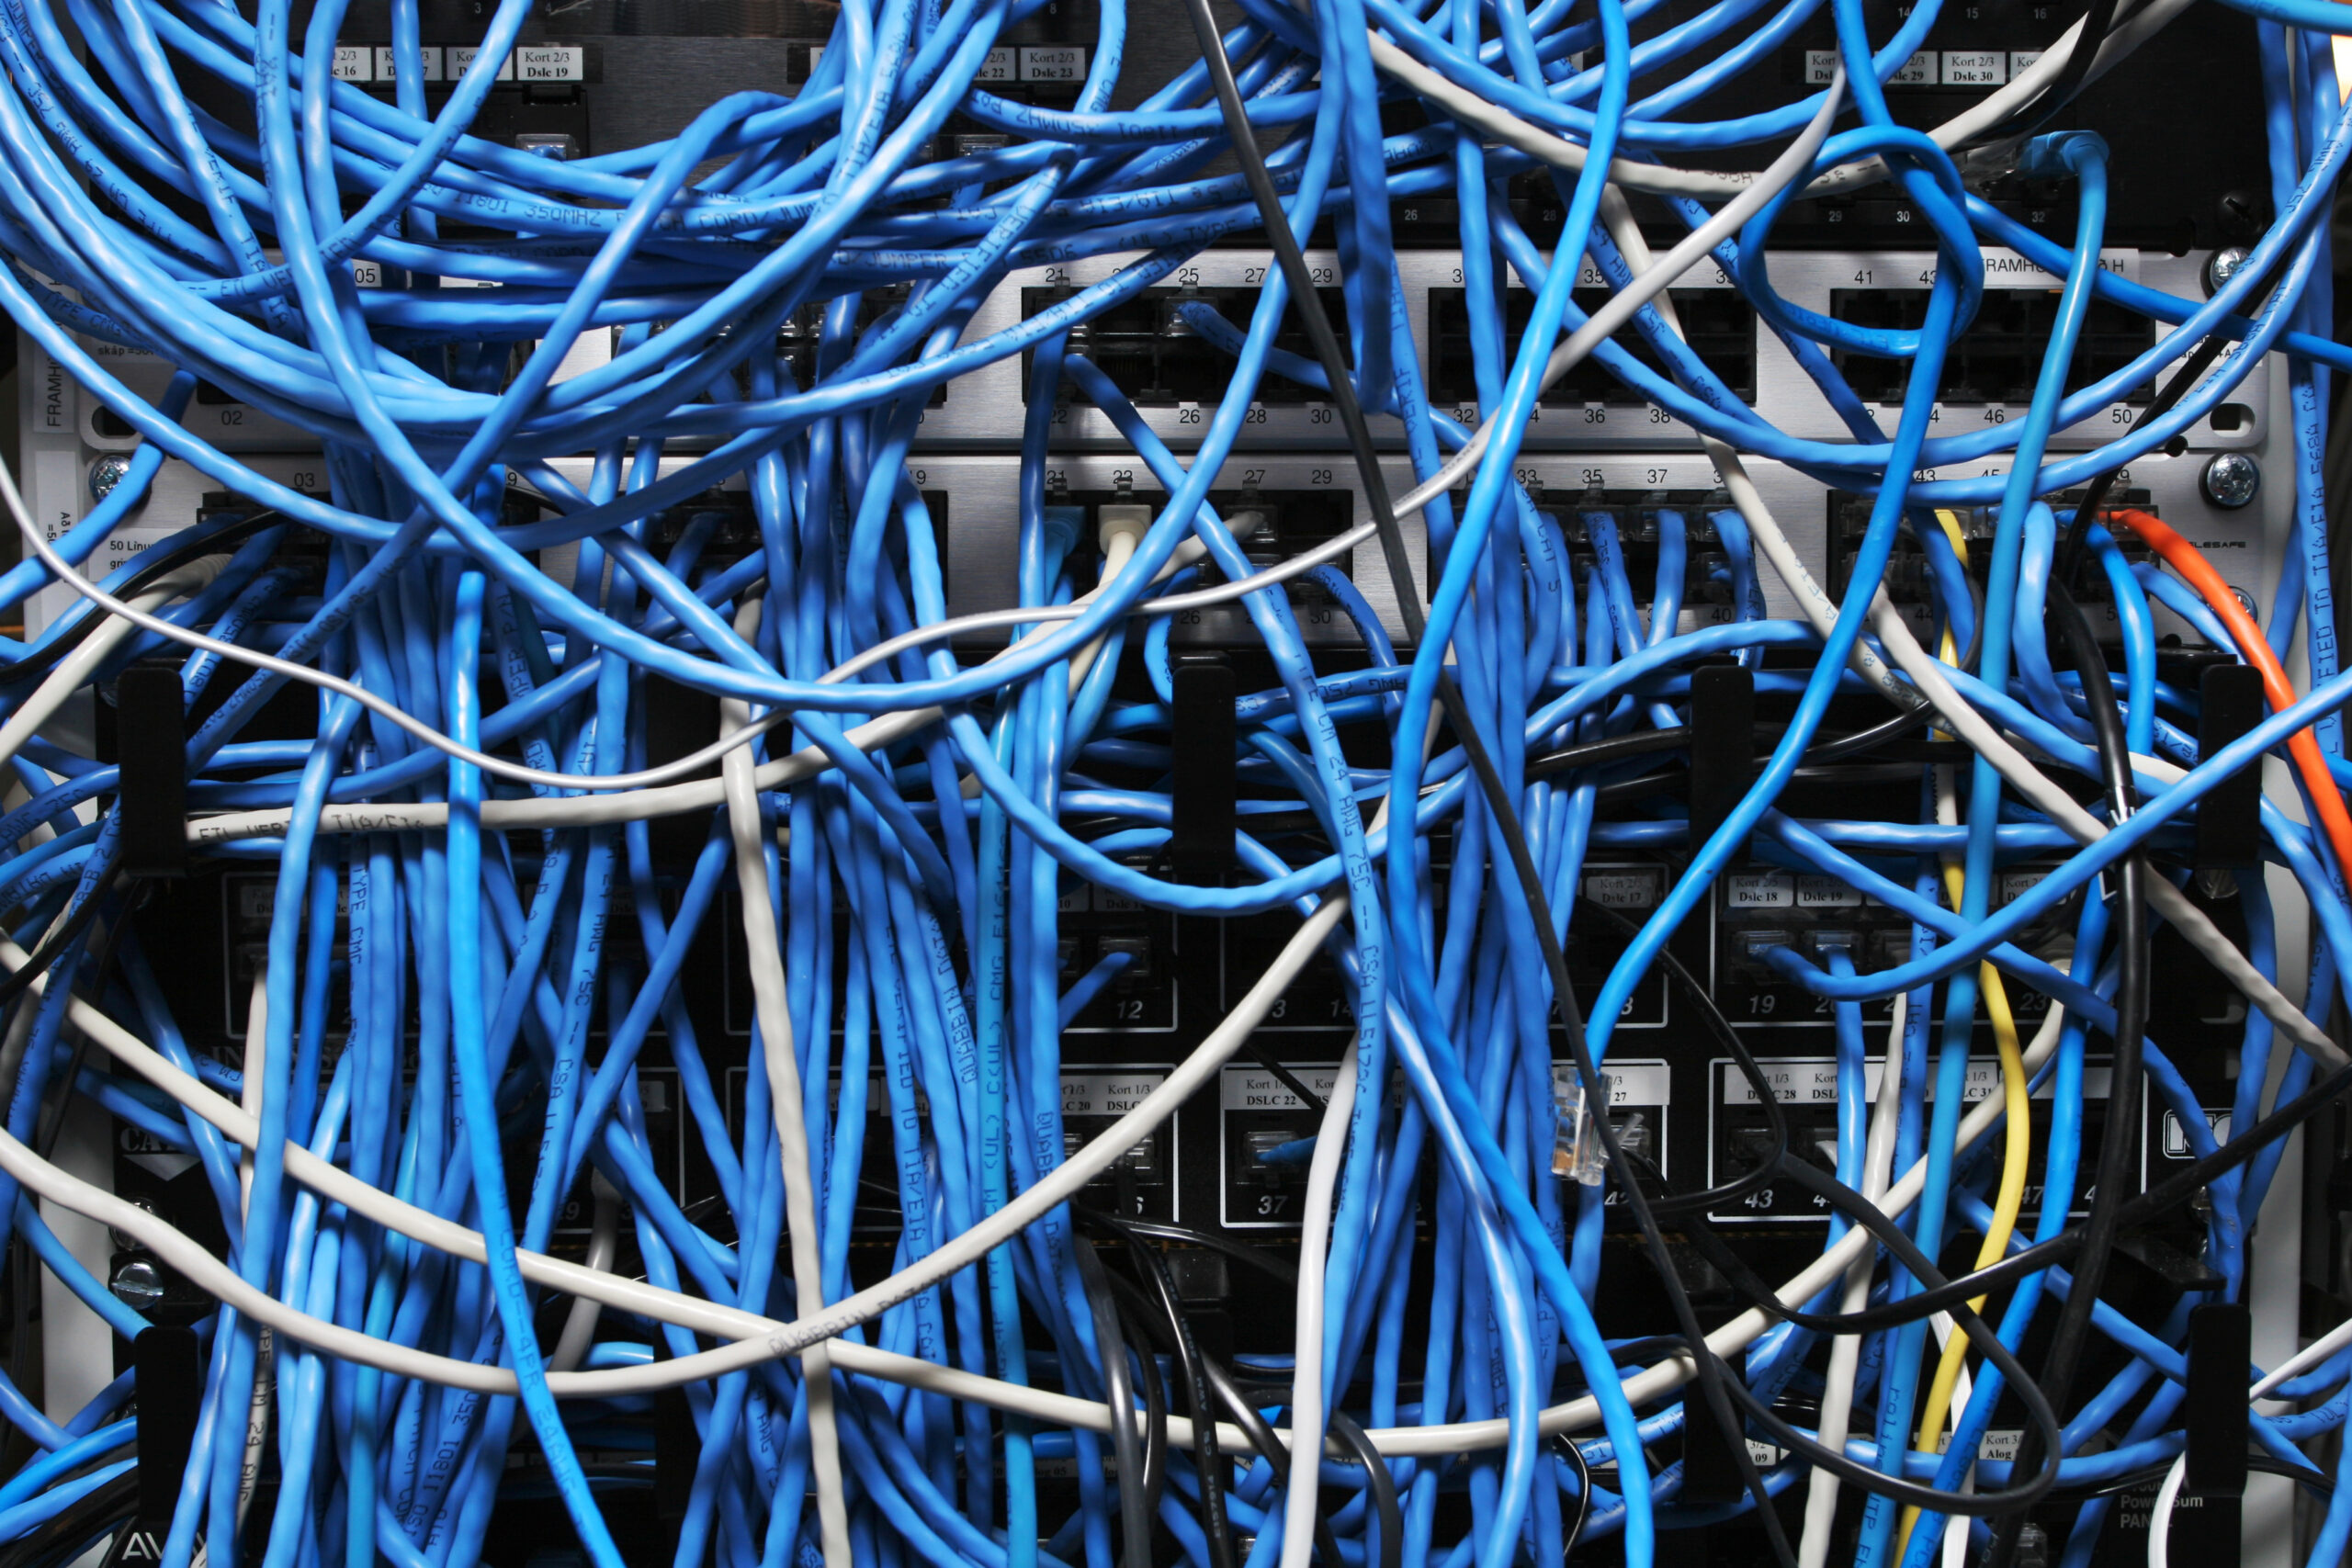
Upgrades and updates are often filled with these sorts of changes, driven by requirements.
Issues and Bugs
If I’m tracking a bug, I might find that the root cause can’t be fixed without changes to the user interface. I’m forced into modifying the user interface to fix a bug that had to be fixed. Sometimes making something more difficult or requiring more steps. It is a pain in the arse, but occasionally a developer doesn’t really have a choice.
An even more common change to the user interface happens when the program was allowing you to do something in a way you should not have been. When the “loophole” is fixed, things become more difficult, but not because the developer wanted to nerf the interface, but because what you were doing should not have been happening.
Finally, the user interface might require changes because a library your application is using changes and you have no choice.
The library introduced a new requirement because their update changed the API. Now your code flow has to change.
Features
This is where things get broken easily. Introducing new features.
This is the bread and butter of development agencies. By adding new features to an existing application, you can get people to pay for the upgrade or to decide on your application over some other party’s application.
Your grocery list application might be streamlined and do exactly what you want it to do. But somebody asked for the ability to print the lists, so the “print” feature was added, which brings the designers in, who update the look to better reflect what will be printed.
Suddenly your super clean application has a bit more flash and is a bit more difficult to use.
Features often require regrouping functionality. When there was just one view, it was a single button somewhere on the screen. Now that there is a printer view and a screen view, with different options, you end up with a dialog where before you had a single button press.
Other times the feature you have been using daily without complaint is one that the developer, or more likely the application owners, don’t use and don’t know that anybody else uses. Because it works, nobody was complaining. Since nobody was complaining, it had no visibility to the people planning features.
The number of times I’ve spent hours arguing with management about deleting features or changing current functionality would boggle your mind. Most people don’t even know everything their application does, or the many ways that it can be done.
David Drake’s book The Sharp End features an out-of-shape maintenance sergeant pushed into a combat role. He and his assistant have to man a tank during a mad dash to defend the capital.
At one point the sergeant is explaining how tankers learn to fight their tank in a way that works for them. The tank has many more sensors and capabilities than the tanker uses. Those features would get in the way of those tankers. It doesn’t matter. They fight their tank and win.
As the maintenance chief, he has to know every capability, every sensor, and every way they interact with each other. Not because he will be fighting the tank, but because he doesn’t know which method the tanker is going to use, so he has to make sure everything is working perfectly.
My editor of choice is Emacs. For me, this is the winning editor for code development and writing books and such. The primary reason is that my fingers never have to leave the keyboard.
I type at over 85 WPM. To move my hands from the keyboard is to slow down. I would rather not slow down.
I use the cut, copy, and paste features all the time. Mark the start, move to the end, Ctrl W to cut, Meta W to copy, move to the location to insert, and Ctrl Y to yank (paste) the content at the pointer. For non-Emacs use, Ctrl C, Ctrl X, and Ctrl V to the rescue.
My wife does not remember a single keyboard shortcut. In the 20+ years we’ve been together, I don’t think she has ever used the cut/paste shortcuts. She always uses the mouse.
All of this is to say that the search for new features will oftentimes break things you are used to.
Pretty Before Function
Finally, sometimes the designers get involved, and how things look becomes more important than how they function.
While I will not build an application without a good designer to help, they will often insist on things that look good but are not good user experiences. Then we battle it out and I win.