Making Flasks
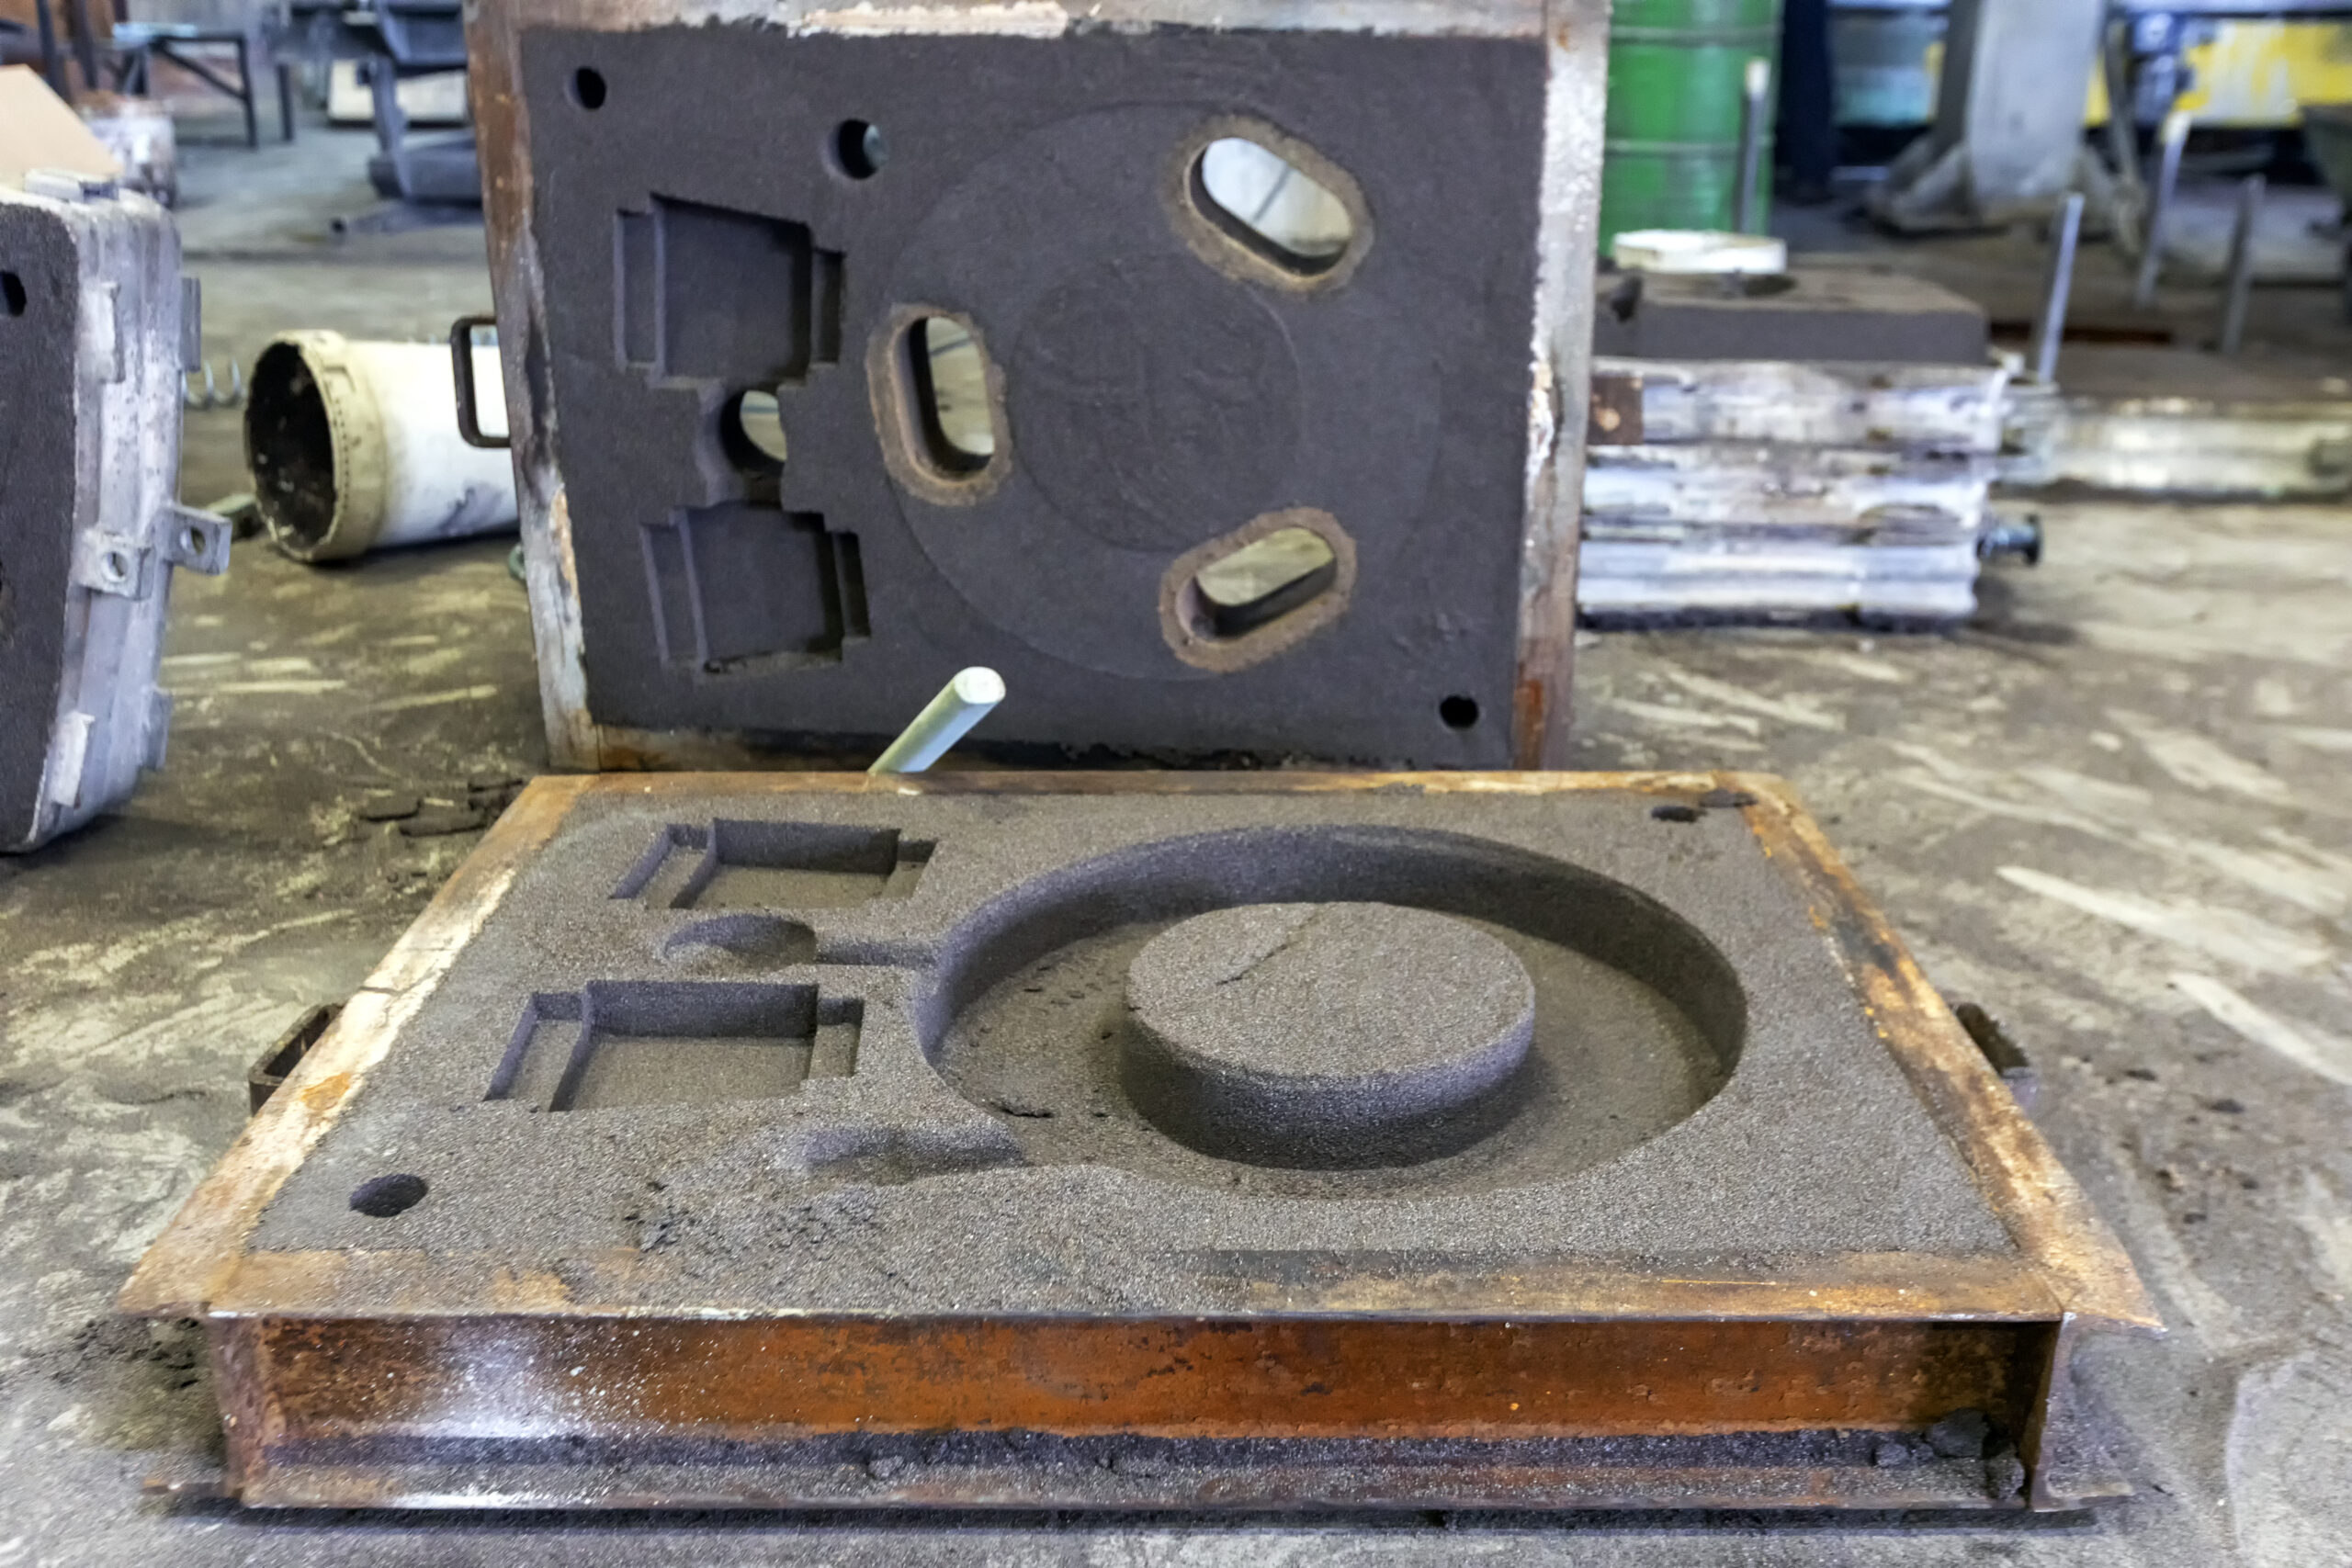
A flask is the technical name for the open top and bottom used to contain sand for sand molds.
The concept is simple: make a pattern of the thing you want to cast, surround it with hard packed sand, remove the pattern, fill the void with molten metal, wait for it to cool, remove the solid metal from the sand, reuse the sand.
There are three main skill sets in this process: the pattern maker, the rammer, and the person making the pour. If any of them messes up, you are likely to end up with a bad casting.
Pattern making is the most difficult part, in my mind. You have to design a pattern that can withstand the stress of being in sand that is being hammered. It needs to be designed so that it can be pulled from the sand mold without breaking the mold. This means no undercuts, a smooth surface, and taper to the sides.
In addition, metal expands as it is heated and shrinks as it cools. This shrinkage needs to be allowed for in the patterns. Different metals shrink at different rates and require different scaling in the patterns. In other words, a pattern designed for cast iron will be to small when cast in aluminum.
Because of the violence of the ramming process, the flask has to be rammed up on a solid surface. Because there is a lot of sand that needs to be recovered from the ramming process, the ramming table, called the molding table, has to have catch basins to catch the excess sand.
We also have to be able to flip the flasks, cut patterns in the sand for gates and runners, and do a bunch of other things.
The flask also needs to be sturdy enough to withstand the ramming up process. If the flask flexes under impact or vibrates, or the inside surfaces are to smooth, the sand will fall out or not compact enough.
Thus, we want to have strong, solid flasks.
Each flask is constructed of two parts, the cope and the drag. The true difference between them is one has alignment pins, and the other has alignment holes. This is so the cope can be put back in the same place when it is put back on the drag after removing the pattern.
The cope and the drag are each made of four sides. Two sides have lifting handles and the alignment hardware. The other two sides do not.
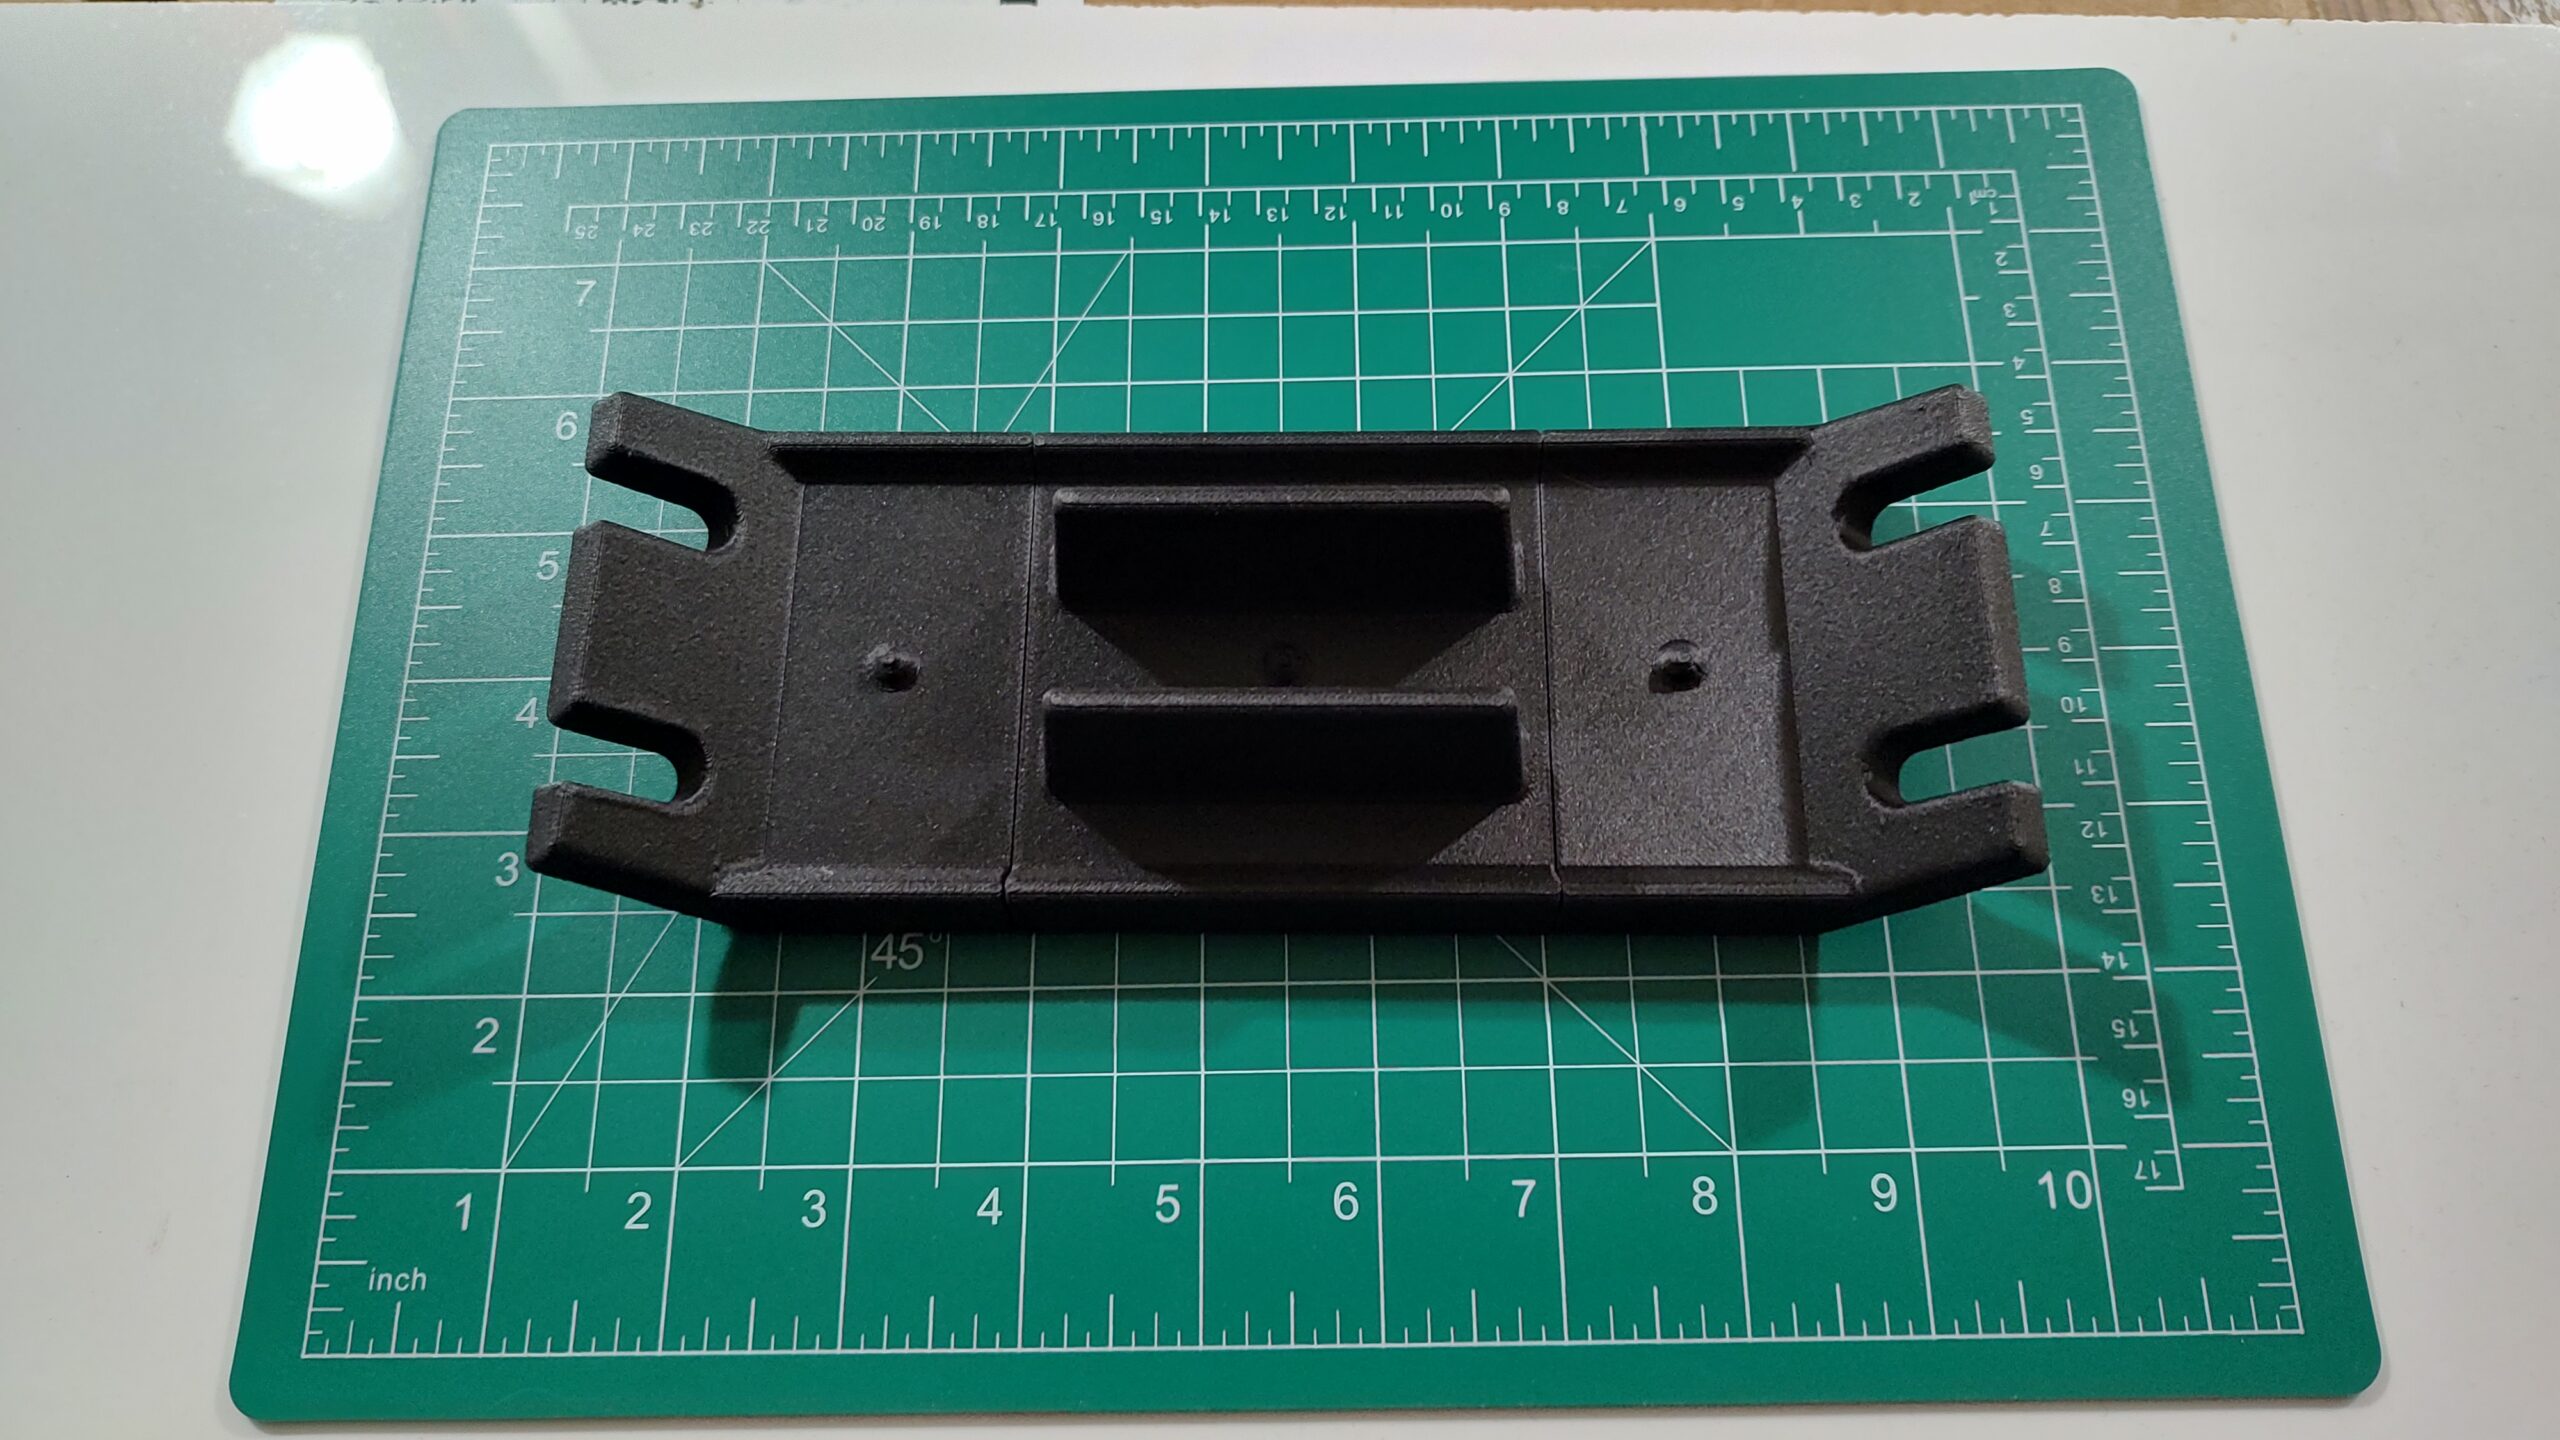
This is an end side. The two edges that are coming up will have holes drilled in them to hold a pin or to take a pin. It takes two of these for the cope and two for the drag.
This is what it will look like when we are using it; the slotted ears on the ends will bolt to the sides of the flask parts.
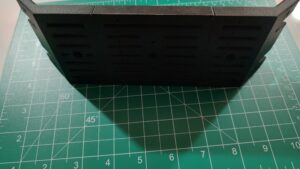
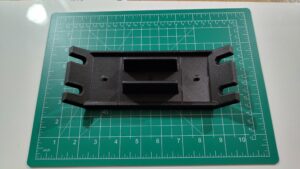
This is the side the sand will be rammed into. The back side features grooves to help support the sand when it is rammed up.
The piece shown here is the smallest end piece I can foresee using. It is about 6 inches long. To make the side longer, you add extension pieces like the following.

These are 40mm and 80mm wide, or 1.5″ and 3″ long. The handle section is also 3″ long. This means I can create a flask side of almost any length in 1.5 in units.
So, to make one complete flask, I need eight sides. That means that the ear pieces will be rammed up 8 times. The handle pieces will be rammed up 4 times. Any extensions will be rammed up 8 times.
I want more than one flask, this means these patterns will need to be used over and over again. That requirement means I want these to be as strong as possible.
Also, they connect with pins and slots. Those are weak points, I want those to be strong as well.
PA6-CF gives me all of that.
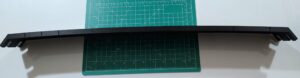
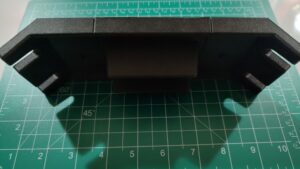
Here is the longest side I can make currently.
One of the issues with snapping pieces together is that you don’t get perfect alignment. As you can see, the side has a major curve in it. I can take this out by carefully sanding and touching up the mating surfaces. This will make the side flat; it just takes time.
Instead, I’m going to drill holes through my molding board to attach the pattern to. This allows me to flatten the pattern.
My hope is to have enough sides to have 5 to 10 flasks available to me. Since the sides just bolt together, I expect I will be able to mix and matcch the sides after I surface the top and bottom edge flat and to specification.
Could I have done this all in low cost PLA? Yes. And it likely would have held up great. And it would have been cheaper. I could have printed it in PETG which is stronger still, or ABS, or ASA, both strong contenders. The fact that I could use PA6-CF was more of the sell than any actual engineering calculations.
The final results of the print are wonderful. I’m looking forward to casting weather.