I added some nasty pictures of my very messy and dirty shop after the MORE
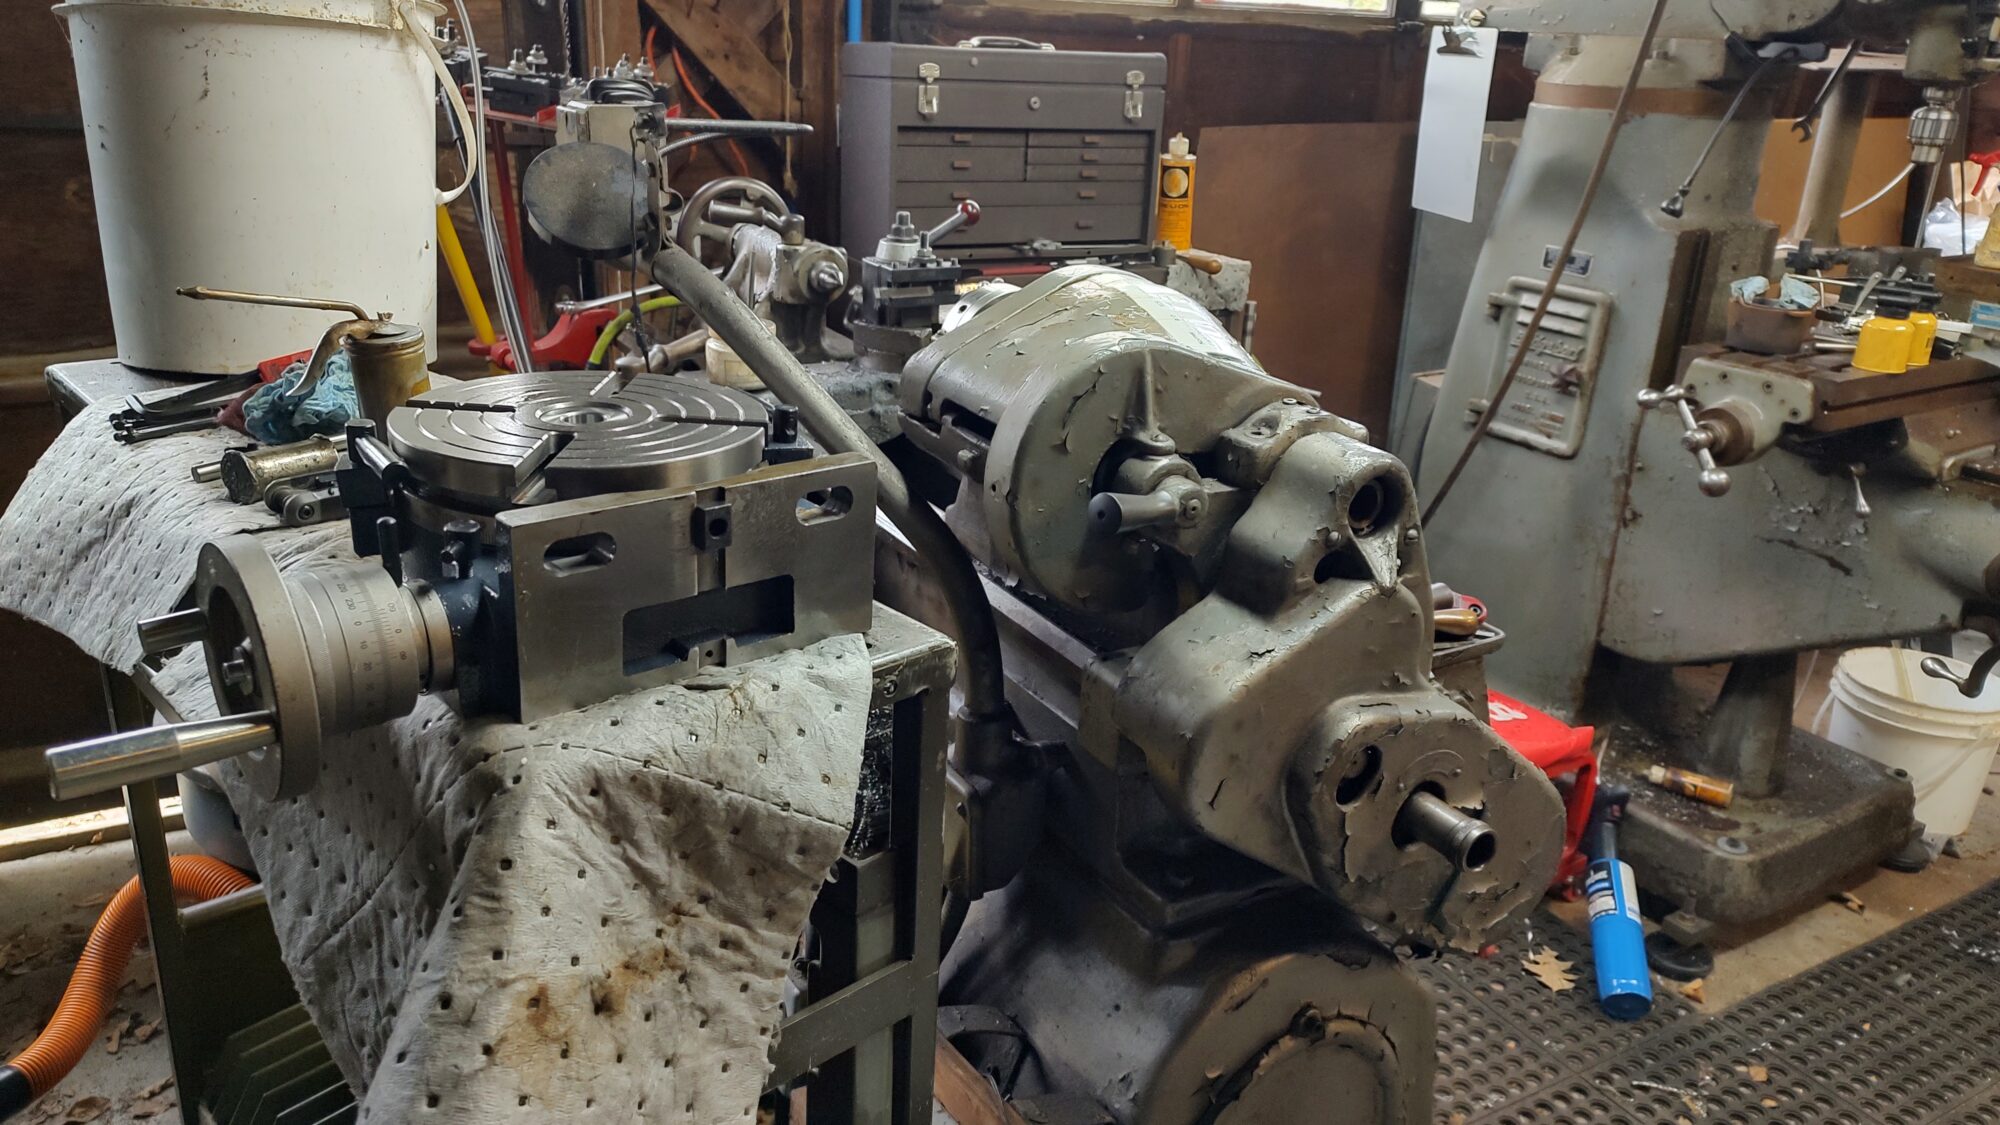
Yesterday was another cleaning day. I tore the rotary table apart to inspect and clean it.
As expected, there were several areas that were out of sight that needed to be deburred.
Taking it apart was straightforward.
All but one machined surface was nicely done. For a slow speed tool, it is very nice.
That one place was the actual worm. The leading thread, which isn’t in contact with the worm-gear, was buggered to hell and gone, razor sharp and just plain nasty.
A bit of work with a file and that was fixed. The good news is that the shop towel I was using discovered that razor and not my fingers.
I will be redoing parts of the cleaning with some serious degreaser. I wasn’t able to get it entirely clean.
There was nasty grit in places. All the grit has been removed.
I intend to put it back together today. I’ll have to replace one socket head screw because the head stripped while removing the screw. This means I need to find my box of metric socket head screws. It shouldn’t be that difficult.
All said, I’m happy with this purchase.
Tomorrow the dividing plates arrive. I hope that the inner hole matches the shaft they are to go over. If I need to machine a bushing for the two plates, that’s no big deal.
The rotary table is missing the three tapped holes to hold the dividing plates in place.
This is not an issue. The disk where the holes go is a separate casting. It will go in the milling machine with no issues. I’ll either transfer punch the holes or I will do a simple 3 hole pattern using the DRO.
If I was being really cool, I would mount it on the rotary table and drill and tap the holes that way.
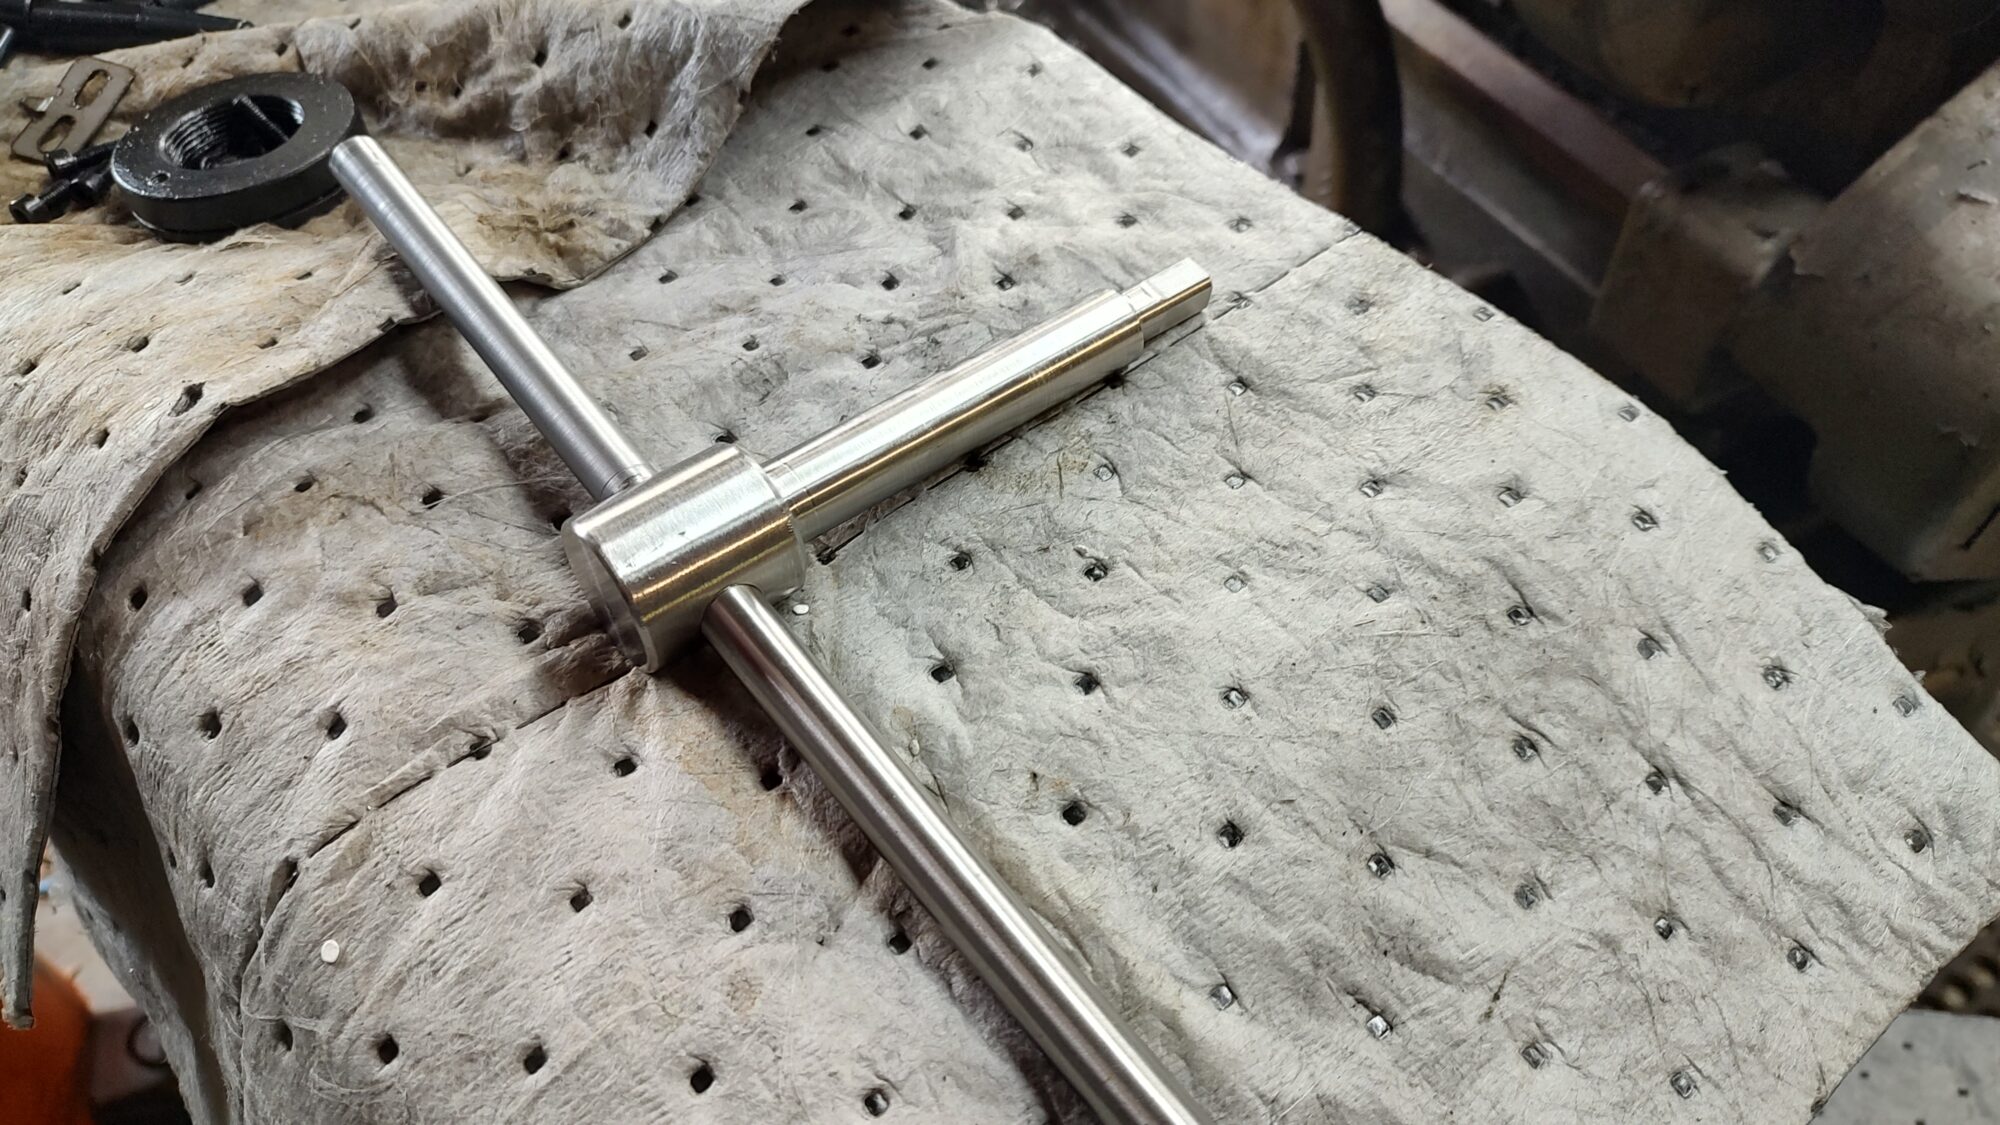
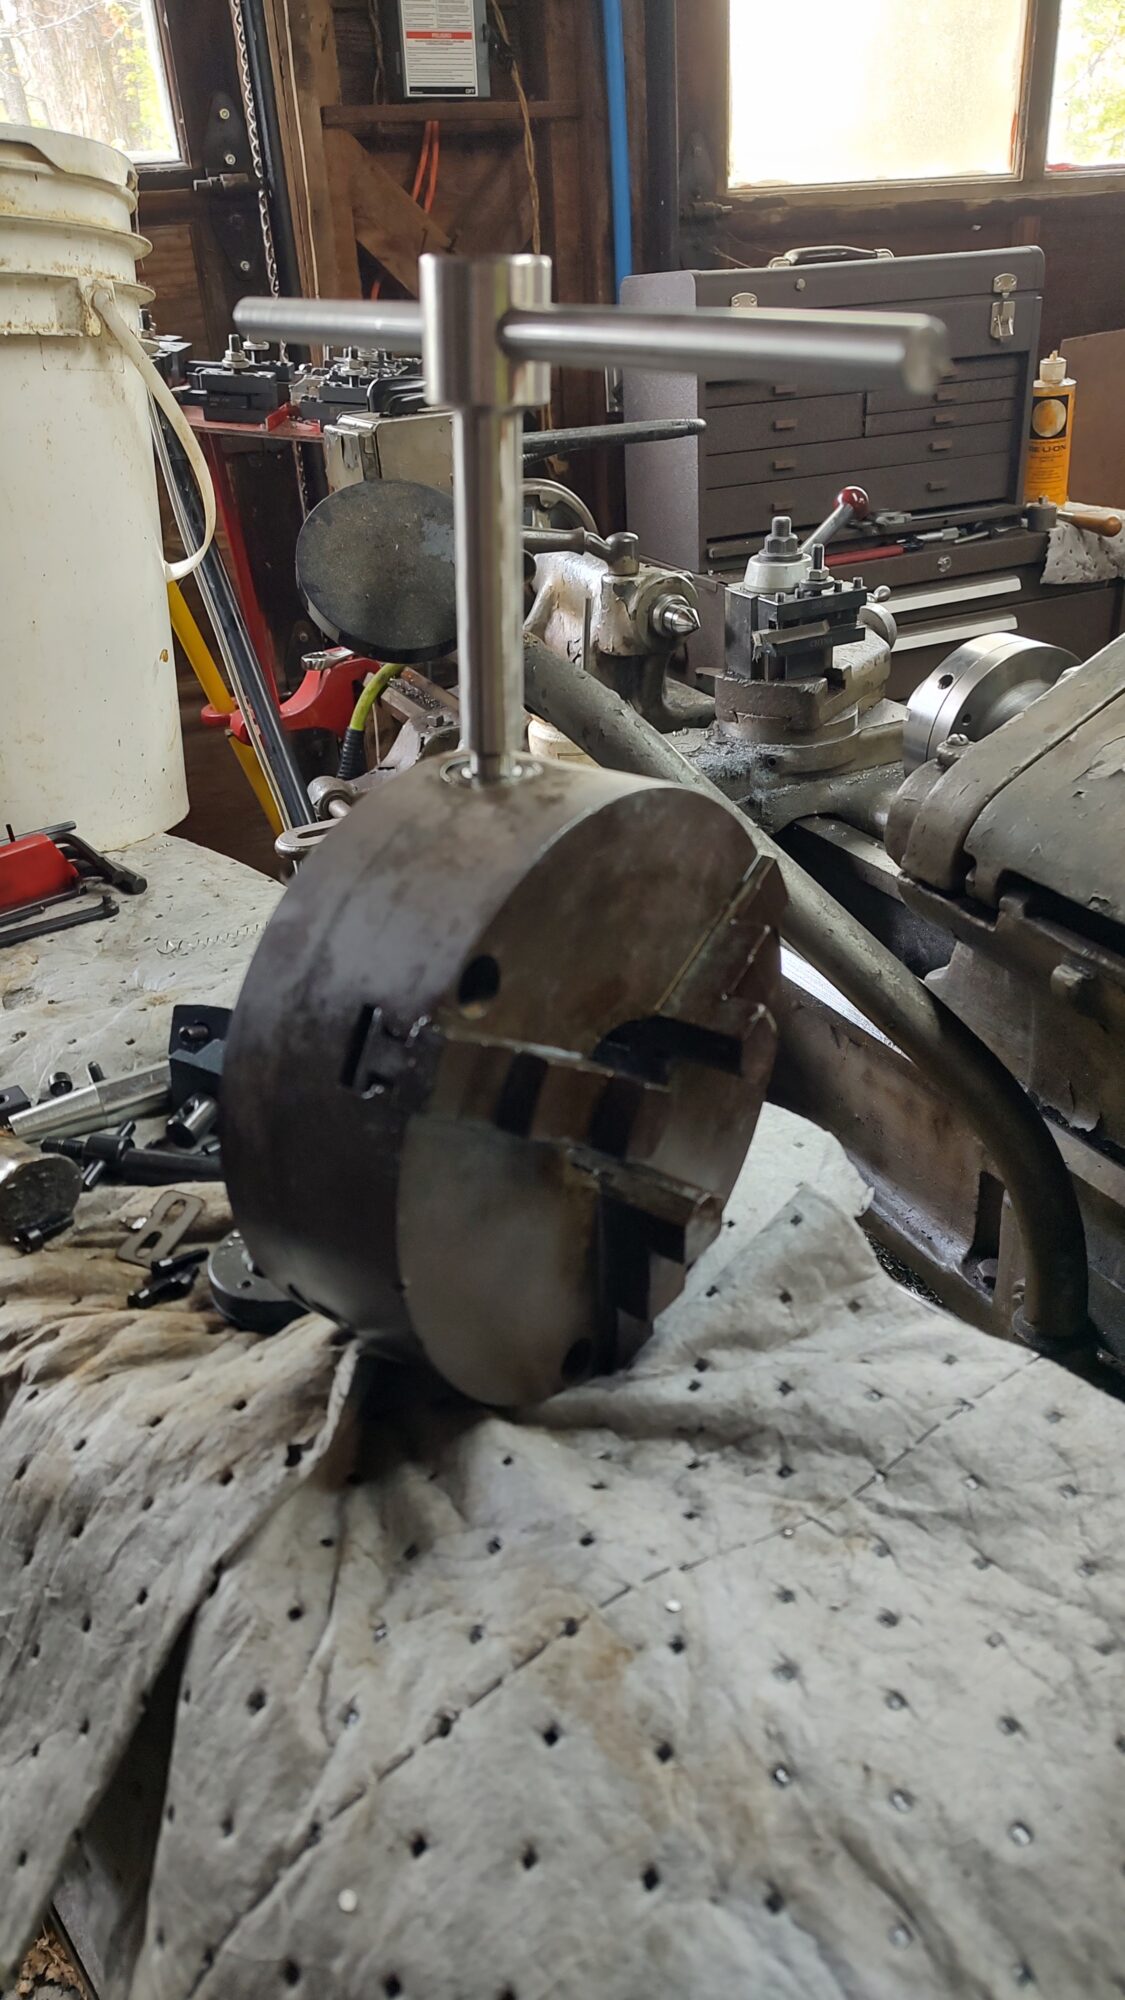
P.S. I finished the new chuck key for the old chuck. It looks damn nice. I’m actually proud of my work on it. I might have to polish one handle to make it look a little better, but neither the less, it is pretty.

This started as a piece of 1.25 round about 6 inches long, pulled from my scrap pile. I think it is 1018, which I used to make a pin for my JD 210C. It was turned down to 0.75 for the shaft, then turned down to 0.5 for the square. Sharp corners were chamfered at 45° Inside corners were rounded with a 0.125 radius button tool. Square drive was cut by inserting the key from the back into a 5C collet and then squared off with a 0.75 end mill, side milling.
The hole for the handle was drilled at 31/64, then reamed to a size less than 0.500. I purchased 200+ reamers about 10 years ago for $140. I still don’t know all the sizes and the rack is not well organized nor are the reamers marked. In this case, I mic’ed reamers until I got one “close enough”:.
I then turned a 0.5 piece of 310 until it was a sliding fit for the hole to 0.75 short of center. Then 1.25 inches was turned down to an interference fit with the hole in the key. The handle was then pressed into the chuck key body.
I should have polished the turned down half, but it wasn’t worth the effort for a working tool.

This is the third chuck that came with my lathe. After cleaning it up, I noticed that it might be badged. It was badged.
This chuck came from the Cushman company. It looks like Cushman was on the decline by the end of the 1940s. I have not identified this exact chuck, but it is a good chuck.

The shop needs attention. Part of my fight against depression is cleaning the shop. I am making progress. You can’t tell from this, but we took out about 25 pounds of chips on Tuesday.
The rotary table is on the top of the rifle rack. It has a little bit of flash rust, but it wiped off and everything is now greased and oiled and adjusted.
It has a much smoother operation now. I’m unhappy with the positioning of the zero mark on the collar. I will need to see if the worm engagement lever can be moved so that it is accessible in both vertical and horizontal orientations when zero is in a usable location.
Note, it doesn’t matter where the zero is when using as a dividing head. And it is visible when in the horizontal orientation.

Pics?