Woodworking

close up of Carpenter sawing a board with a hand wood saw

The Right Tools

My father was a woodworker. He made beautiful furniture. I have a couple of pieces he made.

His primary tool was the radial arm saw. He also had a hand drill. Everything else he did by hand. I wish I had learned more from him.

I think it was one of his quiet hobbies. Later, he became obsessed with model railroads, doing incredible things with them. He is actually published for his work on model railroading.

His skills didn’t seem to pass to me. It is/was so bad that I didn’t do woodworking until I had power tools and a place for them.

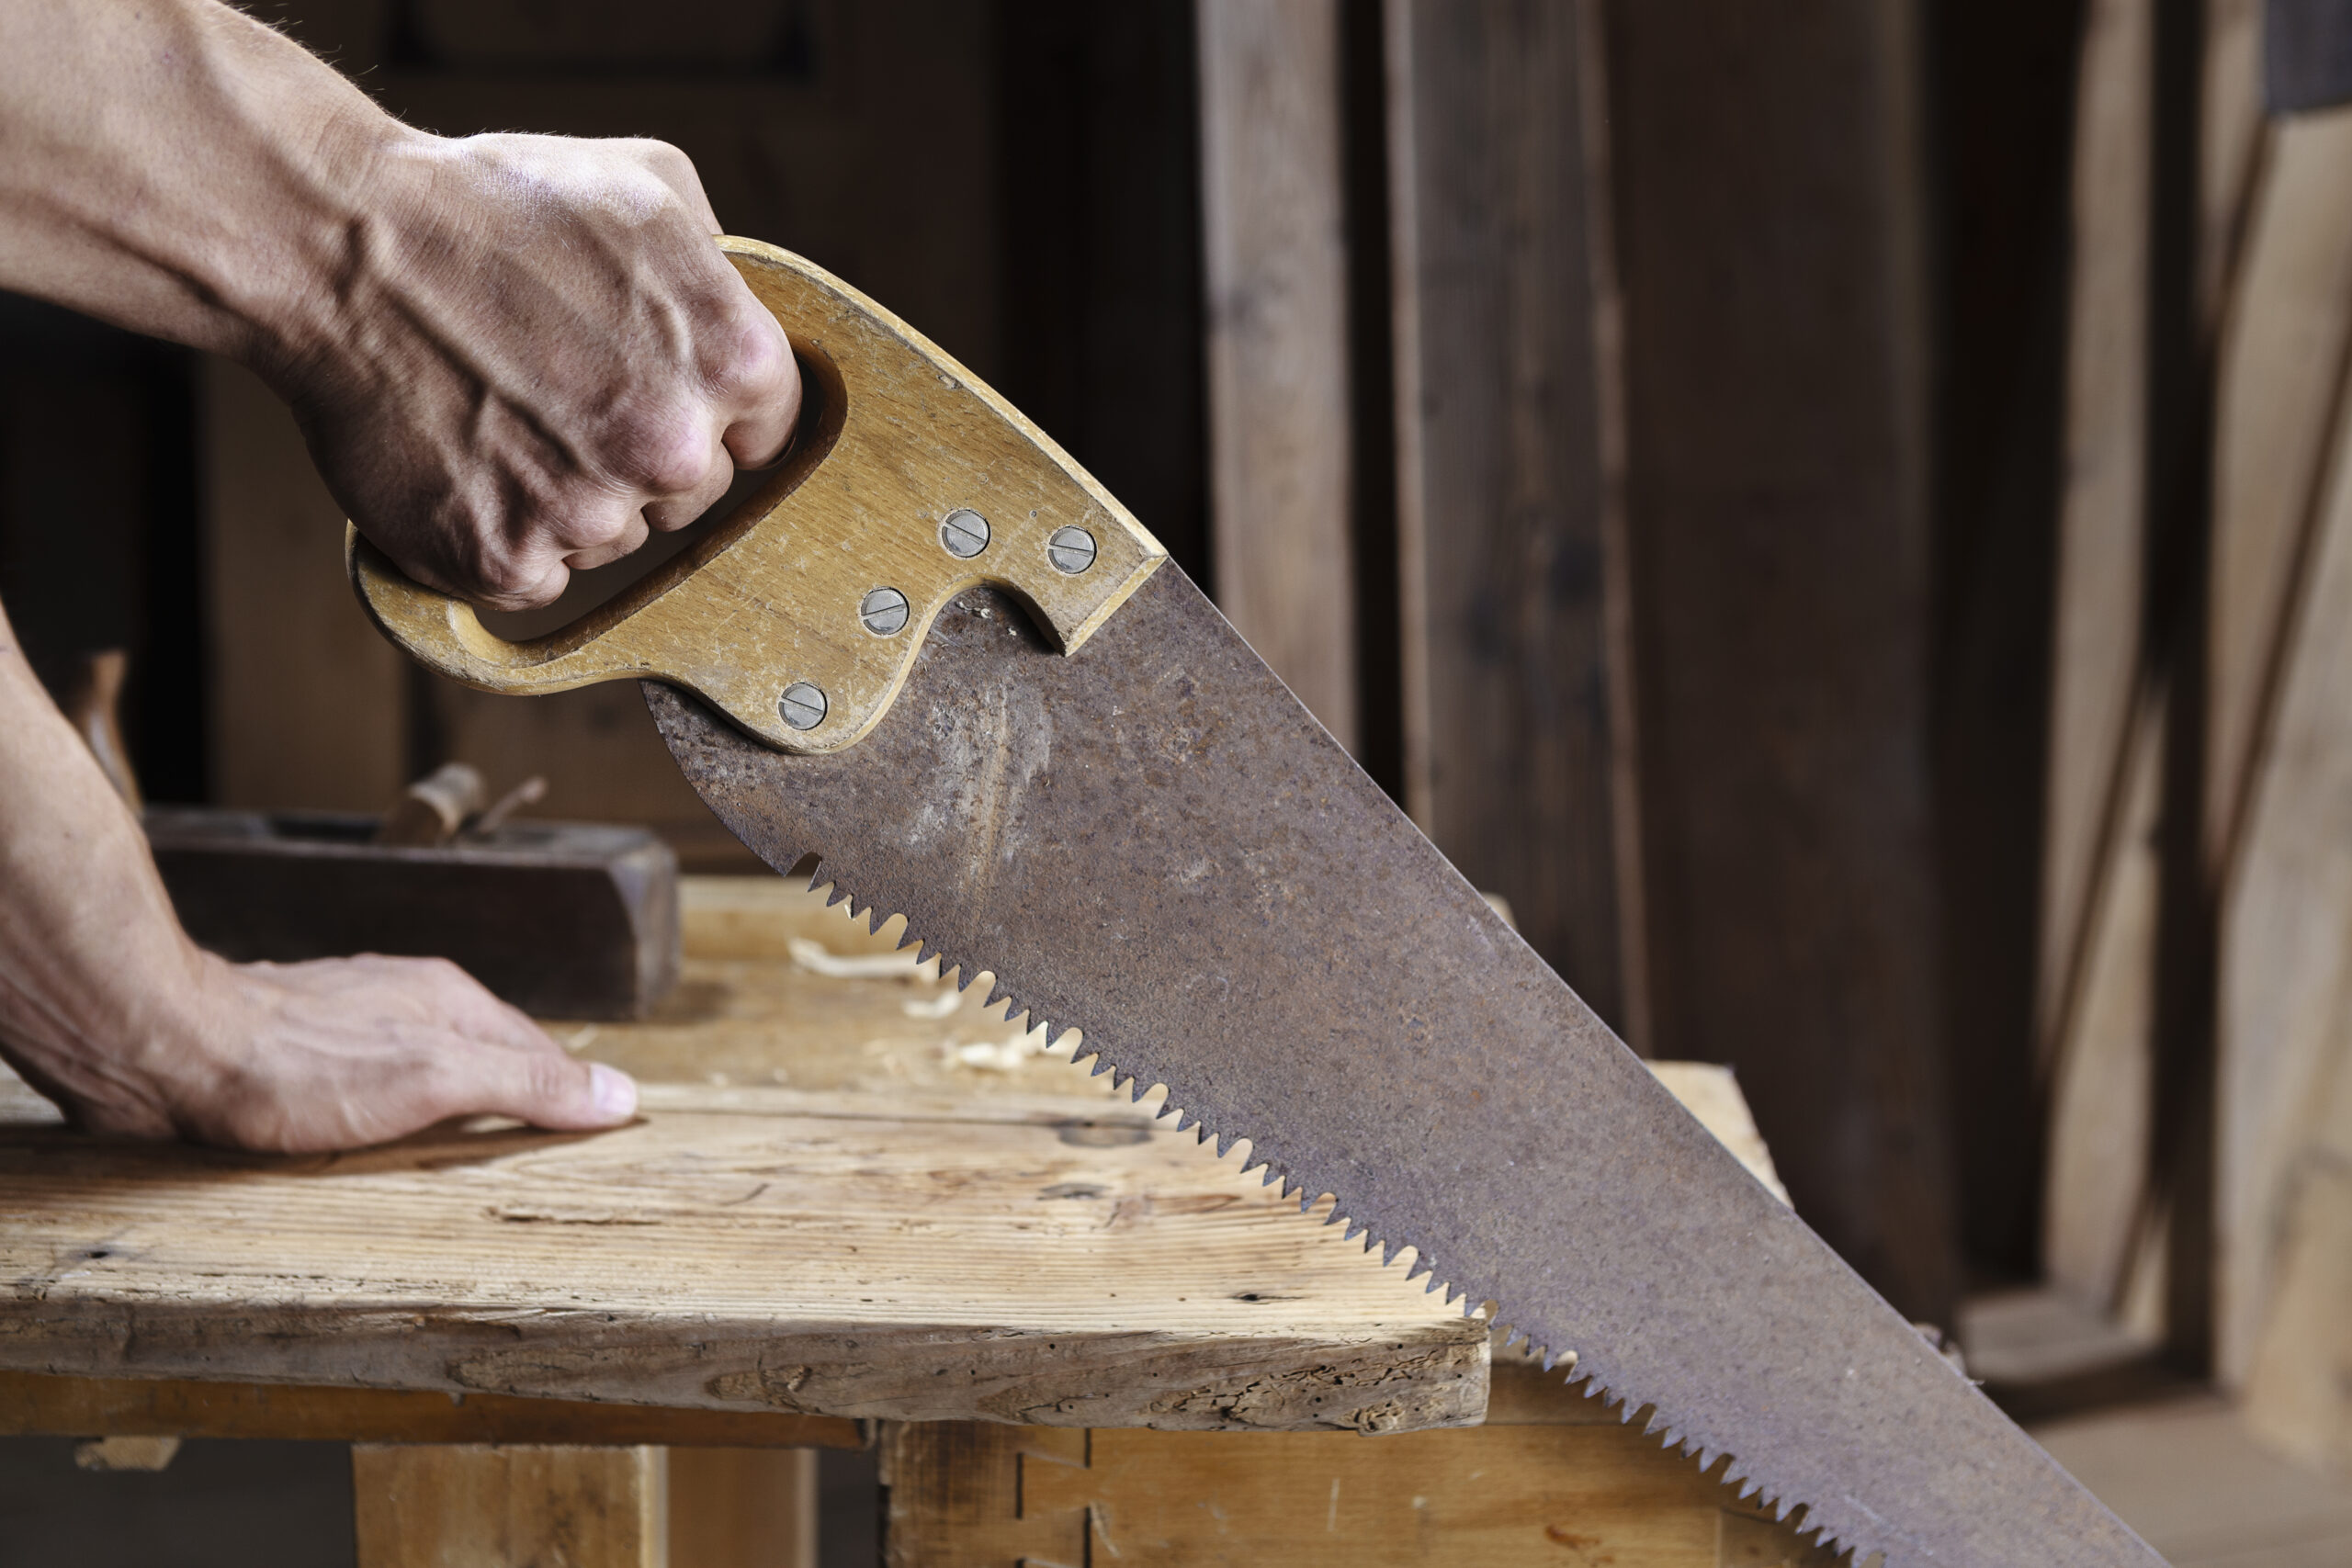
One of the basic tasks of wood working is sawing. This is rather simple. Move the saw back and forth in a straight line.

Yeah, not so much.

You have to cut a straight line, without a curve in it. That straight line must be in the correct place. It must not be tilted.

I think 3 degrees of freedom in that sawing.

So how the heck do you saw something correctly? And what the heck do you do when you have to “rip” a piece of wood that is 6 foot long? Or even harder, resaw something that is 6 foot long?

You start with the correct tools. With saws, there are a lot of them. But the real starting point is the marking gauge.

Instead of just marking the line you are cutting, you mark the sides as well. This will give you a visual of where you are supposed to be cutting.

Next, put your pencil aside. Use a marking knife instead. First, it gives a cleaner mark. Second, it is easier to transfer a knife line around a corner.

If you are working on light wood, you can then use that pencil to make that knife mark easier to see.

Finally, for precision work, make a knife wall. This is an artificial kerf. It makes a physical stop for the edge of your saw blade. Now, when you start sawing, your saw is already in a kerf. If you carry the knife wall down the sides, it will help to keep your saw properly aligned.

So that marking knife, a good combination square or try square, a metal ruler, and a good bench chisel are required.

The next thing to look at is the types of saws that are available, and what they are used for.

There are more than you can shake two sticks at. And each saw does a different task.

I’m going to focus on straight cuts and ignore Japanese pull saws.

Saws can be cross-cut, rip cut, or a combination cut. A combination cut saw does a poor job of both ripping and cross-cutting. But it can be handy when you don’t know which you will need.

Cross-cut blades are designed to cut across the wood fibers. Rip saws are for cutting with the fibers.

Normally, we want cross-cuts to be smooth. Smooth means more teeth per inch. More teeth per inch means smaller gullets. Smaller gullets mean slower cutting.

If we have two saws with the same level of sharpness, assume “very” sharp. The one with fewer teeth per inch will cut faster. The reason is the gullets.

The gullet is the space between the teeth. When you are pushing a saw forward, each tooth is cutting a small shaving from the wood.

That shaving has no place to go. It has to travel with the saw blade as it moves forward. The only place it can travel is in the gullet.

As the blade exits the wood, the wood that is traveling in the gullet drops free.

When enough wood dust/chips have built up in the gullet, the tooth can no longer cut and collect more wood shavings.

With fewer teeth, there is less room for wood shavings. The gullets fill up faster and the saw stops cutting.

There is so much more to this. I thought I had a better understanding.

In trying to explain it in this article, I figured out that I didn’t know enough.

professional carpenters and do it yourselfers need good tools

Flat, Straight and Square

Many years ago, I started to build a laminated wood workbench from hard maple. It was very slow-going. I think I have what I finished up in the rafters of the shop.

It is only 9 inches wide. It is not smooth, it is not flat. It is unlikely to be straight, and it is not square.

At the time, I did not have a place to use as a shop. We were living in a rental town house. All the work I did was done on saw horses in the kitchen with hand tools. I had purchased two very nice iron planes to use. But, I did not know how to tune them. I did not know how to use them.

In short, I lacked both skill and knowledge.

You can have something that is very smooth, but it might not be flat. You can have something be flat, but not smooth. You can have something that is flat and smooth, but not square. All three are needed to have a good face.

As a piece of wood comes off the saw, it has rough surfaces. The surfaces are mostly flat and square, but you can’t trust that until it is measured.

A piece of wood can also be cupped. This is when the center is higher than the edges. The board can also be twisted. All of these can be removed with a hand plane.

You start by examining the board and placing the cup up. This creates a stable surface. Looking down the board, you search for any high spots, end to end. These get your attention first.

Using a ‘fore plane, you remove those high spots. You then use a jack plane to make a flat surface that is also smooth.

Now that your board is flat and smooth, you use winding sticks to find any twist in the board. You plane that out.

Finally, you have a good face. Mark it, then move to an edge. Make it flat and smooth. Use a try square or a known good square to make sure your edge is square.

In the end, you will have two faces that are flat, smooth, and square to each other.

Moving on to the other sides becomes much easier.

Planes

I started with two planes from that failed project of years ago. One is a No 5 jack plane and the other is a joiner or try plane, I don’t remember which. I haven’t gotten tot hat stage yet.

What I didn’t have were smoothing or scrub planes.

Via YouTube recommendation, I found one that looked nice on e-bay, was a No 4 smoothing plane, and looked ready to go.

Friday, before I started work on the truck, I stopped in at the second hand store. I found four planes. One without any hardware or iron, one had an asking price of $175, and two that were only $6.

They followed me home.

Yesterday, I had the eBay one arrive. I went to test it, and it wasn’t ready to use.

Taking it apart, I realized the iron needed to be sharpened. About 30 minutes on the diamond plate and the back was mostly flat, again. The chip breaker also had its edge cleaned and straightened.

Then it was time to sharpen the iron. Using a 25° guide, I started working on it.

The bright was at the heel of the bevel. Looking at the bevel more closely, it was more of a half moon shape than flat.

This iron had been badly sharpened many times.

Today, I was able to get my slow speed grinder running with the correct jig for a plane iron. That iron now has a beautiful edge. It needs some hand work, but it is almost ready to go. Testing it shows reasonable shavings, before the hand work.

The first $6 plane needs to have the edge reworked. There is a chip out of it. I’ve not started that process yet. Nor have I looked at the iron of the other thrift shop plane.

Regardless, I will have my smoothing plane and scrub planes in the coming days. Good news for me!

A scrub plane is a smoothing plane with a rounded cutting edge. It is designed to remove bulk material rapidly.