I have an obsession with knowing how to do things. I need to know how things work. And occasionally I get lost in reality.
Years ago, I was working for Cray Research, Inc. We worried about cycles and memory access times. The unit time of accessing memory was a cycle and was 80 ns. I.e., freaking fast.
I became interested in photography. My mentor was already doing some spectacular photography, but I believe I’ve become better than him.
One of the ways I became better was in the concepts of studio lighting. I purchased and was using studio flash, getting good results.
The issue? How the heck did we sync the strobe with the camera? The camera fires, and the flash goes off. There is a propagation delay before the signal reaches the primary light and it fires. There is more delay while the light travels to the next light; there is still more delay before that light can fire. How can this work?
The answer was simple: the real world isn’t the digital world. The lens would be open for 16.6 us. This is 16,600 ms, or 16,600,000 ns. The only requirement was that the flash go off a some point while the lens was fully open. The camera wouldn’t initiate the flash until the lens was fully open, so it was never an issue.
I didn’t wrap my head around reality; I was working in my model of reality. I was wrong.
The Circle
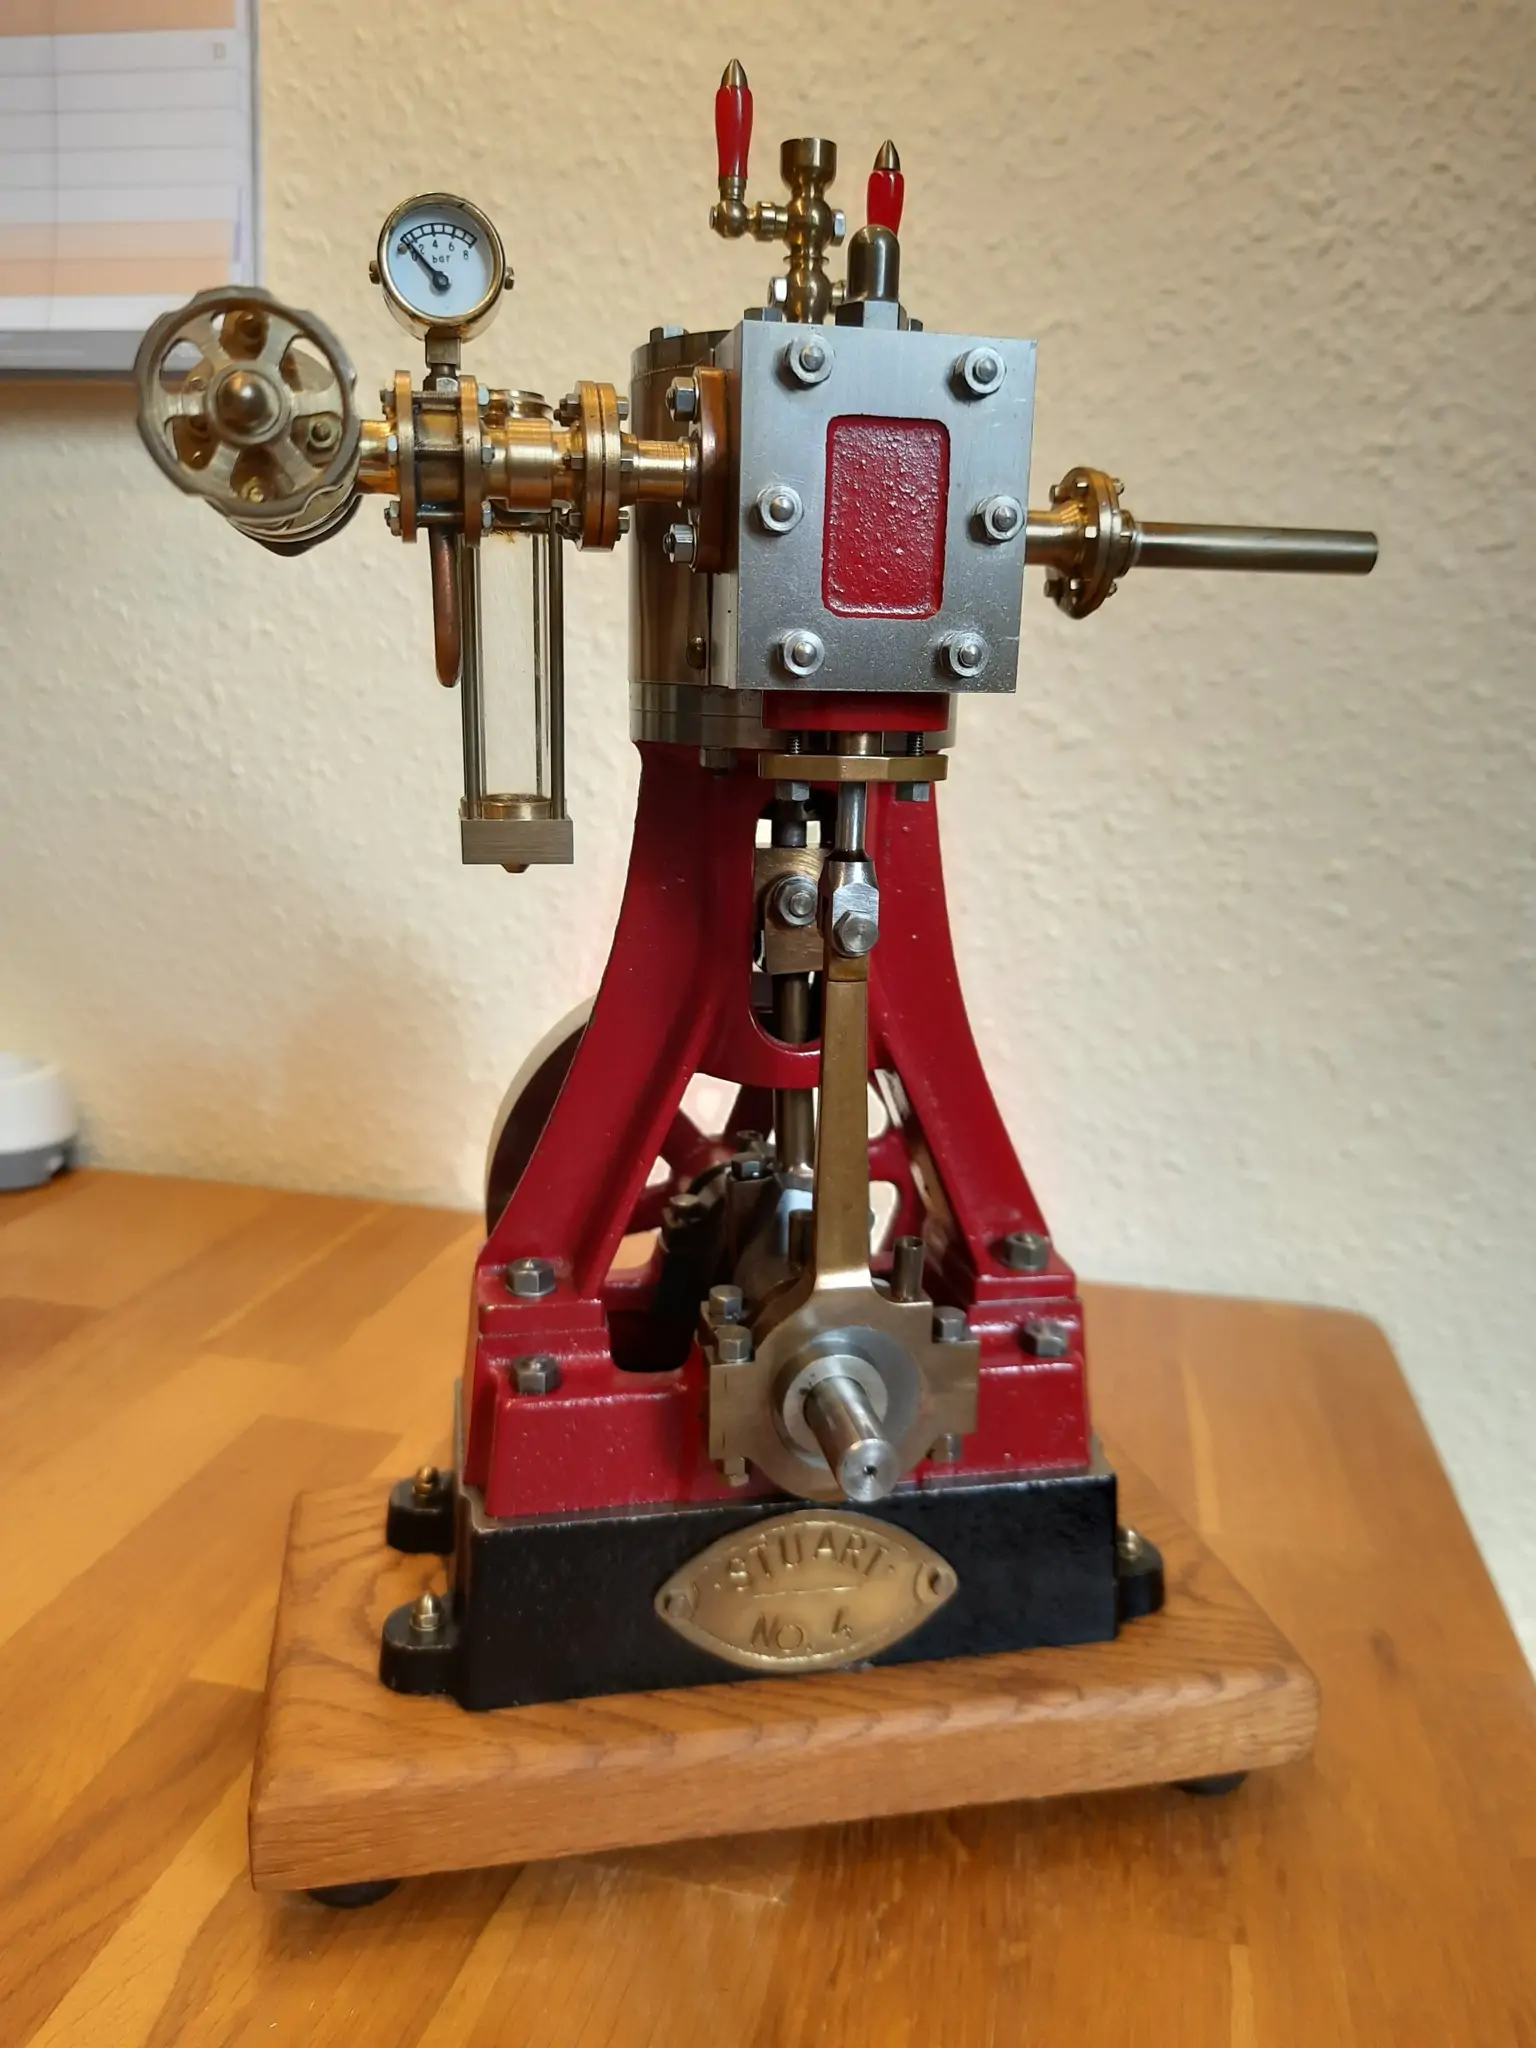
I want to make something. What I would like to make is a steam engine.
To make a steam engine, I need a machine shop. I’ve purchased that. I also need to learn how to use all the machines in my shop. I’ve made a good start at that.
I also require castings for the steam engine. To get castings, I need to purchase or make them. To make a casting, I need to first make a pattern. Once I have made a pattern, I need to “ram” it up, and then cast it.
To make a pattern, I have to design the pattern and then construct it. To construct patterns, I require good woodworking skills and good wood for pattern making. Pine and most common hardwoods are not going to cut it. I’m working on getting those skills.
The pattern design is also a skill; I understand it, but I’m not good at it. CAD can make it easier.
Once I have the design, I need to construct it. This is pattern making, and I don’t have the woodworking skills to do it. But I can CNC or 3D print my patterns.
To get better at woodworking, I have to practice. To practice, I need space. The space has to be heated. I can handle working during the summer; I can no longer handle working in subfreezing weather.
The workshop will be in the first floor of “the hut”. The hut needs to be finished, insulated, and powered. This is a good time to learn about off-grid power systems, like solar. The solar system won’t be enough for this area, so what if I can add supplemental power from a genset? I don’t like the sound of internal combustion engines, but a steam engine? That sounds good to me.
So I want to make a steam engine.
Since I’ve created a cyclic tree, maybe I can break it with something? How about learning to make 3D printed patterns? I’m still doing all the design work, but now I can have a machine turn it into a physical item.
I liked my toy 3D printer, but it was a kit that wasn’t good, and it was never accurate enough. I was never able to build pieces that could fit together. It was retired. But new 3D printers are plug and play, which is what I want. I would rather not build them and tweak them physically; I want to use them to create physical objects.
And look at this, there is a set of modular 3D prints that can be linked together to create a pattern for a flask. The thing that holds the sand that patterns are rammed into. This means I can actually have sturdy flasks that won’t burn.
But all of this requires some skill in CAD. I have years of experience doing 3D solid modeling. What I don’t have is experience in creating the blueprints for translating these models into reality. But a CNC mill would be helpful for some of that. And I have a mini-mill that I got from my father. I can convert that to a CNC machine for certain operations.
And with the ability to make standard flasks of standard sizes, I can then make molding plates for those flasks to simplify casting certain items.
I can use a 3D printer to make runners, gates, spouts, and risers to make it easy to make castings.
The cool thing is that I can make a 3D printed pattern with proper shrink rates, then cast that pattern in aluminum. The aluminum then becomes the working pattern, so we have to allow twice the shrink so the working pattern can then be used to create our final castings.
If I’m going to be making my own patterns, I will need to make core boxes. Cylinders for steam engines are complex; they have ports cast into them as well as steam passages. Which means I will need to machine or print core boxes.
But there is a minimum size that cores can be. You don’t make 1/8 in cores 2.5 inches long. What is the right size steam passage?
Well, the steam passage should be able to transfer the swept volume without ever having a velocity above 6000 ft/minute. Where did they get 6000 ft/minute? Don’t worry, they used it in the age of steam, and it was empirically tested.
What does it mean though? Well, we know the volume in in³/s. If we divide that by 6000*12 in/60s, we will know the cross-sectional area required.
The area required is equal to pi*r^2, where r is the radius of the steam passage. We can use this same area when designing the ports for the valve and cylinder.
But I’d really like to know if this value was any good. Well, the “easy” method is to run a CFD analysis of the steam flow in the engine.
This would seem to be easy, since the workflow is to build a mesh of the domain for the CFD analysis, then set the initial conditions and let someone else’s code do the work.
What the heck is a CFD “domain”? Well, that’s the part that isn’t modeled. Which means I need to make an inverse model of the steam engine parts that are important for a CFD analysis.
But that requires new skills in my CAD program.
And all of this must be done because I want to be able to build steam engines that are fractional HP in size, but big enough to do the work required.
What would it be like if I had a steam engine that was driving a hydraulic pump for a wood splitter? Would that be cool? Motors for hydraulic pumps are built around HP requirements, but steam engines produce excellent torque at low RPMs. Do we really need a 5 HP engine to drive a wood splitter?
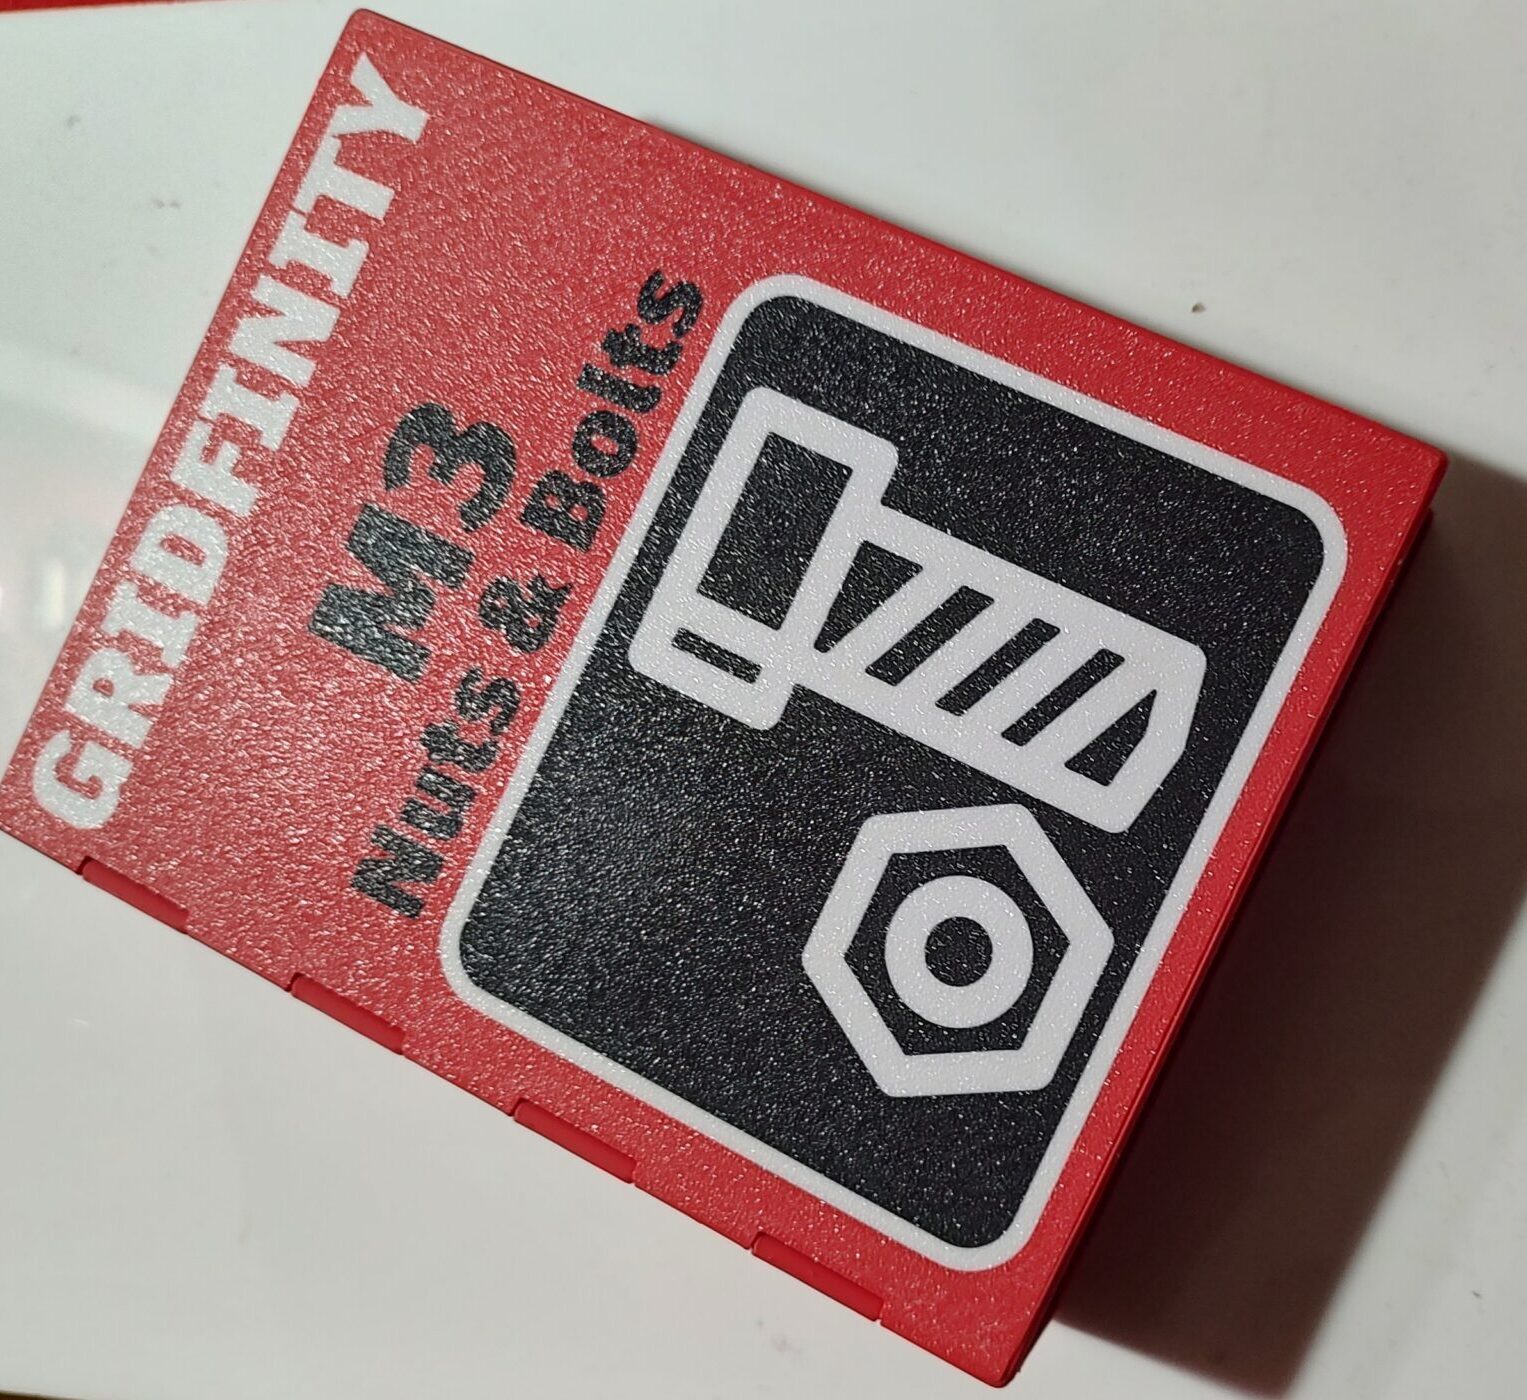
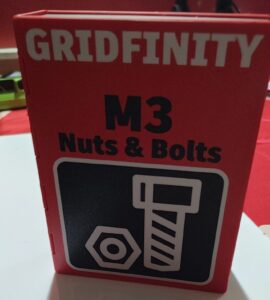
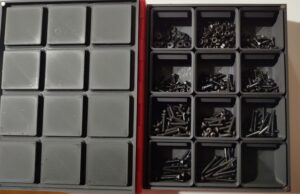
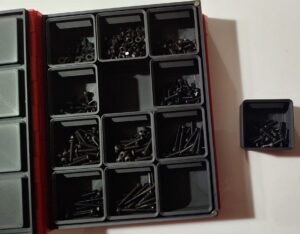
Now, If I get a 3D printer, I can use it to print Gridfinity and multiboard systems to organize my reloading room. My reloading room is full. I can’t get to the press, and I need to get there because I require more 9 mm ammo. And I want to reload a few hundred 30-06 and 7.62×51 rounds with something for taking deer.
So having a printer is a good idea. And I know where it will go. All I need to do is throw away the three junk paper printers that are stacked there, and I’ll be good to go.
Are we having fun yet?